Page History
...
2. Click New toolbar button to create new opportunity. New Opportunity screen will appear.
*Direction field will be visible only for users with ticket management/grain license.
**if user logged in is a Sales Person, direction should be default to Sale else it should be Purchase.
***required fields: Opportunity Name, Executive Update, Entity, Contact and Opportunity Status
****if Line of Business is Software, refer to image 2.2, if not refer to image 2.1


3. Select Direction (Sale / Purchase) and input data to fields
...
5. To add data under Key Data tab, go to Key Data tab then input data and save
Here are the fields under Key Data tab:


7. To add data under Overview tab, go to Overview to Overview tab then input data and save. 8. To data under Prospect Requirement tab, go to Prospect Requirements tab. Select Question Type/Question, Responded and input your answer then click Save.
*Respondent and Answer are required

9 8. To add an activity, click go to Activities tab. Click New Event, New Task, New Comment, Log Call or Email then proceed. Save the opportunity.

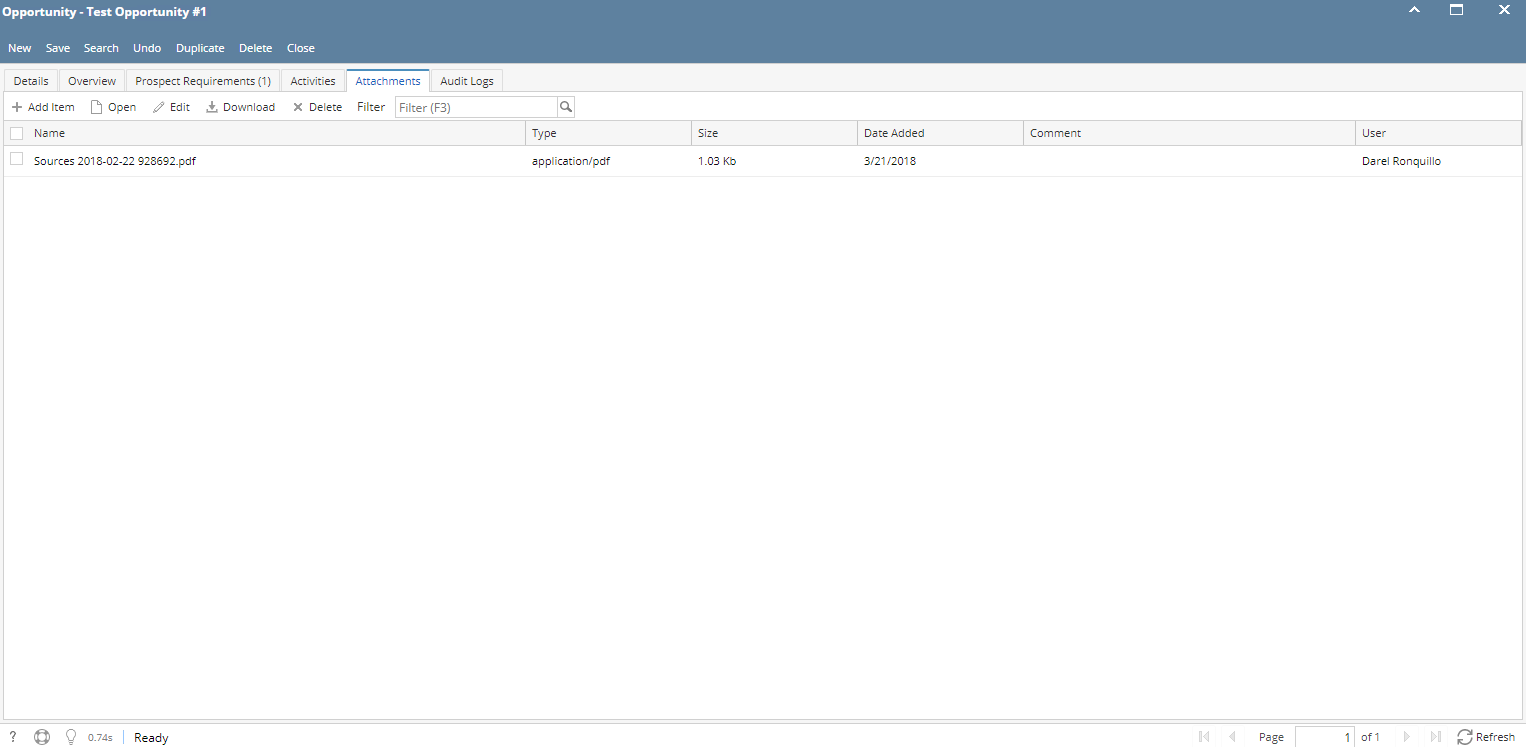
109. To add Attachments, click Attachments tab. Click Add Item button then select attachment to be added. Save the opportunity.
1110. To add Quotes or Orders, click Quotes/Orders tab. Select quote/order number from Quote Number grid drop down. User can also create new quote or order, click Add Quote button then proceed. Save the opportunity.
*Quotes/Orders button is disable for purchase opportunity. It means user selected a vendor.

1211. To add Contracts, click Contract tab. Select contract number from Contract Number grid drop down. User can also create new contract, click Add Contract button then proceed. Save the opportunity.
1213. To add Win/Loss details, click Win/Loss tab. Provide the details of the Win/Loss then save.

*text - denotes required field to create an opportunity

User can now view this opportunity in Win/Loss Analysis tab:

14. Opportunities can also be generated by using Activities and Lost Revenue.
Activities:
- Create or open an activity, activity must no be related to any transaction.

- Click Create Opportunity button. Once clicked, new opportunity screen will load. It should have the values from the activity (Opportunity Name, Company Location, Entity, Contact)
- Provide the other data then save
Lost Revenue:
- Go to Lost Revenues. Select row then check the Generate Opportunity grid checkbox. User can also add a salesperson. Click Save to generate opportunity.

- Go to Opportunities and search for the generated Opportunity.

Overview
Content Tools