Page History
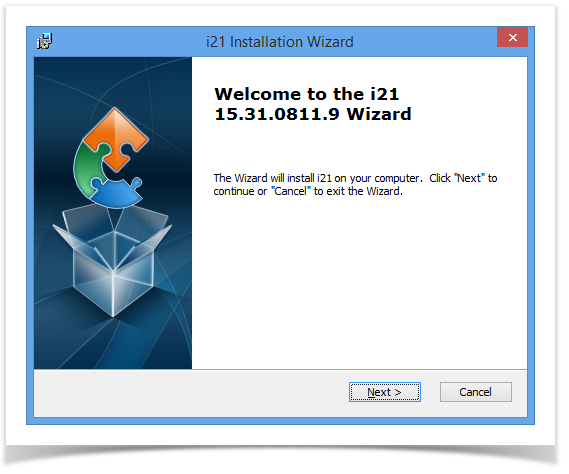
- Welcome Screen. Click Next button to proceed with the installation.
2. Select Installation Folder screen.
...
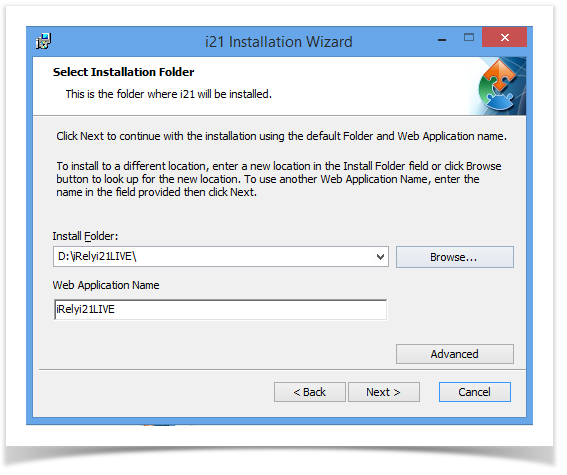
- Install Folder - By default, Install Folder field will display D:\iRelyi21TE\. Click Browse to change the folder path. It is recommended to install i21 on separate drive.
Create folder "iRelyi21LIVE" on the install folder if you will install for 01 and 99. Some of the customers may have another company like 02, 03. This will be configured in iRelyi21Live web app too.
Create folder "iRelyi21EOM" on the install folder if you will install for EOM.
Create folder "iRelyi21TE" on the install folder if you will install for TE. - Web Application Name -This is the web application name that will be installed in IIS.
Enter "iRelyi21LIVE" if you will install for 01 and 99.
Enter "iRelyi21EOM" if you will install for EOM.
Enter "iRelyi21TE" if you will install for TE.
3. Select Database SQL Server screen.Click Advanced button to setup the SQL Server connection and back up folder.
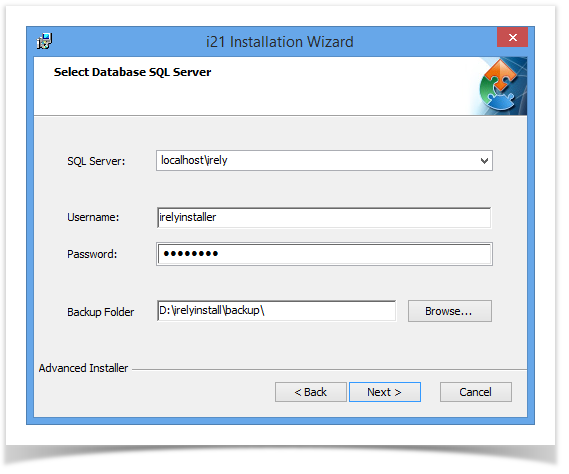
- SQL Server - Select the SQL Server where databases are attached.
- Authentication - SQL User should have the following sysadmin role to connect to the database. This sql login credential should be setup by the iRely Technical Team prior to install.
Username - this field is default to irelyinstallerirely.
Password - password is already defined in the field.
- Backup Folder - path where backup of the database will be placed. Click Browse to change if necessary.
| Info | ||
|---|---|---|
| ||
If SQL Server is hosted on another machine, please make sure that D:\irelyinstall\backup\folder exists on the sql server machine. The folder will be used to back up the current databases before upgrade. |
...
4. Web Configuration screen.
...
- Database Prefix - Enter the company database name prefix.
- Company Code - Enter the company name of the database.
5. Ready Ready to Install screen.This is a read only screen and this will show the company database(s) that will be upgraded to i21.
The Alias, TM Alias, Drill down Alias, Acu Version and Configuration Database are the information that will be set in the webconfig setting of i21 so the menuing works properly. It is imperative to make sure that the aliases are configured correctly in the ACU Connect Control Panel.

- Alias - This is the alias for rainbow.acu driver.
- Company - This is the database name.
- TM Alias - This is the alias for param.acu driver. This is used by Tank Management module
- Drill Down Alias - This is the alias for param.acu driver. This is used by i21 GL and Report to drill down data from Origin.
- Acu version - i21 version is using 9.2.2 by default
...
6. Installation Process Screen.

7. Confirmation screen.
8. If the Launch i21 box is checked, it will automatically open the default browser. Local host is the server machine. If this will be provided to the client-side user, it needs to be replaced with IP addess address of the server.
| Expand | ||
|---|---|---|
| ||
|

| Expand | ||
|---|---|---|
| ||
 |
To do that: Run the cmd prompt from Start Menu and type in ipconfig. Take note the IPv4 Address.
So the i21 Address can be:
http://192.168.0.40/iRelyi21LIVE/SystemManager/app.html
Overview
Content Tools