Page History
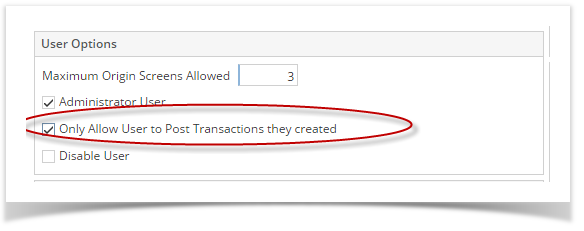
Admin users can set the user to post only the transaction they created in i21 by checking the user options checkbox in User Security screen. Users screen.
Here are the steps on how to Set User to Only Post Transaction they Created:
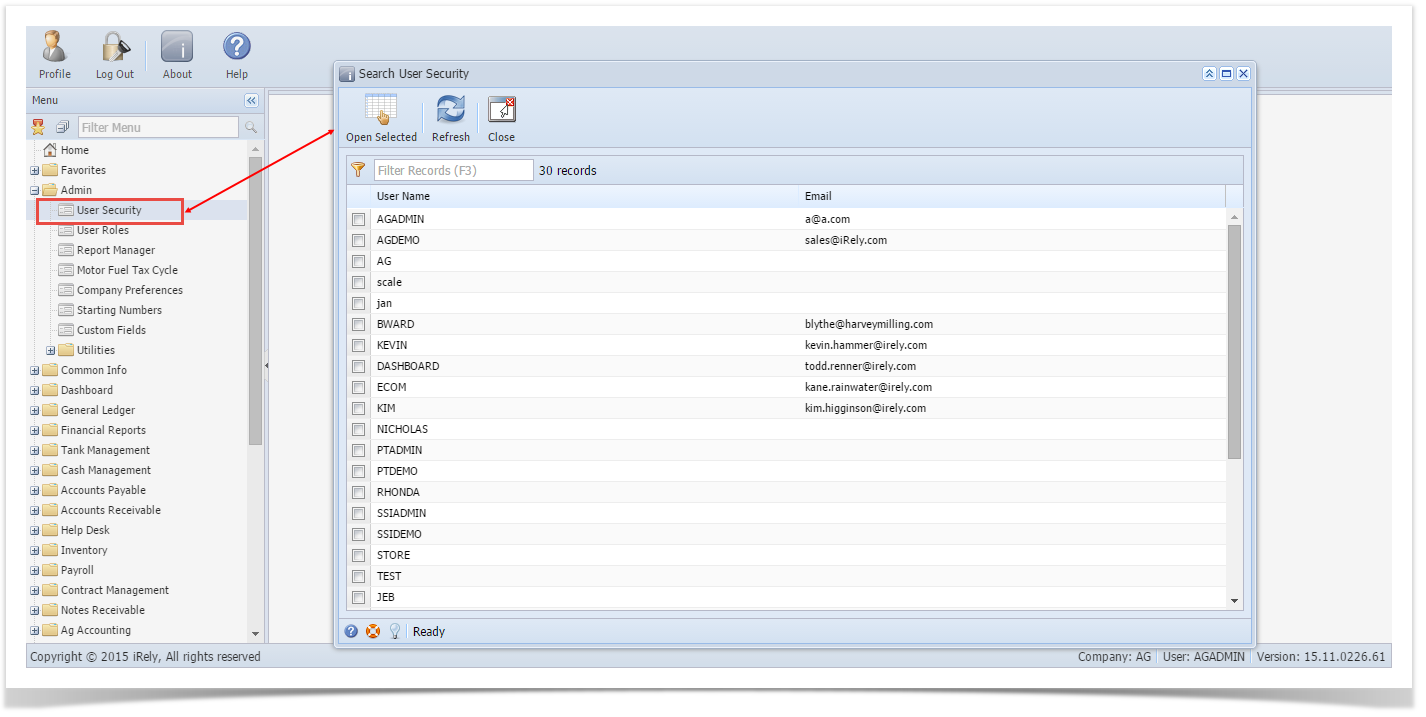
- Log in as Admin user
- On user’s menu panel, go to System Manager folder then click Users
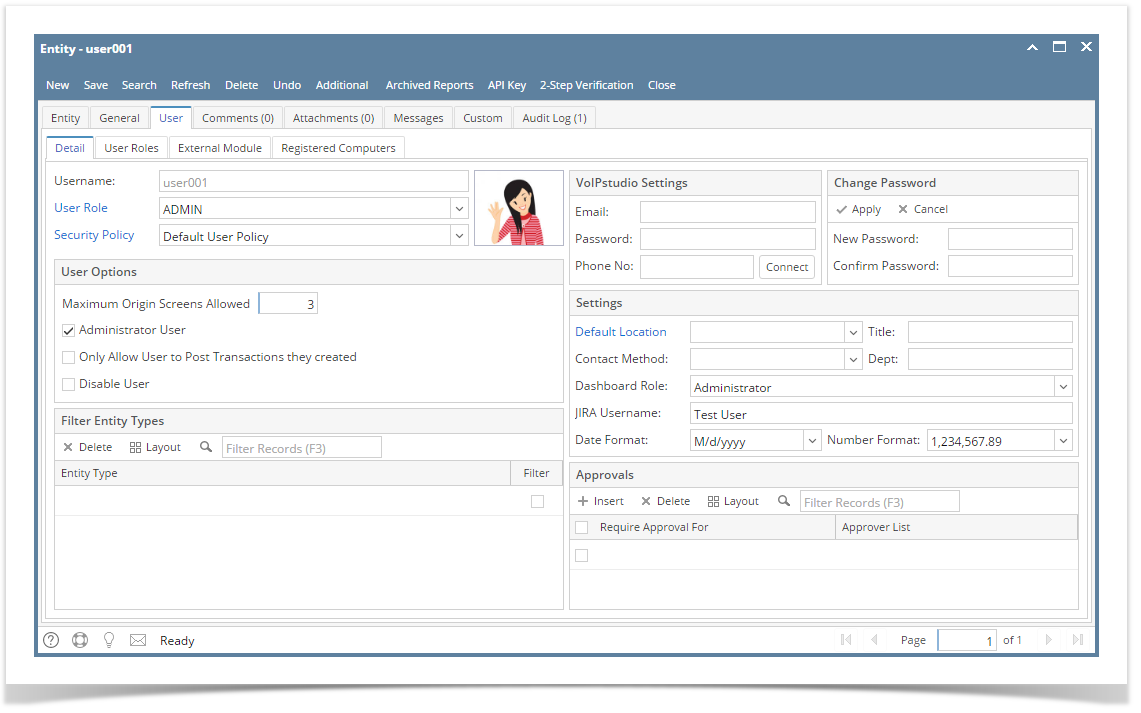
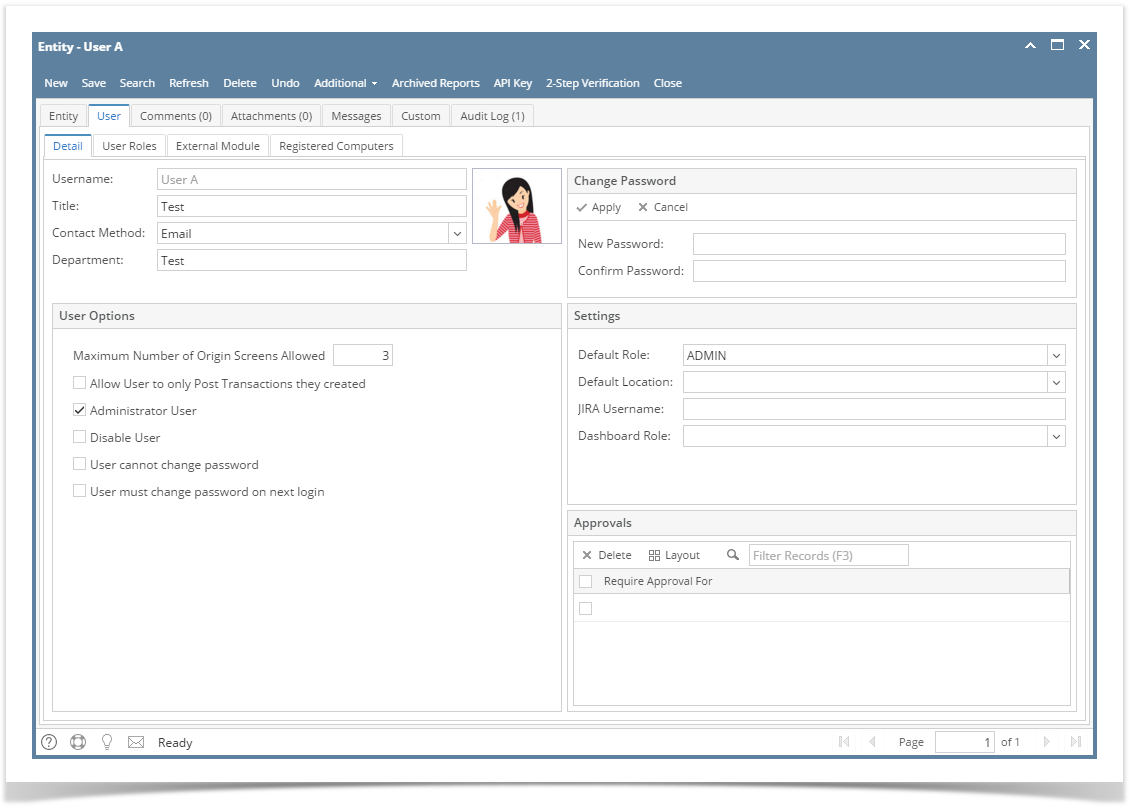
- Open an existing user.
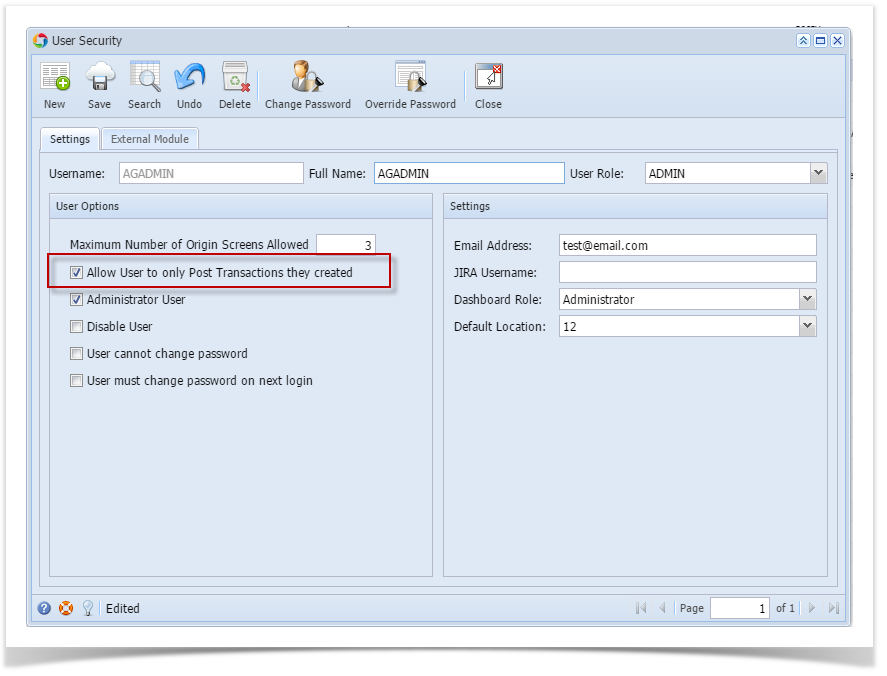
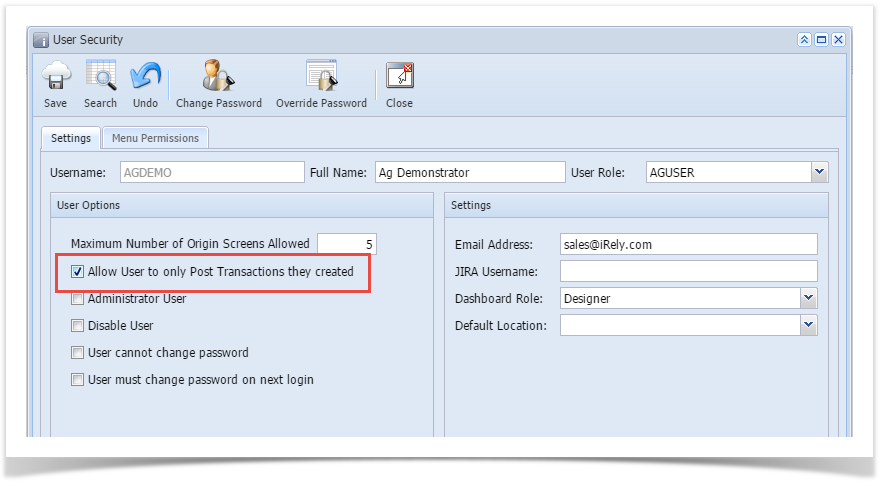
- On Users Entity screen click User tab
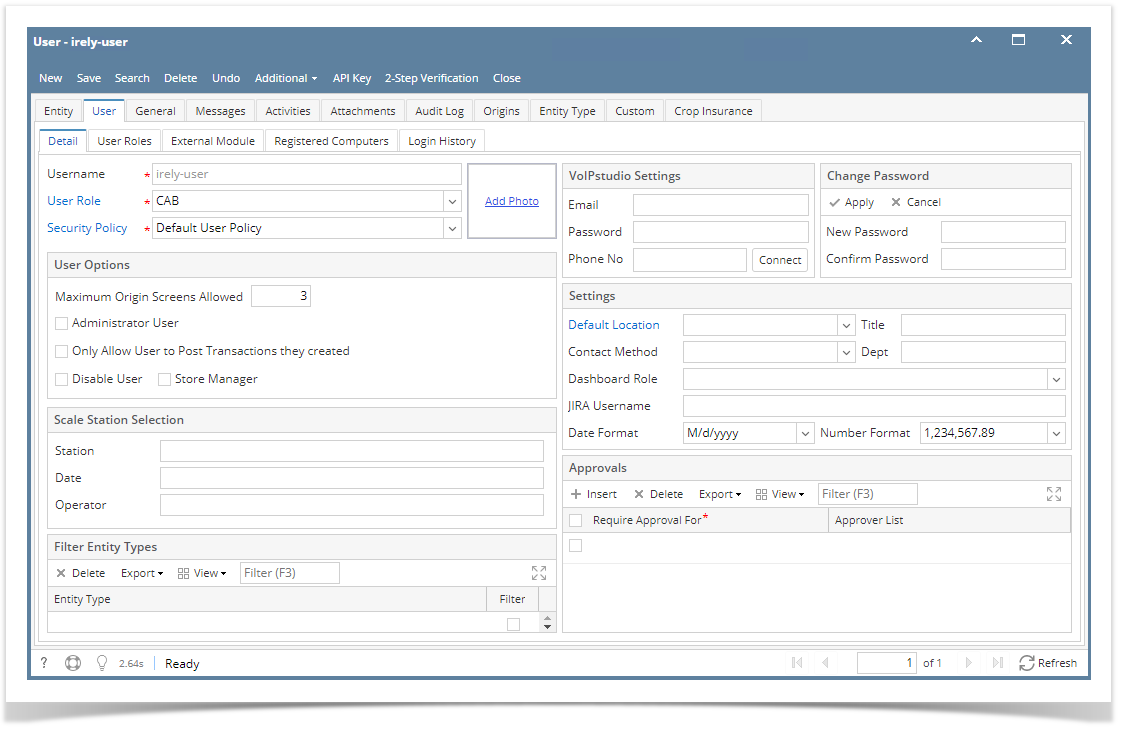
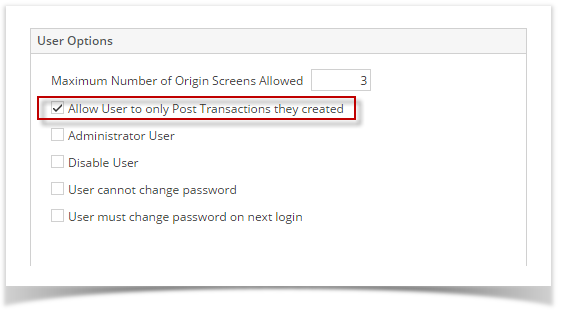
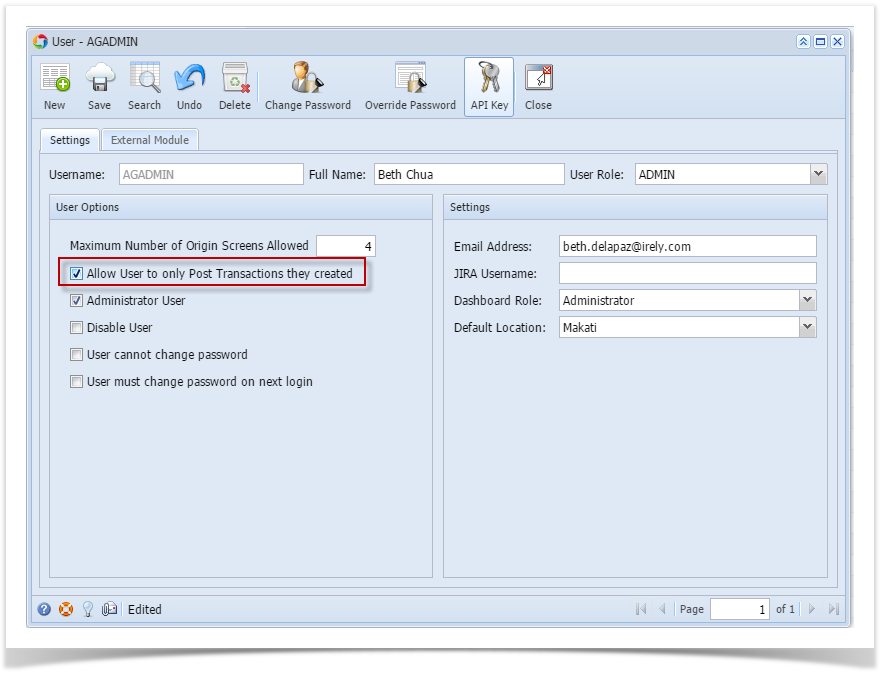
- On the User Options area, check Allow User to only Post Transactions they created
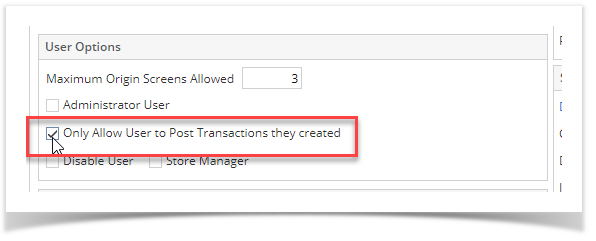
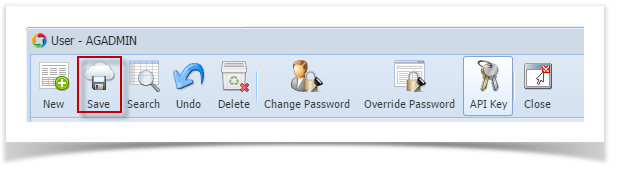
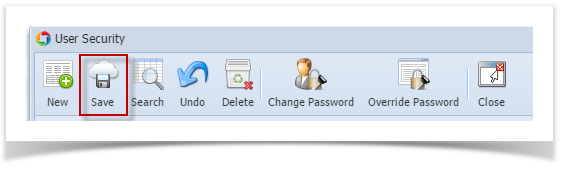
- Save changes by clicking Save button to apply the changes.
- Login the newly updated user
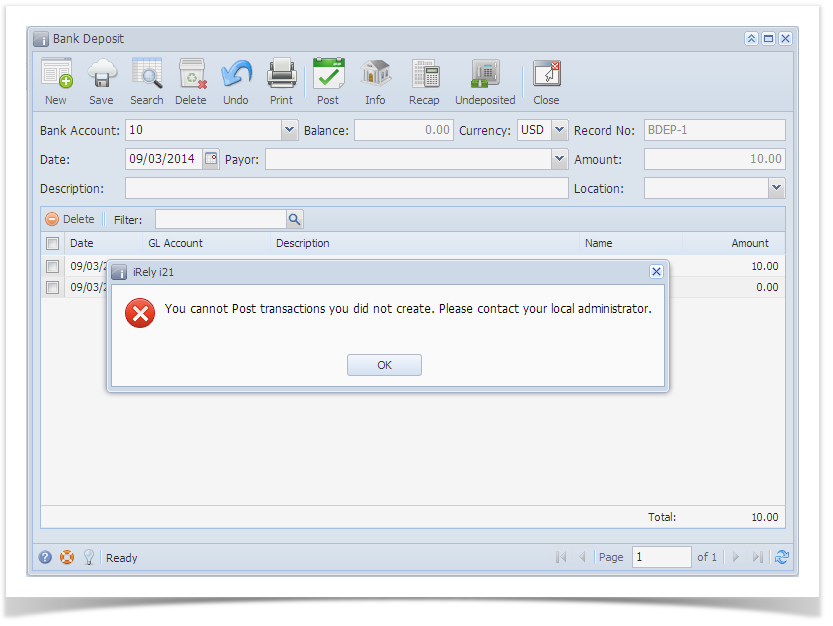
- Open any transaction screen (Ex: Cash Management > Bank Transaction )
- Select and open one transaction
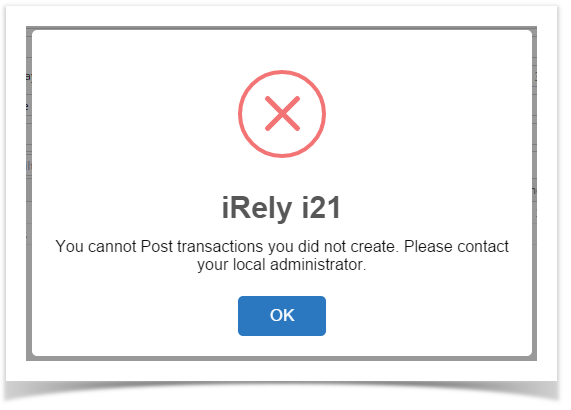
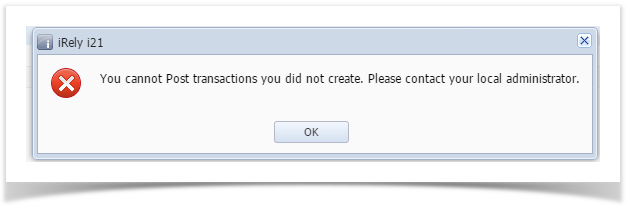
- Post the transaction by clicking Post button.
- An error message will prompt when posting transaction you did not create.
| Expand | ||
|---|---|---|
| ||
Here are the steps on how to Set User to Only Post Transaction they Created:
|
| Expand | ||
|---|---|---|
| ||
Here are the steps on how to Set User to Only Post Transaction they Created:
|
| Expand | ||
|---|---|---|
| ||
Here are the steps on how to Set User to Only Post Transaction they Created:
|
| Expand | ||
|---|---|---|
| ||
Here are the steps on how to Set User to Only Post Transaction they Created:
|
| Expand | ||
|---|---|---|
| ||
Here are the steps on how to Set User to Only Post Transaction they Created:
|
|
|
|
|
| Expand | ||
|---|---|---|
| ||
Here are the steps on how to Set User to Only Post Transaction they Created:
|

| Expand | ||
|---|---|---|
| ||
Here are the steps on how to Set User to Only Post Transaction they Created:
|
Overview
Content Tools