Pre-requisite: The following fields must be filled in before you can assign a Portal Admin:
- Email
- Timezone
- Approval List (if the entity is vendor)
There are 2 ways to assign a portal admin. One way is through the Entity tab and the other is through the Entity Contact screen.Here are the steps on How on how to Assign assign a Portal Admin through Entity tab:
- Log in as an Admin/internal user
- Open an entity record
- On the Entity tab's User Portal panel, check the Portal Access check box to enable the selection for portal admin
 Image Removed
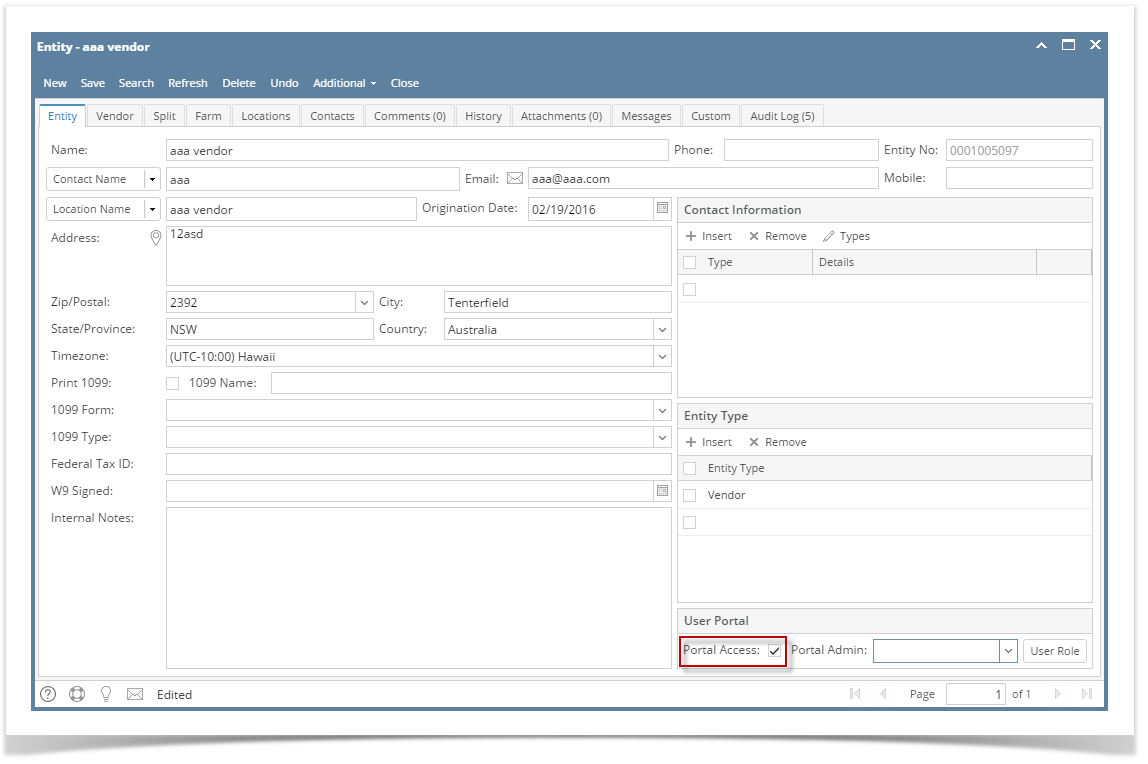 Image Added
 - Select a Portal Admin from the drop down
 Image Removed
Note: The vendor must have an Approval List first before Portal Access can be enabled. - Click the Save button. The admin's contact information will be updated
 Image Removed
You can also assign a different Portal Admin by doing the following:
Note though that Portal Access needs to be enabled first on Entity tab
- Select the Contacts tab
- Select and open the contact record you would want to be the new portal admin
- Click the Assign Contact Admin button
 Image Removed
 - Click OK on the successful alert message that follows.
If you look on the Contacts tab, the Portal Admin will have the Portal Access checked.
 Image Removed
The contact information will be updated
...
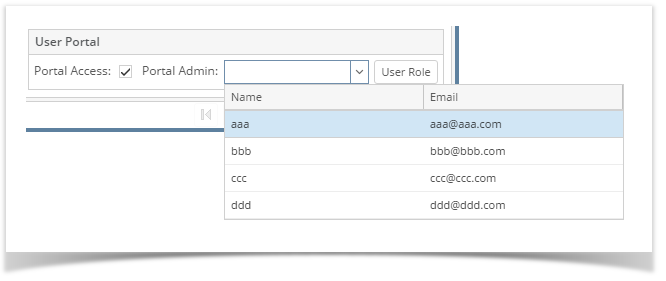 Image Added
- After selecting a portal admin, a change of password will be required. Enter the New Password and Confirm Password.
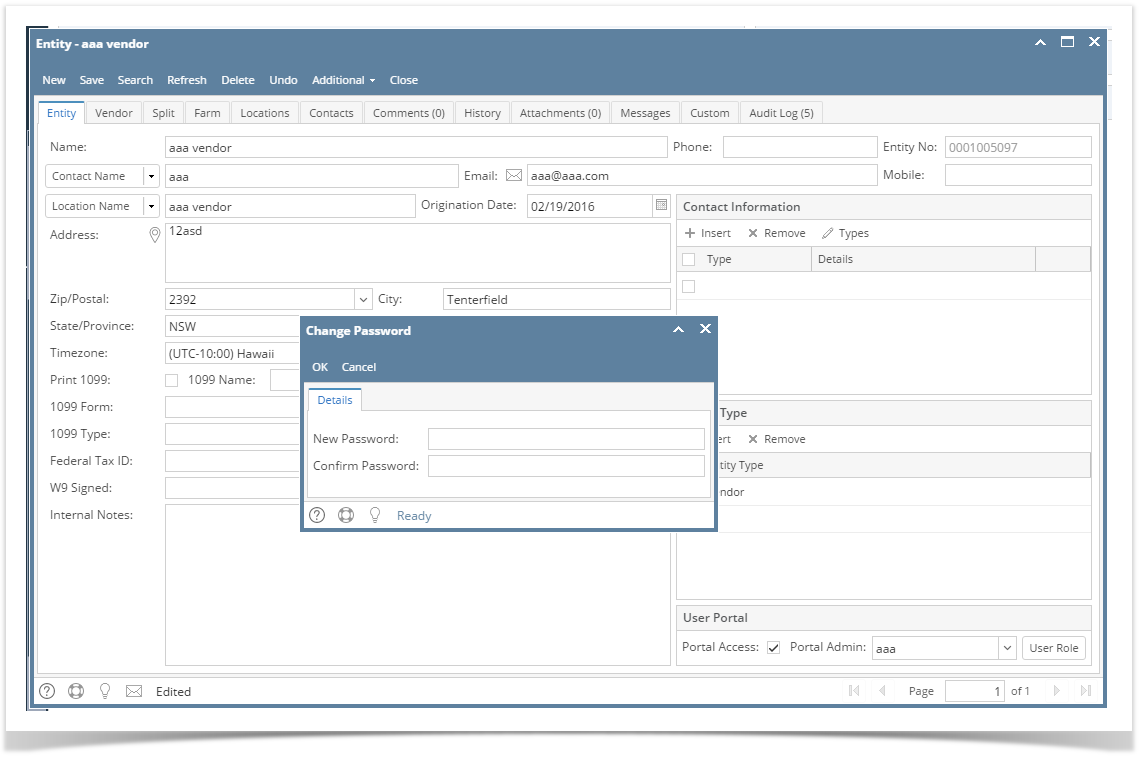 Image Added
Note: If Change Password is cancelled, portal access will be removed. - Click the Save button.