Users from Origin can be imported to i21 company through Import Origin Users screen. Only the Admin user can import origin users to i21 company.

![]() Before proceeding to Importing, User Roles must first be created where the user will be assigned.
Before proceeding to Importing, User Roles must first be created where the user will be assigned.
Here are the steps on How to Add a Non-Admin User Role Type:
- Log in as Admin user
- On user’s menu panel, go to System Manager folder then click User Roles.
- Click New action button to open a new record.

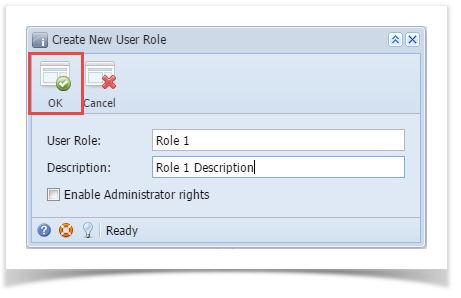
- Enter Role Name and Description. Then click OK button

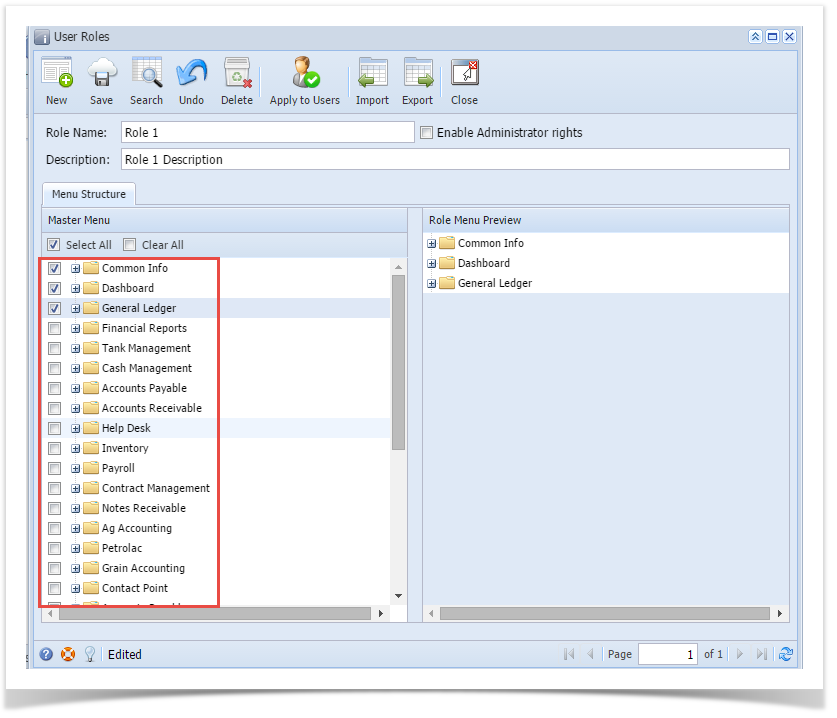
- Select the menus. When you deselect the root folder, all its sub-menus will also be deselected. Note that whatever menu you select on this screen will be accessible to the users with this role.

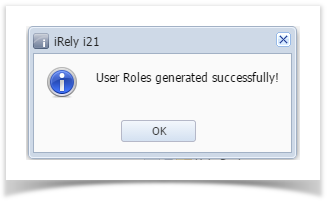
- Click Save button to save the new User Role type. This message will prompt.
Here are the steps on How to Add an Admin User Role Type:
- Log in as Admin user
- On user’s menu panel, go to System Manager folder then click User Roles
- Click New action button to open a new record.
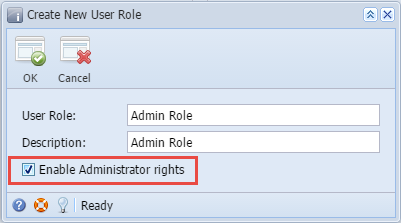
- Enter Role Name and Description then tick the check box besides the Enable Administrator rights.
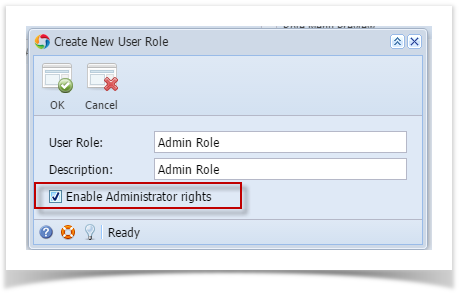
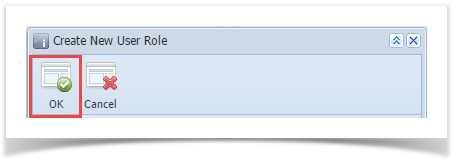
- Then click OK toolbar button

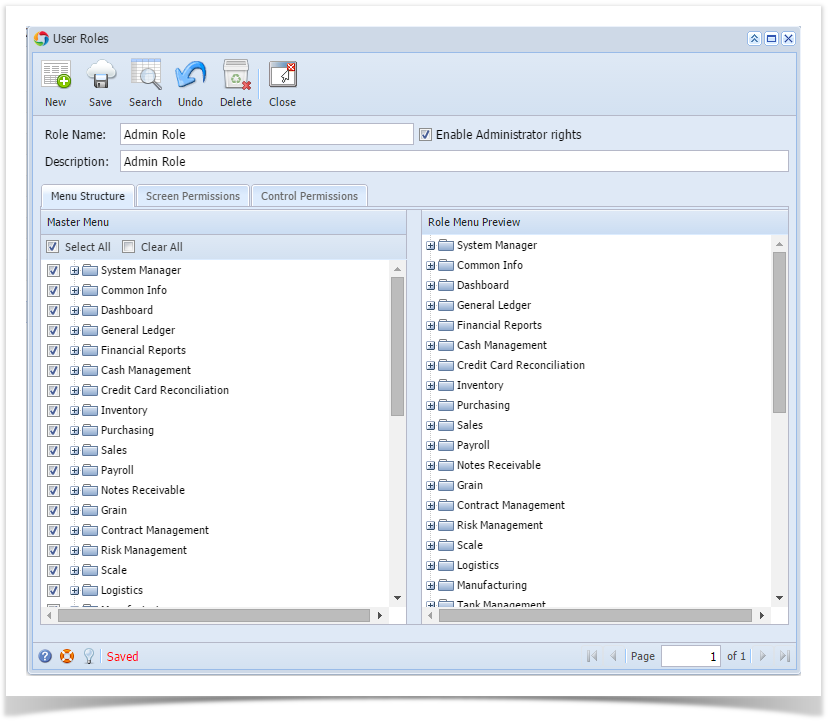
- After the menus are generated successfully, all menus on the Menu Structure will have a check mark and Admin folder is displayed
After successfully creating the user roles, Admin can now proceed to importing users from origin system to i21.
Here is how to Import user from Origin System into i21 company:
- Login as Admin User
- On User's Menu panel, select System Manager Folder > Utilities folder > Import Origin Users menu
On Import Origin Users screen, select the user you want to import to i21 by checking the check box besides the username

- Click Import button

After clicking Import button, this message will prompt

Clicking No will close the message and Import Origin Users screen will still open. while Clicking Yes will open the User Roles screen.
Select a User Role then click Open Selected toolbar button.

This message will be displayed when user/s is successfully imported.

You can import multiple users at the same time in i21. Just select the users you want to import before clicking the import button.
Here are the steps on How to Add a Non-Admin User Role Type:
- Log in as Admin user
- On user’s menu panel, go to System Manager folder then click User Roles.
- Click New action button to open a new record.
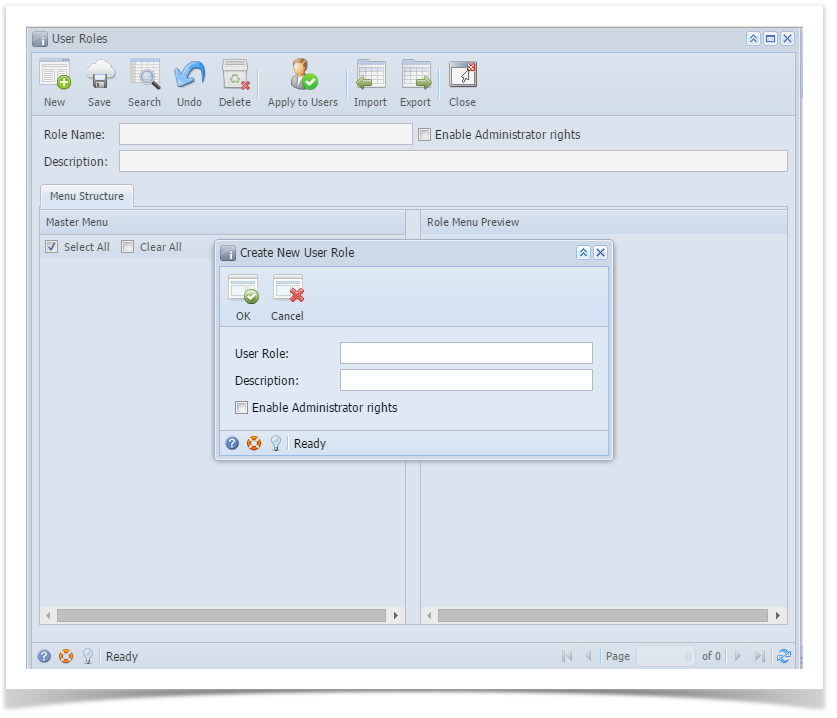
- Enter Role Name and Description. Then click OK button
- Select the menus. When you deselect the root folder, all its sub-menus will also be deselected. Note that whatever menu you select on this screen will be accessible to the users with this role.
- Click Save button to save the new User Role type. This message will prompt.
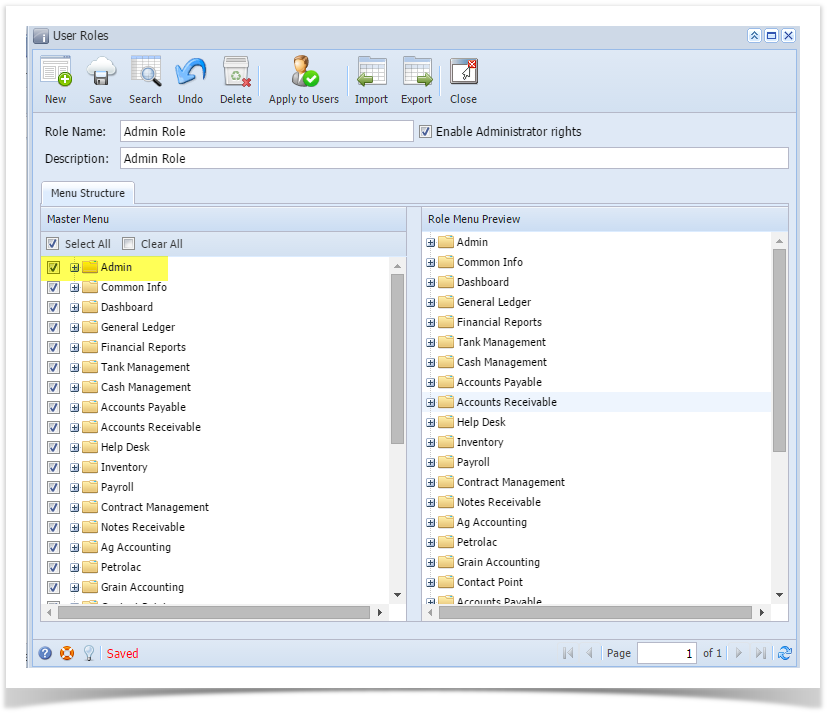
Here are the steps on How to Add an Admin User Role Type:
- Log in as Admin user
- On user’s menu panel, go to System Manager folder then click User Roles.
- Click New action button to open a new record.
- Enter Role Name and Description then tick the check box besides the Enable Administrator rights.
- Then click OK toolbar button
- After the menus are generated successfully, all menus on the Menu Structure will have a check mark and Admin folder is displayed
After successfully creating the user roles, Admin can now proceed to importing users from origin system to i21.
Here is how to Import user from Origin System into i21 company:
- Login as Admin User
- On User's Menu panel, select Admin Folder > Utilities folder > Import Origin Users menu
On Import Origin Users screen, select the user you want to import to i21 by checking the check box besides the username

- Click Import button

After clicking Import button, this message will prompt

Clicking No will close the message and Import Origin Users screen will still open. while Clicking Yes will open the User Roles screen.
Select a User Role then click Open Selected toolbar button.

This message will be displayed when user/s is successfully imported.

Overview
Content Tools