Building a new Dashboard Panel can be accomplished to fulfill your specific requirements and/or filters. These steps focus on the fields to complete in the Panel Settings screen.
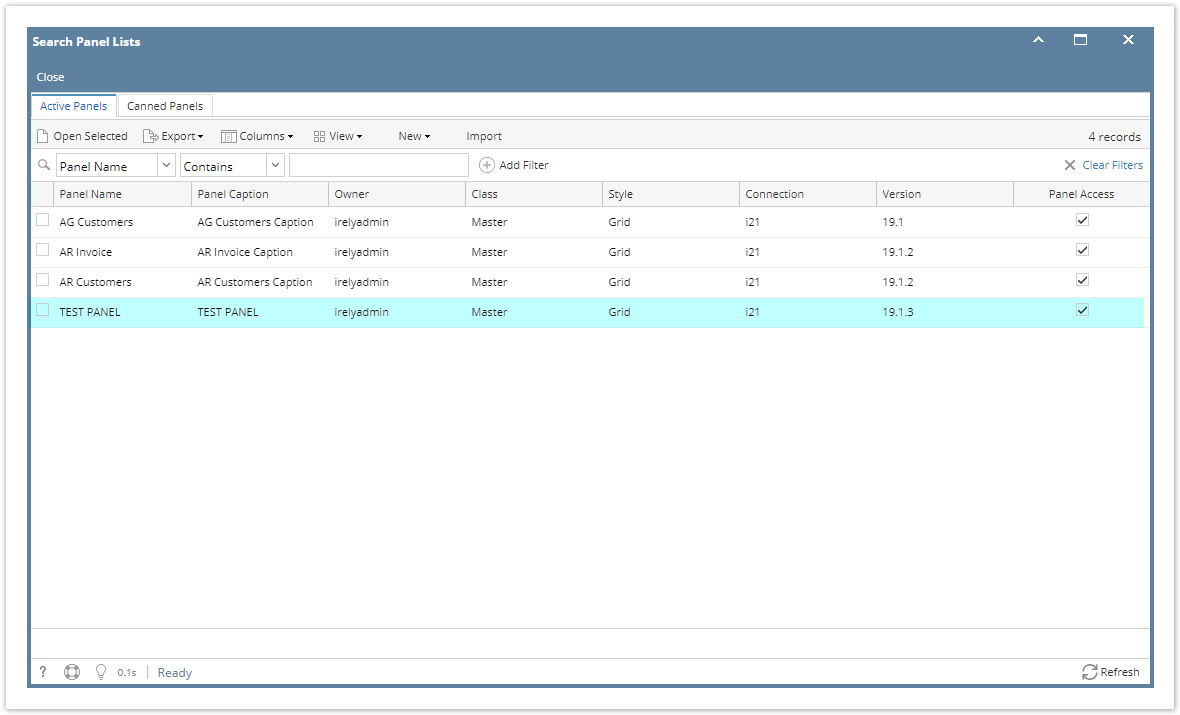
- Open Search Panel List screen.
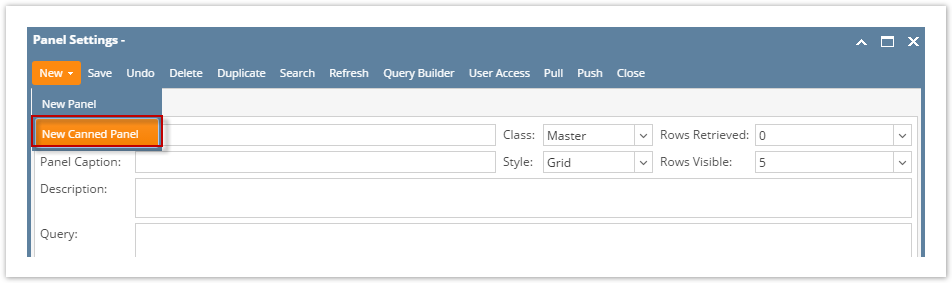
- Click New toolbar button > New Panel.
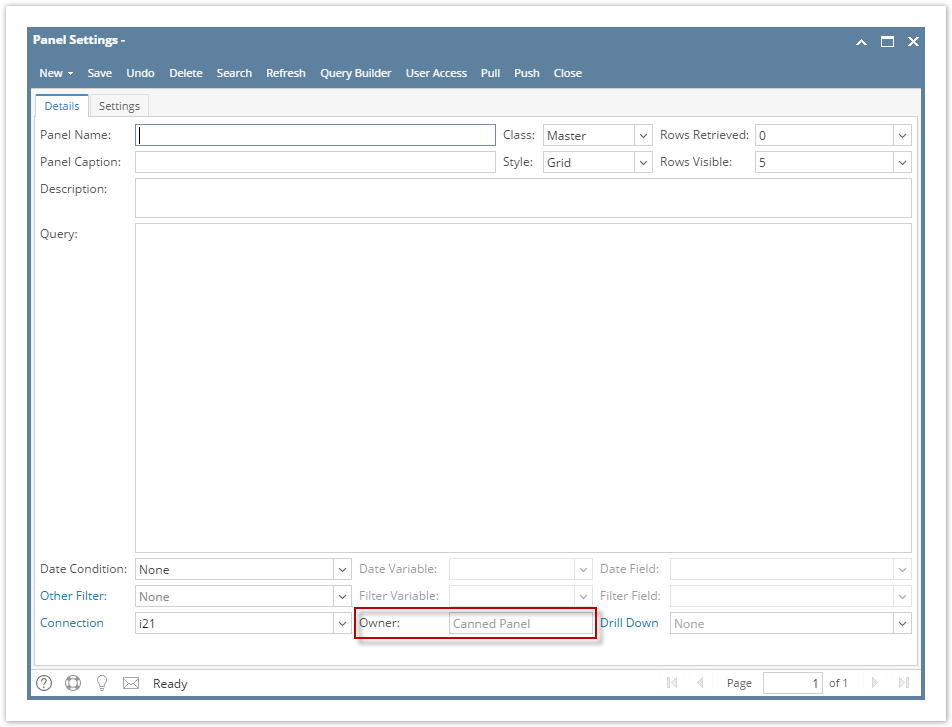
- Enter in the appropriate information in the Panel Settings screen. See below for the description of each field.
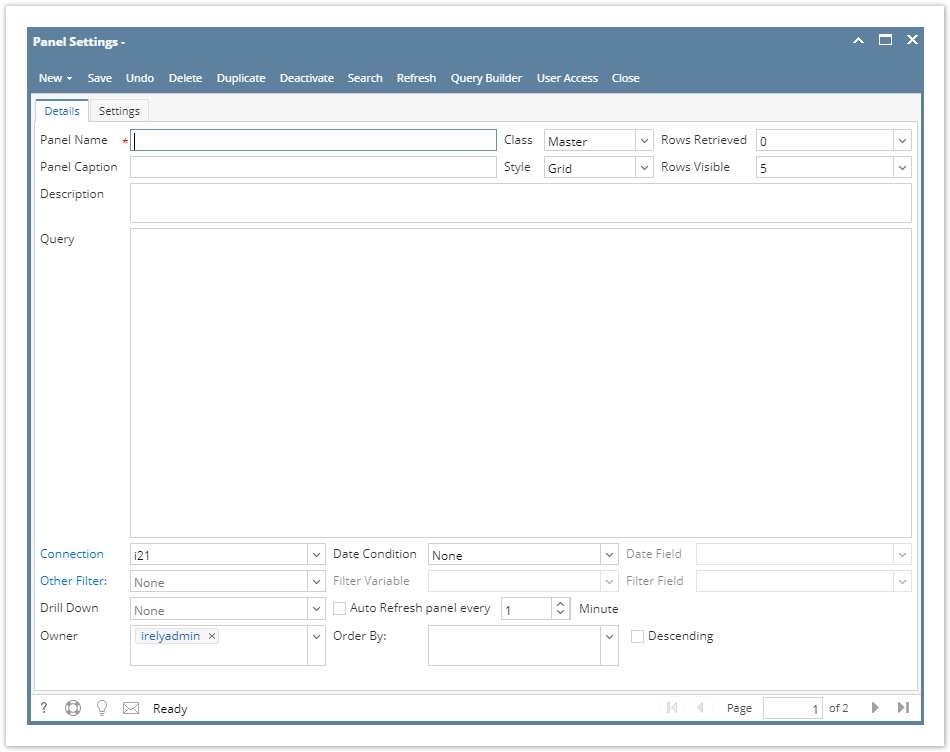
- Panel Name: Enter the name the panel will be called.
- Class: Master will be used most often.
- Rows Retrieved: Select the number of rows you want to return data, select 0 to return all data (recommended).
- Panel Caption: Title of the panel, which will be display on Dashboard.
- Style: Choose which type of panel you want to create; Grid, Pivot Grid or Chart. When you set up different sets of column settings, changing the Style of the Panel will reflect the columns selected for the particular style (Grid or Pivot Grid). It's most likely Style per Column Settings setup.
- Rows Visible: Select the numbers of records you want to display on dashboard.
- Description: Enter any comments or descriptions of the panel.
Query: Enter or build your query here. The TOP keyword is well supported when the data connection is MySQL.
- Date Condition: Select from the combo box the Date condition you want to default to, if using this option.
- Date Field: Enter the field that you want the Date Condition to pull from.
- Other Filter: By default is None. Select the appropriate Filter Name from the combo box list.
- Filter Variable: Enter "@FILTER@" or #FILTER# if used.
- Filter Field: Enter the field that you want the Other Filter to pull from.
- Connection: Select the appropriate Connection Name from the combo box list from where the panel will be accessing the database.
- Owner: Tag field that let the user select and assign multiple owner to a panel.
- Drill Down: Select the panel that you want to be drilled down. This field is disabled though when Panel Style is set to Chart.
- Auto refresh Panel: Set time interval to refresh specific panel.
- Order By: Sort records automatically when panel is displayed.
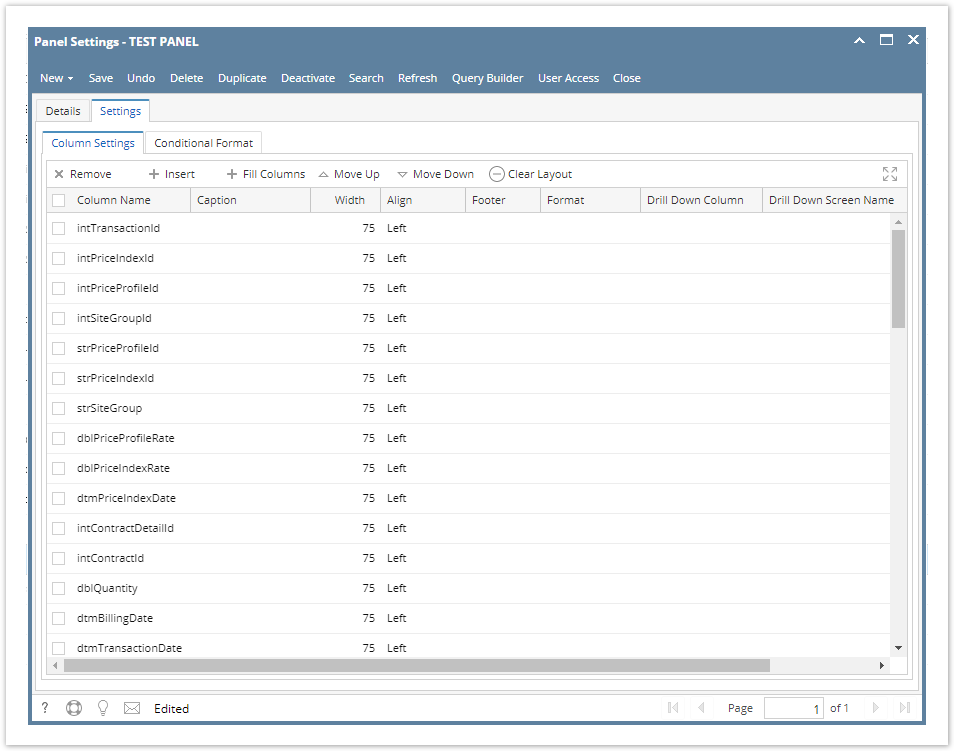
- Column Settings:
- Column Name: Select the Alias or field that you want to display from the entered query
- Caption: Enter the title you will want to call this column.
- Width: How long do you want the field to be.
- Align: Left, Center, or Right
- Footer: Choose from combo box list, you can Sum this field as well as much more.
- Format: Choose from many options on how you want the data to display in the panel
You can use the Fill Columns button to fill in the Column Settings field with the fields specified in the Query. See sample below.

4. Click Save toolbar button then Close. The panel will now be on the Search Panel List and ready to be displayed on the Dashboard.
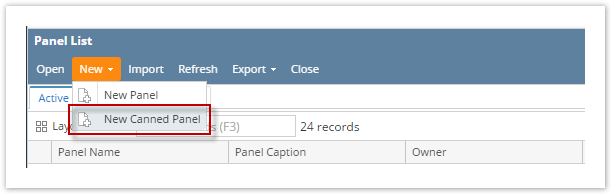
To build a Canned Panel:
a. On Panel Settings, click New toolbar button > New Canned Panel
b. On Search Panel List, click New toolbar button > New Canned Panel
Owner will be automatically set to Canned Panel.
Overview
Content Tools