Here are the steps on how to add vendor locations:
- Create new vendor (see How To Add Vendors) or open an existing vendor record from Purchasing > Vendor.
- Navigate to Locations tab and click Insert action button to open blank Entity Location screen.
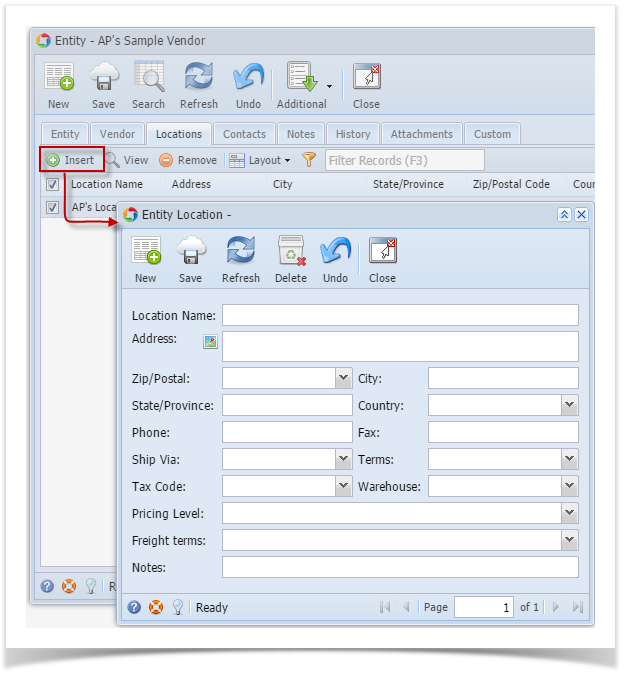
- Enter location details and click Save.
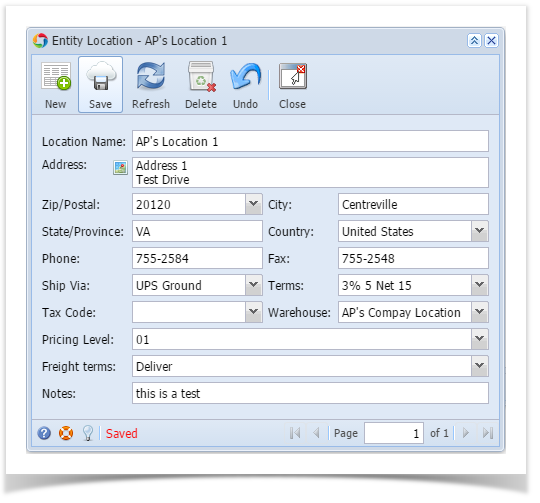
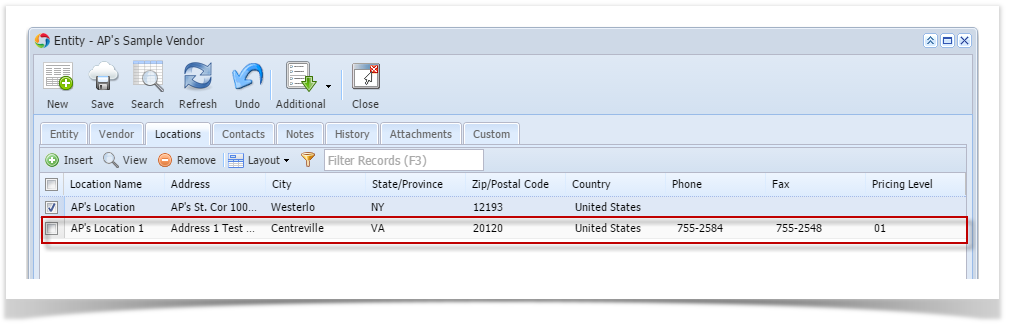
- Click Close button. Newly added vendor location will be displayed on the grid.
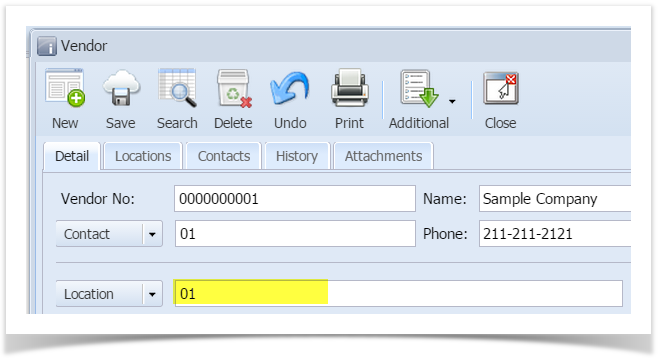
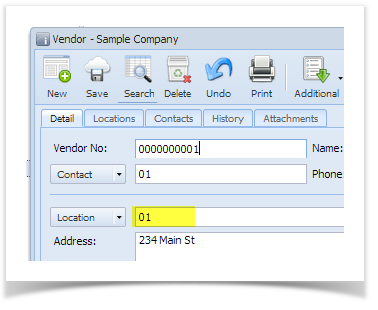
During the vendor creation (see How To Add Vendors) a vendor location is created when you enter value on Location field.
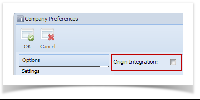
If you wish to add more vendor locations, here are the steps. But take note that this is only possible if Origin Integration from the Company Preference is turned OFF.
- Navigate to Locations tab of Vendor screen.
- Click Insert action button to open blank Vendor Location screen.

- Enter location details and save.
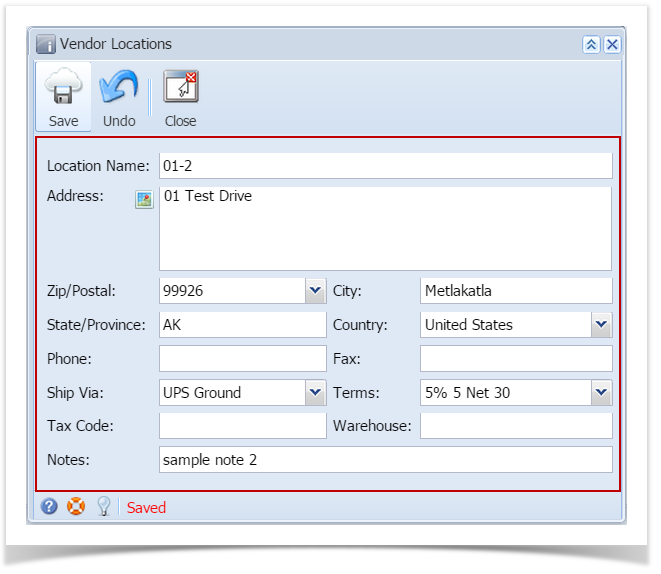
- Click Close button. Newly added vendor location will be displayed on the grid.
.
During the vendor creation (see How To Add Vendors) a vendor location is created when you enter value on Location field.
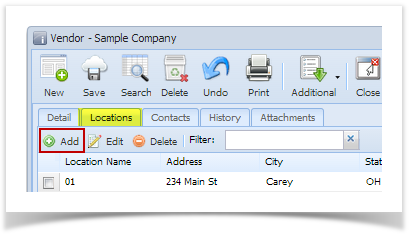
If you wish to add more vendor locations, here are the steps. But take note that this is only possible if Origin Integration from the Company Preference is turned OFF.
- Navigate to Locations tab of Vendor screen.
- Click Add action button to open blank Vendor Location screen.
- Enter location details.
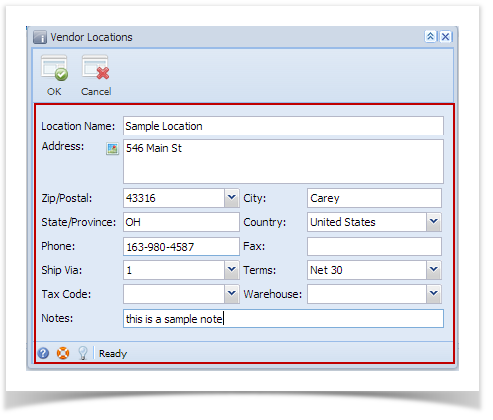
- Click OK to close Vendor Location screen.
- Newly added vendor location will be displayed on the grid.

Overview
Content Tools