Use Sales Order | Invoice button
- Open the Sales Order record that you want to process to Invoice. If the sales order is not yet created, refer to How to Create Standard Sales Order.
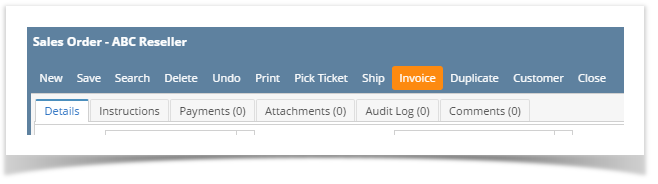
- Click the Invoice button. This is button if disabled if one of the line items is lot tracked.

This button will process to Invoice the following items.- All non-inventory, software, other charge, and service item type, and miscellaneous items.
- All not shipped inventory items that are non-lot track.
- All shipped inventory items (with lot or non-lot) wherein its Inventory Shipment transaction is already posted.
You are not allowed to process lot tracked items directly to Invoice. Reason for this is Sales Order and Invoice does not give you the option to assign lot numbers to items. In order to assign lot numbers to these items, you will have to process it to Inventory Shipment.
Use Add Shipment screen
Refer to How Add Shipment Works
Use Sales Order | Invoice button
- Open the Sales Order record that you want to process to Invoice. If the sales order is not yet created, refer to How to Create Standard Sales Order.
- Click the Invoice button.
This button will process to Invoice the following items.- All non-inventory, software, other charge, and service item type, and miscellaneous items.
- All not shipped inventory items that are non-lot.
- All shipped inventory items (with lot or non-lot) wherein its Inventory Shipment transaction is already posted.
You are not allowed to process lotted items directly to Invoice. Reason for this is Invoice does not give you the option to assign lot numbers to lotted items. In order to assign lot numbers to these items, you will have to process it to Inventory Shipment.
Use Add Shipment screen
Refer to How Add Shipment Works
Use Sales Order | Invoice button
- Open the Sales Order record that you want to process to Invoice. If the sales order is not yet created, refer to How to Create Standard Sales Order.
- Click the Invoice button.

This button will process to Invoice the following items.- All non-inventory, software, other charge, and service item type, and miscellaneous items.
- All not shipped inventory items that are non-lot.
- All shipped inventory items (with lot or non-lot) wherein its Inventory Shipment transaction is already posted.
You are not allowed to process lotted items directly to Invoice. Reason for this is Invoice does not give you the option to assign lot numbers to lotted items. In order to assign lot numbers to these items, you will have to process it to Inventory Shipment.
Use Add Shipment screen
Refer to How Add Shipment Works
- Create a Sales Order with grid details consisting of item type equal to Service, Other Charge, Software, and Non-Inventory. Refer to How to Create Standard Sales Order.

Save and close the Sales Order.
- Go to Sales folder | Invoices menu. Click the New button on the grid search.
On Invoice screen, select the same Customer used on the Sales Order. At this point, the Add Inventory Shipment screen will be displayed.
The Add Inventory Shipment screen will display the following customer transactions:
- Inventory Shipment that has already been shipped/posted.
- Open Sales Order for item types Software, Other Charge, Service, and Non-Inventory.
- Open Sales Order for miscellaneous items.
Select the transactions that will be invoiced, then click the Add button.

The selected items will be added to the Invoice.

- Enter the Shipped quantity for each item, if needed.
- Save or Post the transaction.
- Create a Sales Order with grid details consisting of item type equal to Service, Other Charge, Software, and Non-Inventory. Refer to How to Create Standard Sales Order.

Save and close the Sales Order.
- Go to Sales folder | Invoices menu. Click the New button on the grid search.
On Invoice screen, select the same Customer used on the Sales Order. At this point, the Add Inventory Shipment screen will be displayed.

The Add Inventory Shipment screen will display the following customer transactions:
- Inventory Shipment that has already been shipped.
- Open Sales Order for item types Software, Other Charge, Service, and Non-Inventory.
- Open Sales Order for miscellaneous items.
Select the transactions that will be invoiced, then click the Add button.

The selected items will be added to the Invoice.

- Enter the Shipped quantity for each item.
- Save or Post the transaction.
- Open the Sales Order record to be processed to Invoice. If you have not created the order yet, refer to How to Create Standard Sales Order.
Click the Process toolbar button. If the Sales Order record is not yet saved, it will be saved automatically.

The Sales Order will be closed and the new Invoice will be displayed. Below is a sample Sales Order and its Invoice after the process.
Overview
Content Tools