Here are the steps on how to add sequence:
- Create a Contract Header
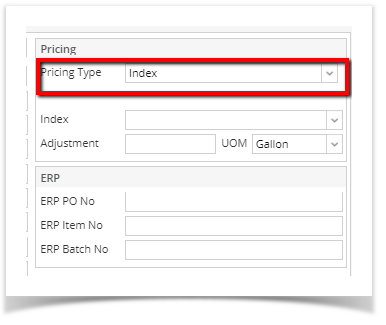
- At the time of creating contract header select Pricing Type as Index
- To add sequence, click on the Insert button.
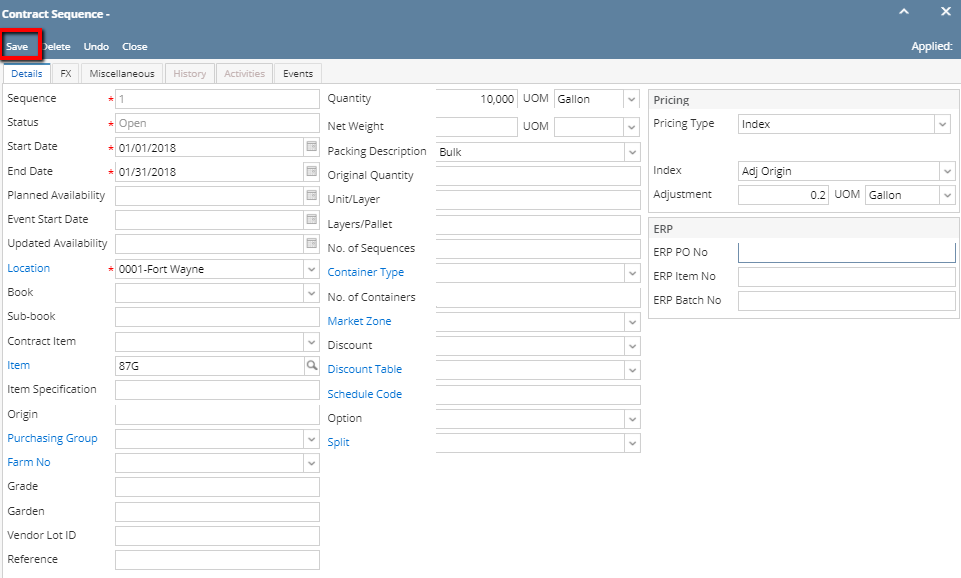
- In the Contract Sequence screen enter the value in Details tab.
- Sequence No is system generated. It is non-editable.
- Status defaults to Open. Filed is not editable at the time of creation.
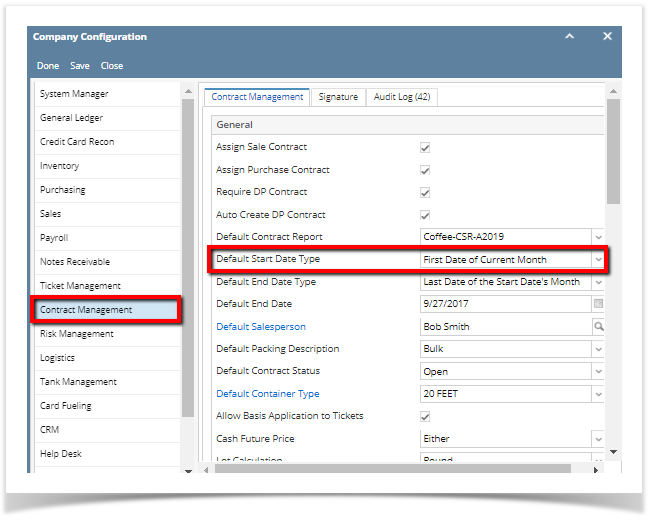
- Start Date defaults to Contract date. To change the date, click on the combo box button to open the mini calendar and select date. Default Start date can be configured at System manager → company configuration→ Contract Management
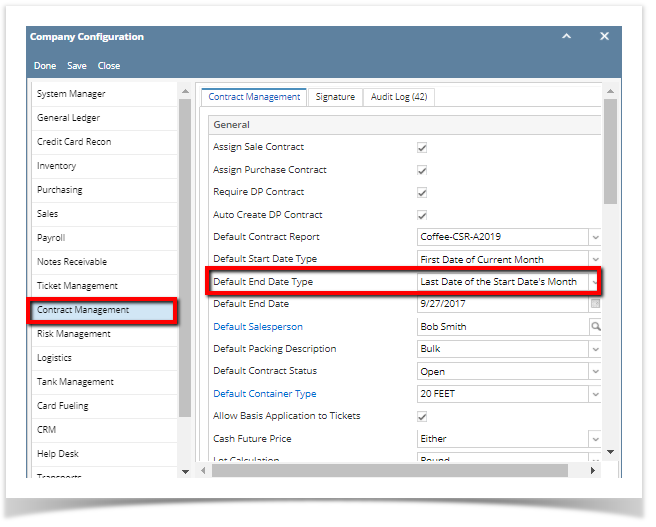
- To enter End Date, click on the combo box button to open the mini calendar and select date. Default End date can be configured at System manager → company configuration→ Contract Management
- To enter Event Start Date, click on the combo box button to open the mini calendar and select date.
- To enter Planned Availability, click on the combo box button to open the mini calendar and select date.
- To enter Updated Availability, click on the combo box button to open the mini calendar and select date.
- The Location field is automatically filled in with the default Location set in the User configuration. To change it for a different location, select Location from combo box.
- The Item field is automatically filled in with the item configured for the location. To change item, select item from combo box.
- Origin
- Enter Vendor Lot ID.
- Select the Container Type from the drop list.
- Enter the No of containers.
- The Quantity field is automatically filled in with the default contract header qty. Enter different quantity to change the data.
- The UOM field is automatically filled in with the stock UOM set in the Inventory > Item option. To change it for a specific contract, select different UOM from combo box.
- Net Weight should be field automatically as configured in Item maintenance screen.
- Enter Original Quantity
- The Price Type field is automatically filled in with the default contract header pricing type i,e Index.
For Index Pricing Type, Index and Adjustment amounts are mandatory.
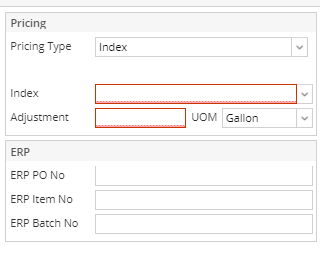
Select Index from the drop down.
Enter Adjustment amount.
Select UOM from the UOM drop down.
- In the Contract Sequence screen enter the value in FX tab.
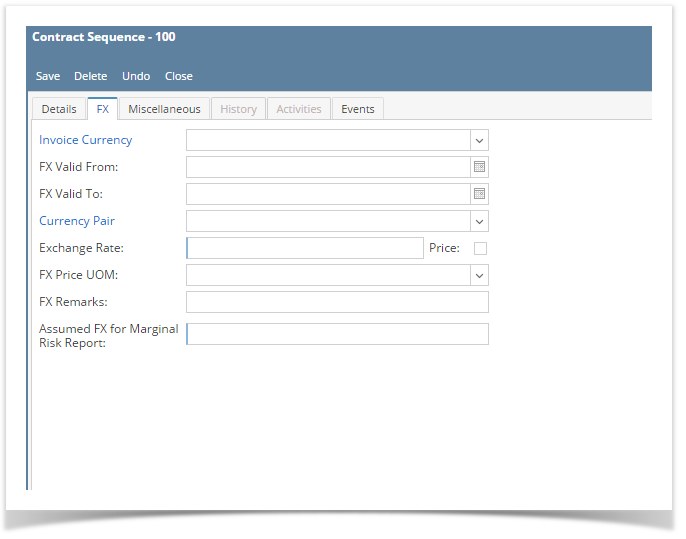
- Select the Invoice currency from the drop list.
- To enter FX Valid From, click on the combo box button to open the mini calendar and select date.
- To enter FX Valid To, click on the combo box button to open the mini calendar and select date.
- Select Currency Pair from the drop down.
- Provide valid Exchange Rate.
- Provide Multi line FX Remarks.
- Enter value for Assumed FX for Marginal Risk Report.
- In the Contract Sequence screen enter the value in Miscellaneous tab.
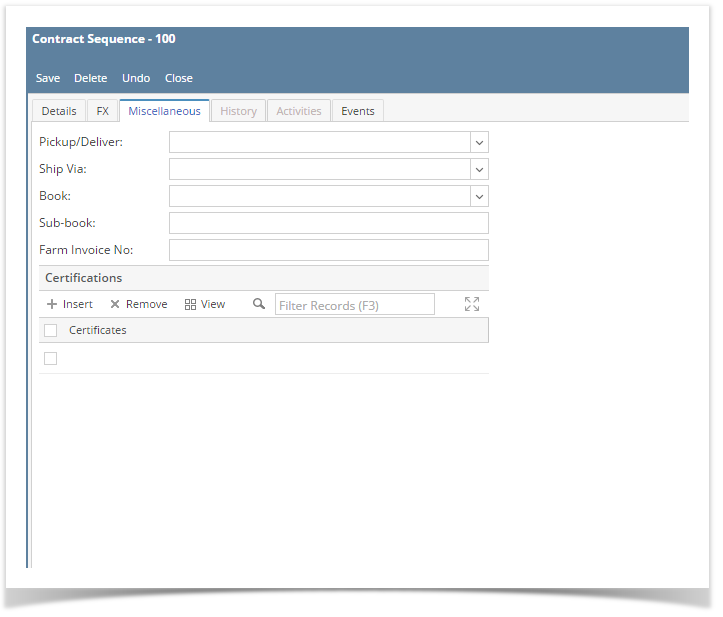
- Select Pickup/ Delivery from the drop list.
- Select Transportation mode from the drop list.
- Select Book from the drop list.
- Select the Sub Book from the drop list. List will display sub books which are associated with the Book.
- Enter Farm Invoice No.
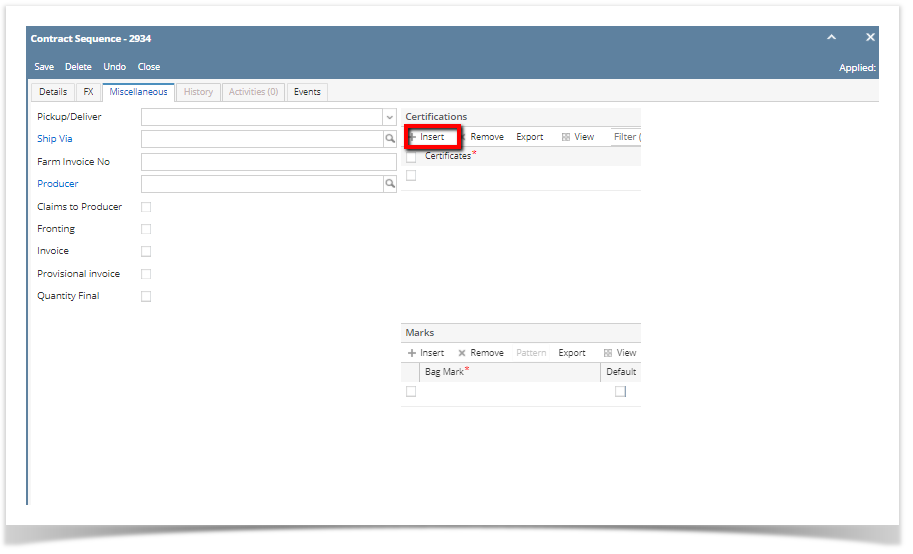
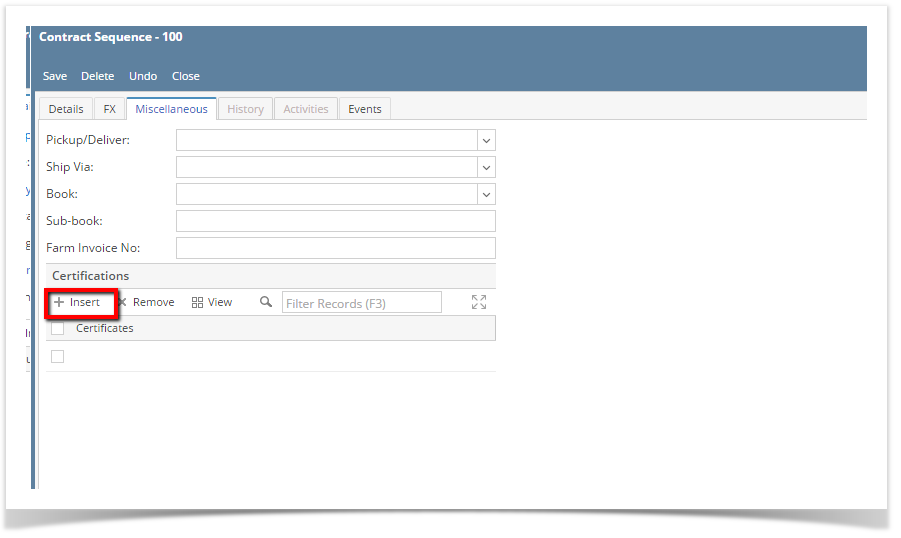
Click on Insert button to insert certification to the sequence.
- Click on Save button.
- Sequence is added with Contract.
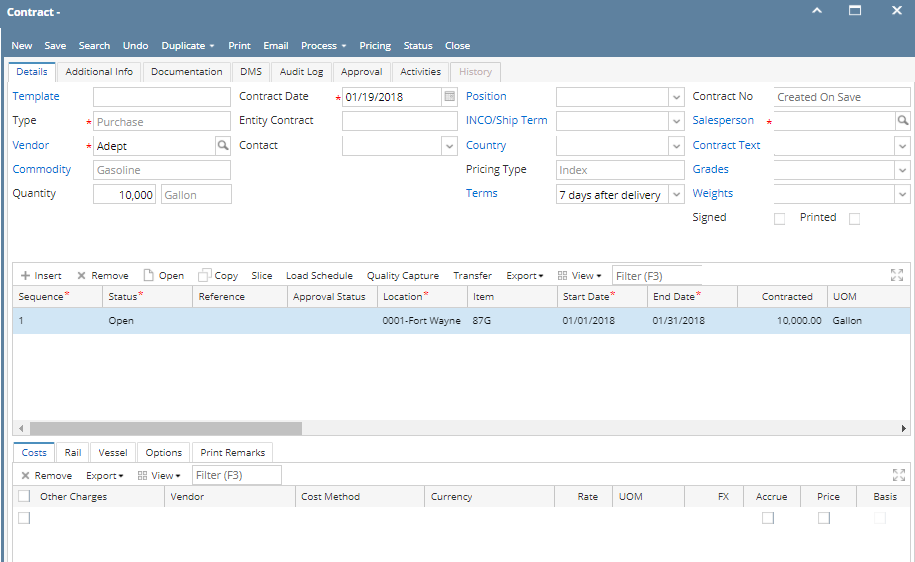
- To add another sequence click on the Insert button.
- Click on Contract Header Save button to save the entire contract.
Overview
Content Tools