The Column Calculation screen is where you configure formula for your Column Calculation column. These columns are available when you configure your formula.
- Budget
- GL Amounts
- Debit
- Credit
- Debit Units
- Credit Units
- Units
- GL Trend
- another Column Calculation
The following will guide you on how to configure a formula column using the Column Calculation screen.
- Select the columns to be part of the formula and click Apply button.
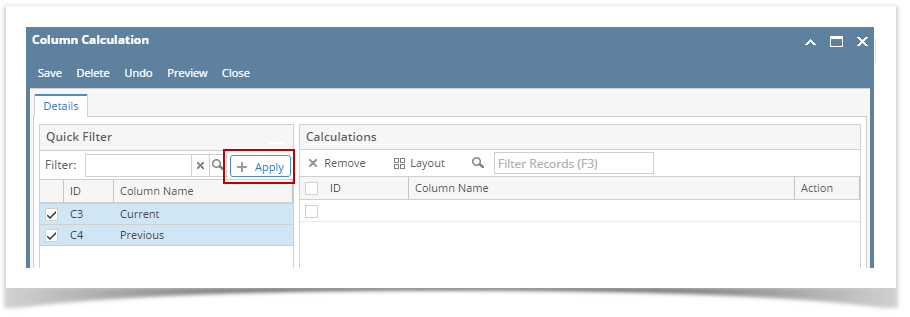
- The columns selected will then be added to the Calculations grid. Use the Action field to assign an operator.

- Click the Preview button to see a preview of the formula you just created. Click Close to bring you back to Column Calculation screen.

The Reverse sign for expenses checkbox at the bottom of the screen is used when part of your formula is Budget column type. See How Reverse sign for expenses checkbox works when enabled to show you how this option is being used. - Once you are good with the formula, click Save and Close.
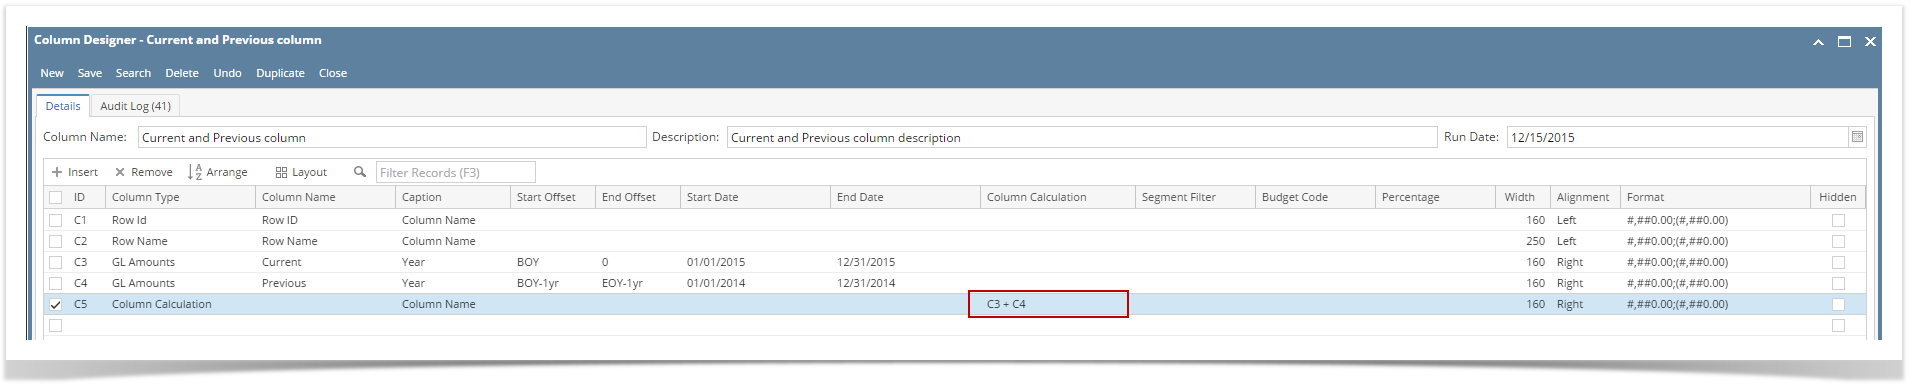
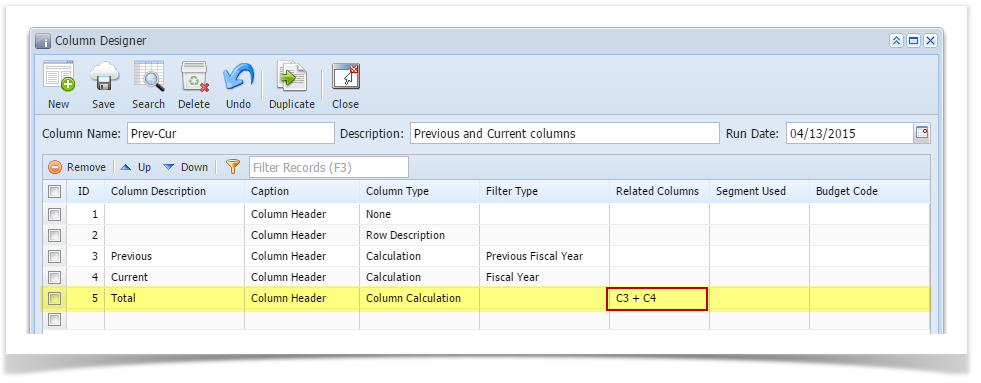
You will be back to the Column Designer screen. The formula configured will then be shown in the Column Calculation field.
You will not be able to close the Column Calculation screen until a formula is configured. If you unintentionally selected the Column Calculation column type, then you may click the Delete toolbar button so you can close the Column Calculation screen without having to configure a formula. This will also delete the column calculation column added.
- A new row will be available in the grid section.
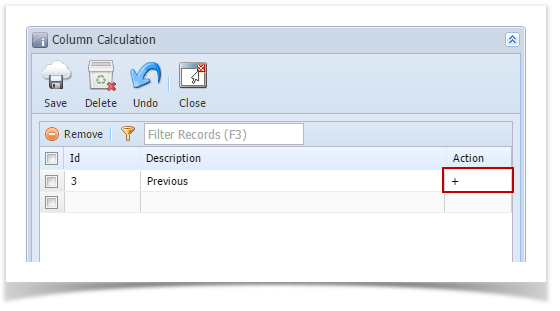
- In the Id field, select the column. The Description field will then show the description of the selected column.

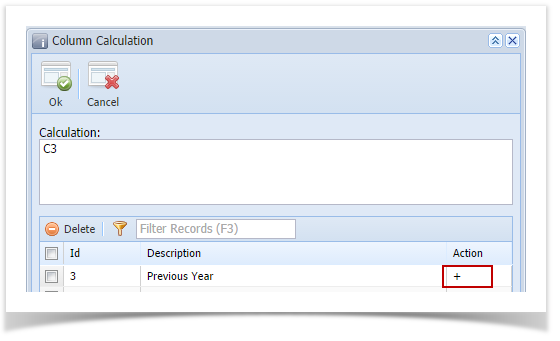
- In the Action field, select an operator.
Repeat steps 1 to 3 as necessary to build your formula.
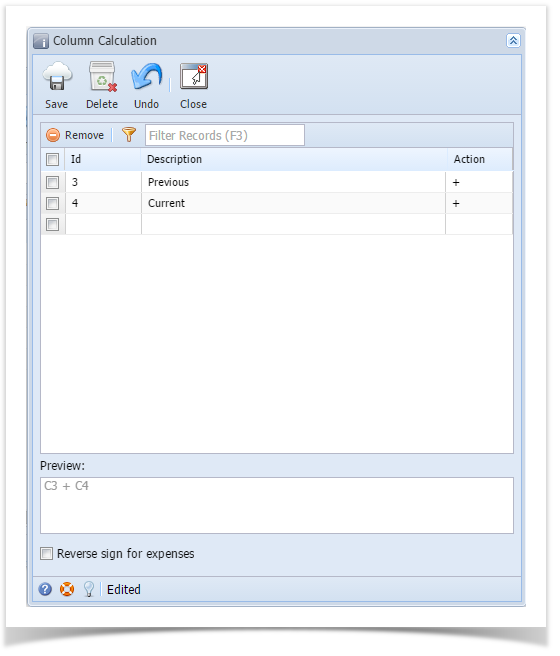
Notice as you work on adding rows and assigning an operator, the Preview field at the bottom of the screen will show you the configured formula. In that way, you have a better view while you are building the formula.
You will not be able to close the Column Calculation screen until a formula is configured. If you unintentionally selected the Column Calculation column type, then you may click the Delete toolbar button so you can close the Column Calculation screen without having to configure a formula. This will also delete the column calculation column added.
- Click the Save toolbar button to save and Close toolbar button to close the screen and apply the formula to the selected column.
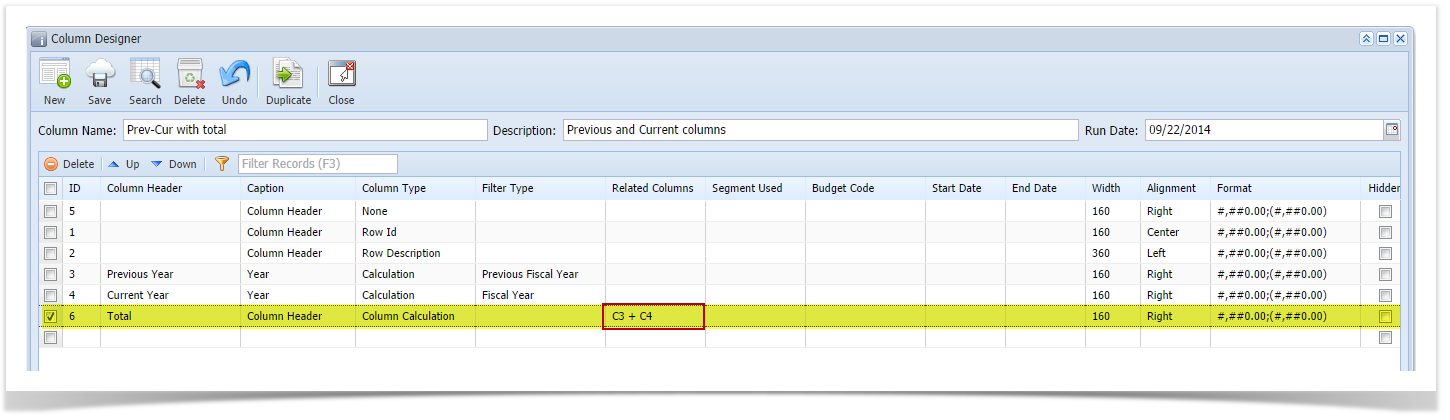
- You will be back in the Column Designer screen. In the Related Columns field, notice that the formula built is shown.
The Column Calculation screen is where you configure formula for your Column Calculation column.
Only Budget, Calculation, Debit, Credit, Debit Units, Credit Units and another Column Calculation columns will be available in building a formula column.
The following will guide you on how to configure a formula column.
- A new row will be available in the grid section.
- In the ID field, select the column. The Description field will then show the description of the selected row.
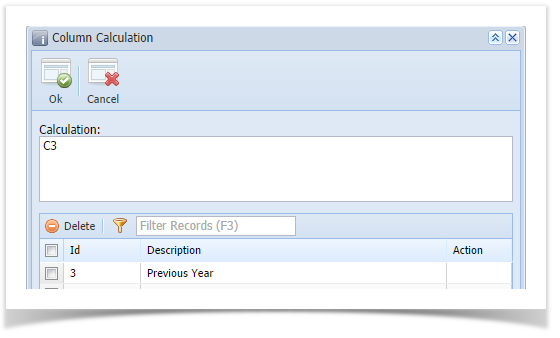
- In the Action field, select an operator.
Repeat steps 1 to 3 as necessary to build your formula.
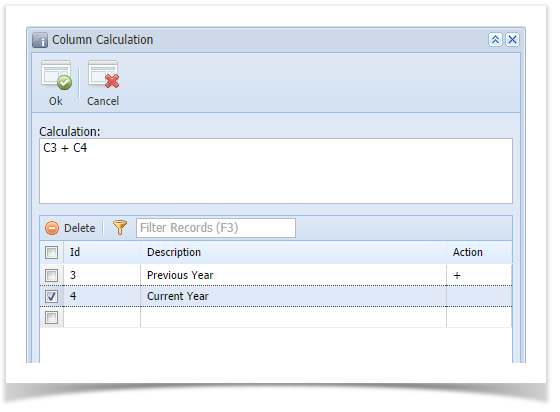
Notice as you work on adding rows and assigning an operator, the Calculation field at the top of the screen will show you the configured formula. In that way, you have a better view while you are building the formula.
- Click the Ok toolbar button to close the screen and apply the formula to the selected column.
- You will be back in the Column Designer screen. In the Related Columns field, notice that the formula built is shown.
Overview
Content Tools