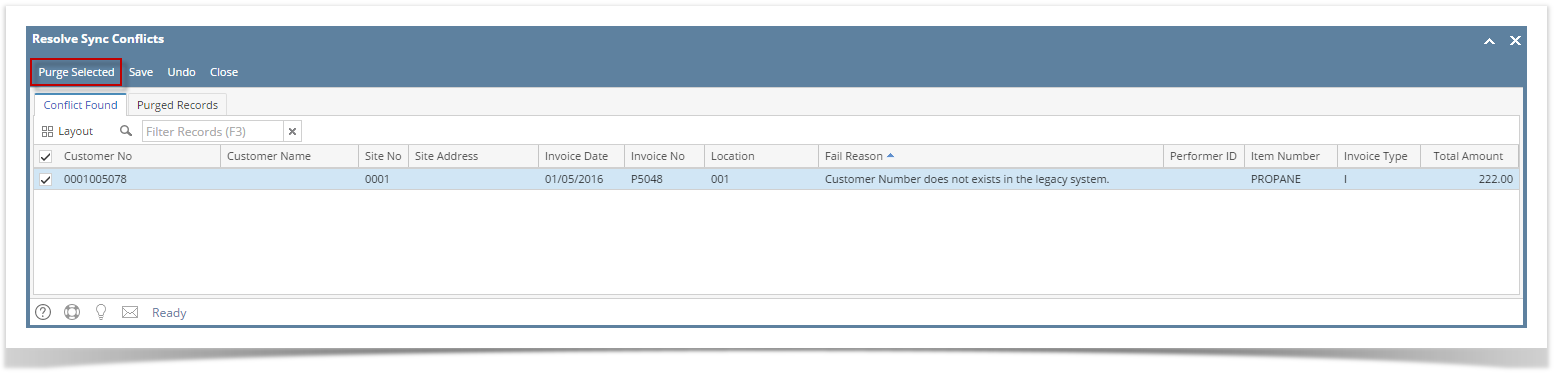
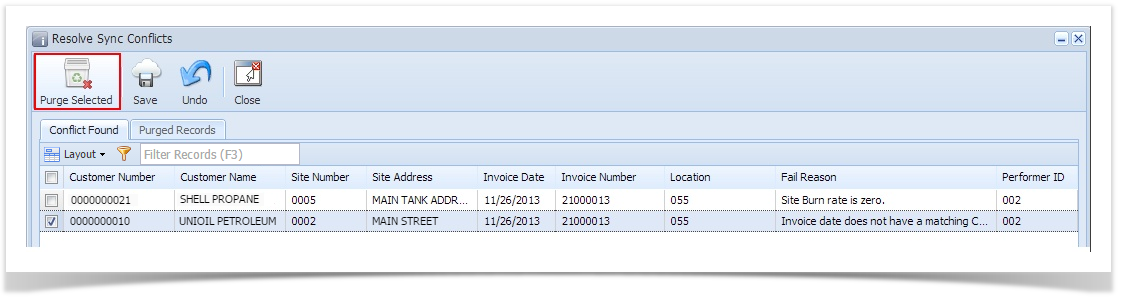
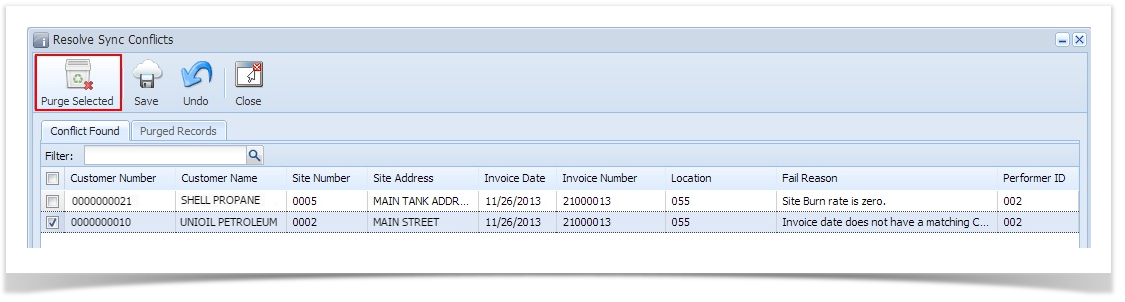
The Purge Selected toolbar button is used to delete a record/s from the tblTMCOBOLWRITE and tblTMSyncFailed tables and insert it into the tblTMSyncPurged table.
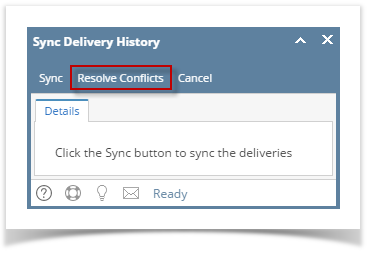
- On the Menu panel, click the Synchronize Delivery History menu. This will open the Sync Delivery History screen.

- Click the Resolve Sync Conflict toolbar button in the Sync Delivery History screen. This will open the the Resolve Sync Conflicts screen.
- Select the record in the Conflict Found grid, and then click the Purge Selected toolbar button. A confirmation message will be displayed.
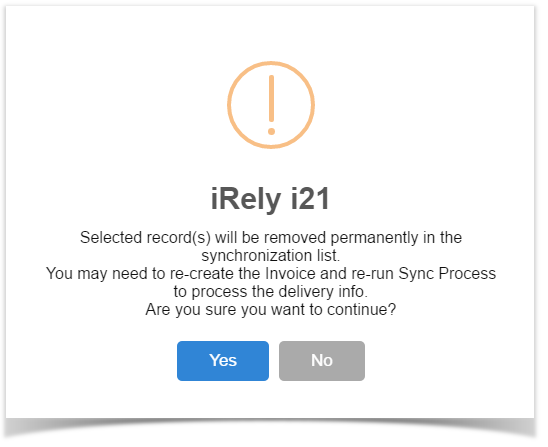
Select Yes on the confirmation message.
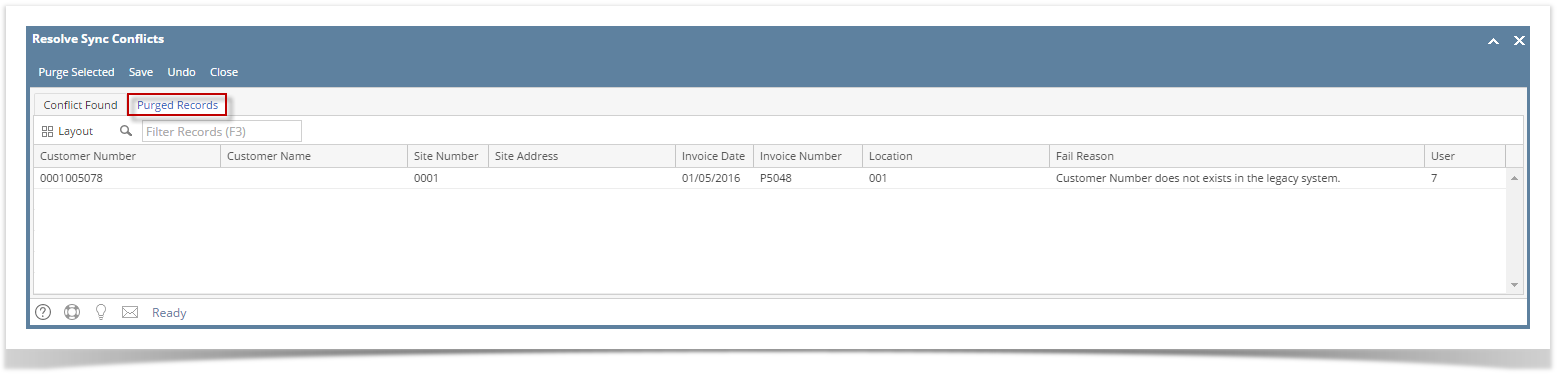
To view the purged records, navigate to Purged Records tab on the Resolve Sync Conflicts screen.
The Purge Selected toolbar button is used to delete a record/s from the tblTMCOBOLWRITE and tblTMSyncFailed tables and insert it into the tblTMSyncPurged table.
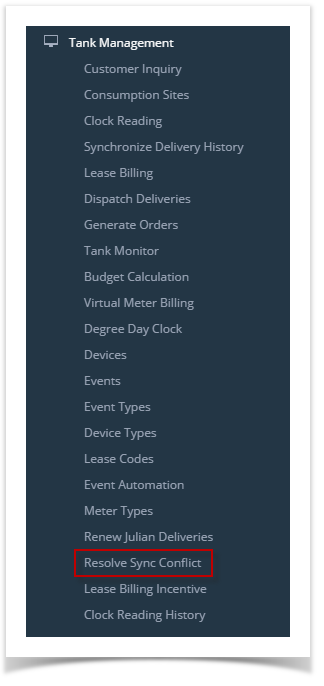
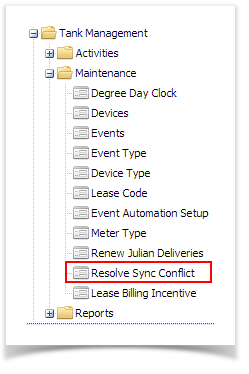
- On the Menu panel, click the Resolve Sync Conflict menu. This will open the Resolve Sync Conflicts screen.
- Select the record in the Conflict Found grid, and then click the Purge Selected toolbar button. A confirmation message will be displayed.
Select Yes on the confirmation message.
To view the purged records, navigate to Purged Records tab on the Resolve Sync Conflicts screen.
The Purge Selected toolbar button is used to delete a record/s from the tblTMCOBOLWRITE and tblTMSyncFailed tables and insert it into the tblTMSyncPurged table.
- On the Menu panel, click the Resolve Sync Conflict menu. This will open the Resolve Sync Conflicts screen.
- Select the record in the Conflict Found grid, and then click the Purge Selected toolbar button. A confirmation message will be displayed.
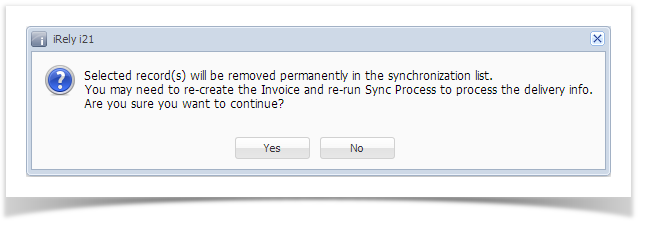
Select Yes on the confirmation message.
To view the purged records, navigate to Purged Records tab on the Resolve Sync Conflicts screen.
The Purge Selected toolbar button is used to delete a record/s from the tblTMCOBOLWRITE and tblTMSyncFailed tables and insert it into the tblTMSyncPurged table.
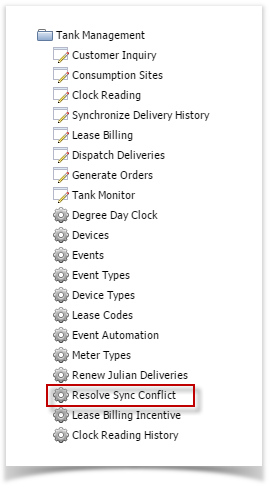
- On the Menu panel, double click the Resolve Sync Conflict menu. This will open the Resolve Sync Conflicts screen.
- Select the record in the Conflict Found grid, and then click the Purge Selected toolbar button. A confirmation message will be displayed.
Select Yes on the confirmation message.
To view the purged records, navigate to Purged Records tab on the Resolve Sync Conflicts screen.
Overview
Content Tools