The Projects screen is used to create a new project for each document you plan to use with IDP. A project is where you train the model so that IDP understands how to process your custom documents.
Creating a new Project
- Open the Projects screen and click the "New" button in the toolbar.
- Click the "Use Custom to train a model with labels and get key value pairs".
- Then click "New Project"
Enter the following fields and click Save Connection when you are finished.
Field Description Display Name Enter a name for the Project. Security Token Leave the default of "Generate New Security Token". Secure Connection Select the Connection name you created in Step 2. Folder Path Enter a unique Folder name for the project. This can be the same name as the Display Name. For recognizer service URI Enter your Endpoint URI here. API Key Enter your API Key here. API version Leave the default value of "v2.1 (default)" Description Optional description for the project. Then you should see the 5 documents you added to the Form Training Documents screen and can begin tagging them.
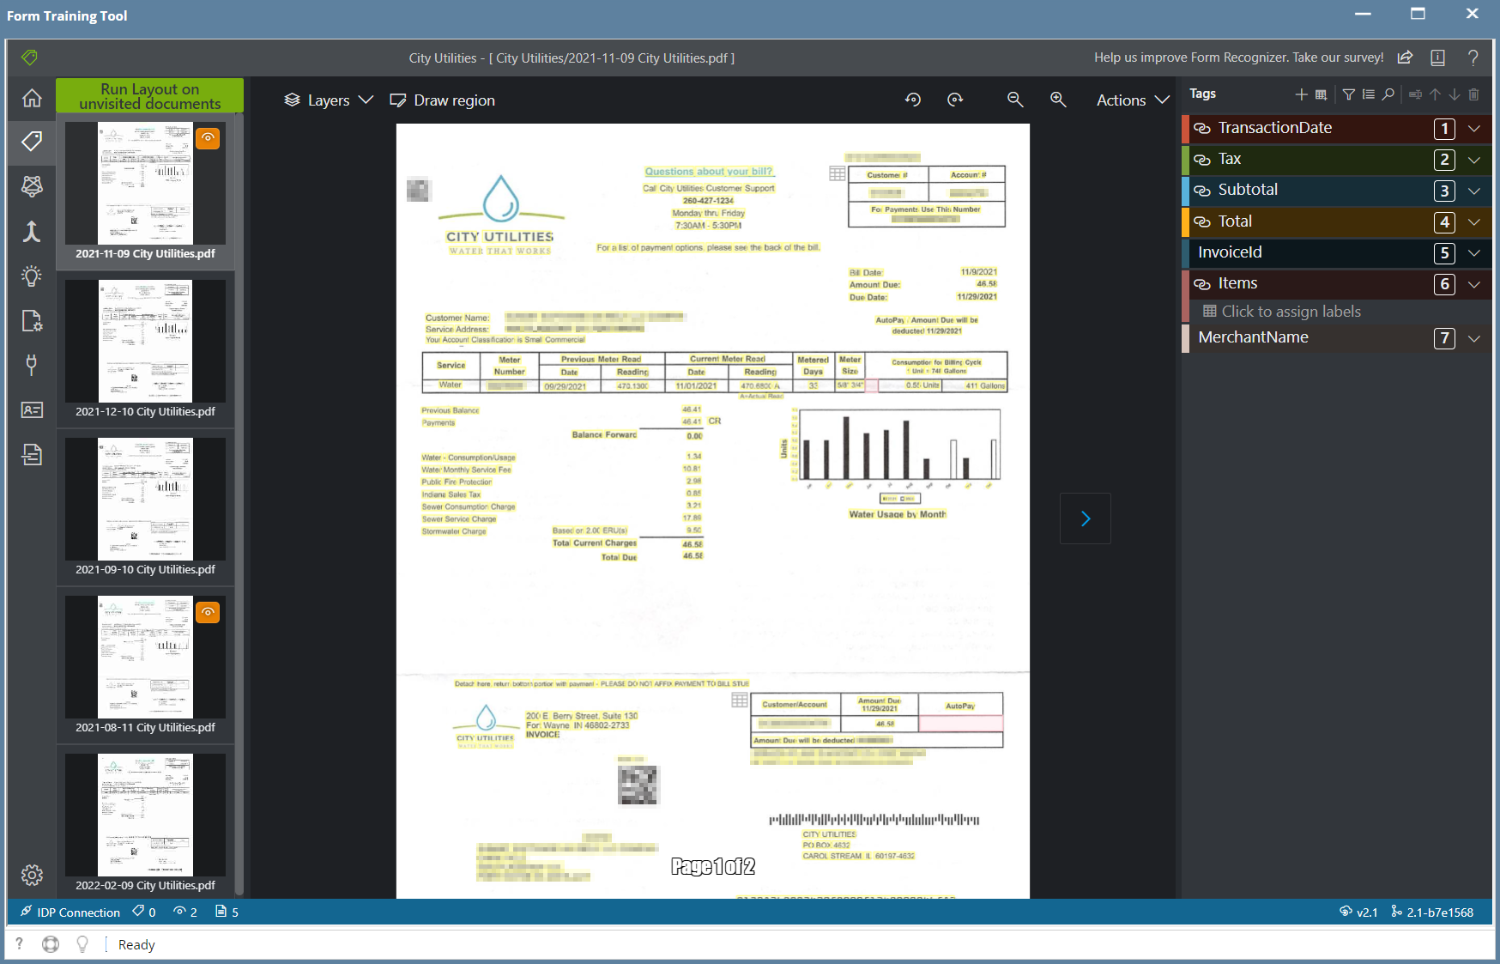
- Click on the first document in the left side of the page where you will see the page thumbnail.
- Then begin to tag the data that is required or of importance for you to capture when processing the document.
Overview
Content Tools