Page History
...
- Log in as an Admin user
- On user’s menu panel, go to System Manager folder then click User Roles
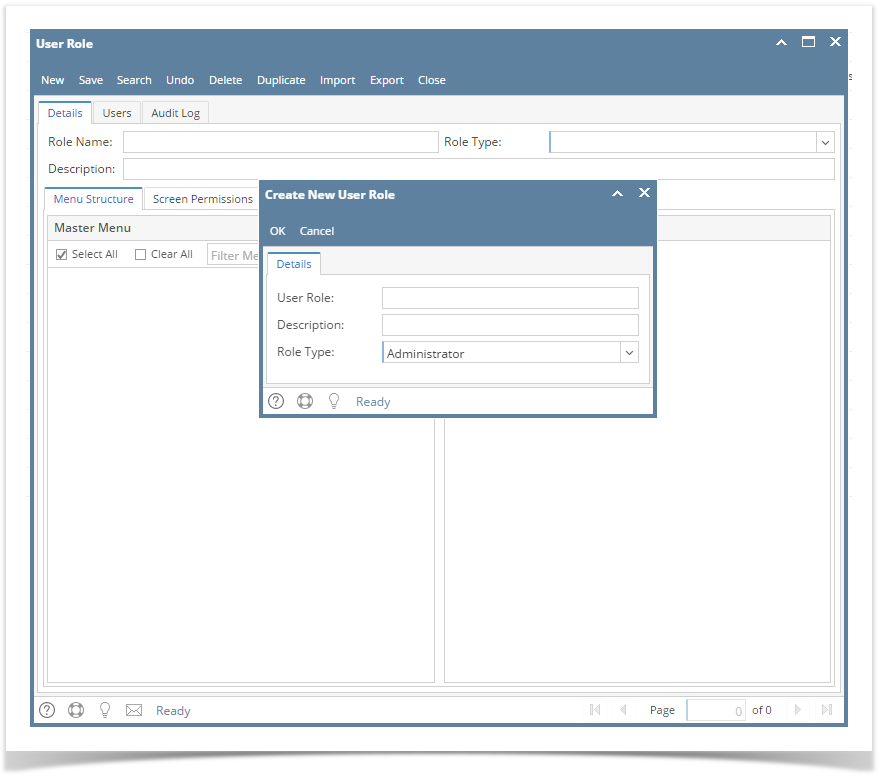
- Click the New action button to open a new record.
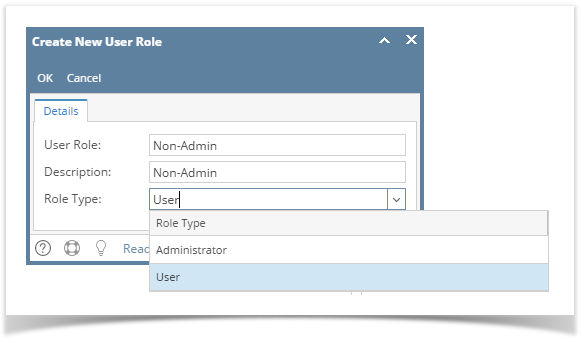
- To create a Non-admin role, enter User Role and Description and select User on the Role Type drop down
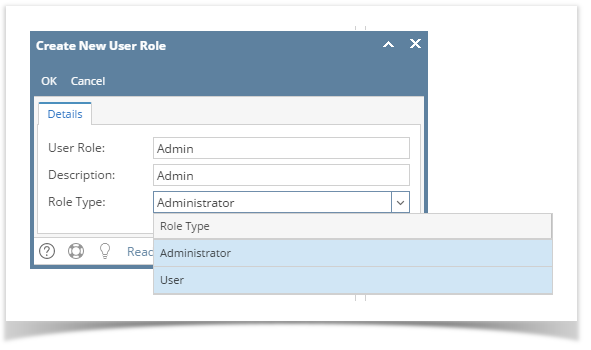
- To create an Admin role, enter User Role and Description and select Administrator on the Role Type drop down
- To create a Non-admin role, enter User Role and Description and select User on the Role Type drop down
- Click OK on Create New User Role screen. Click OK on the next message box to dismiss
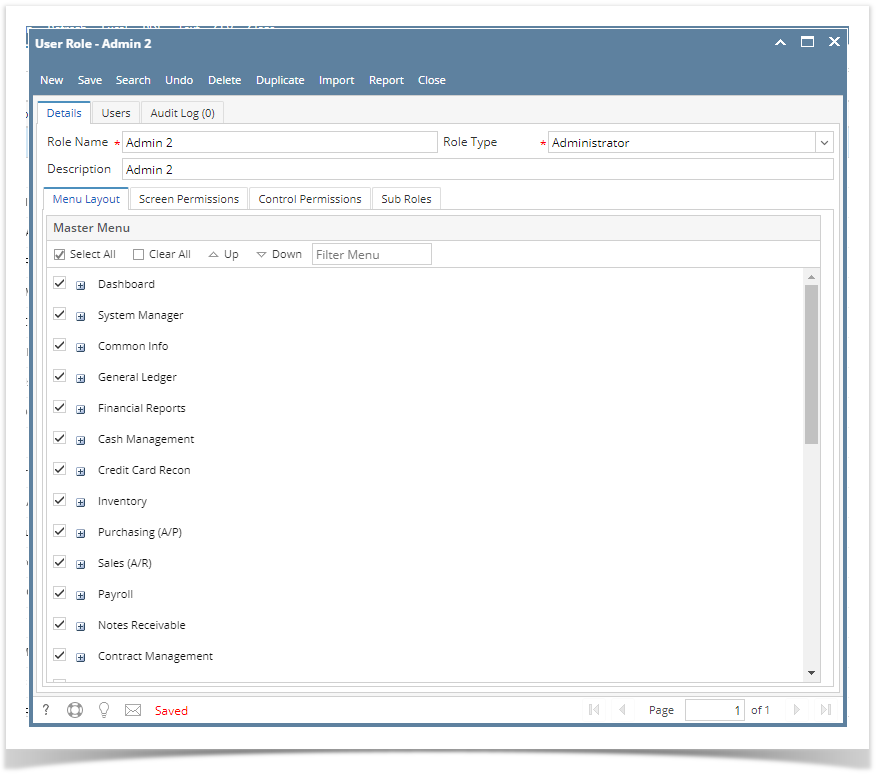
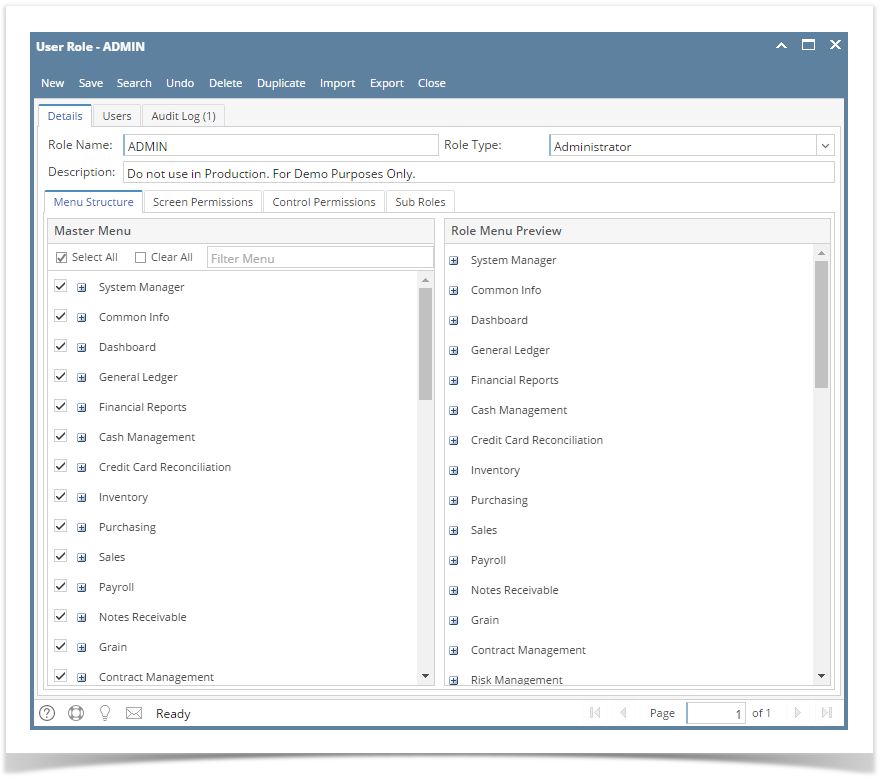
- For Admin User Role type: All menus on the Menu Structure will automatically have a check mark and System Manager folder is displayed:
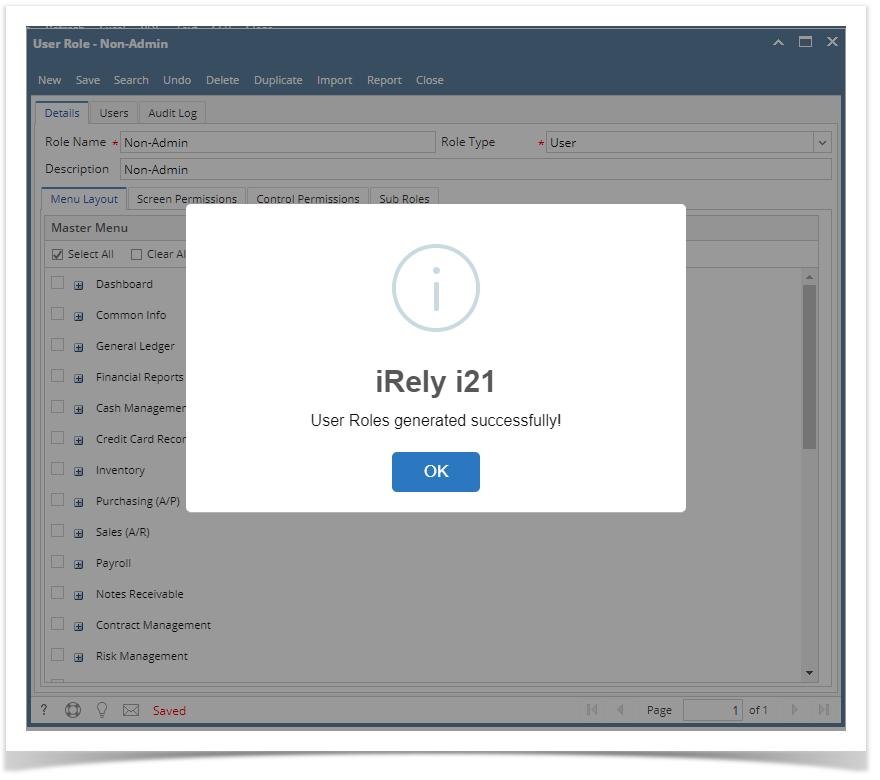
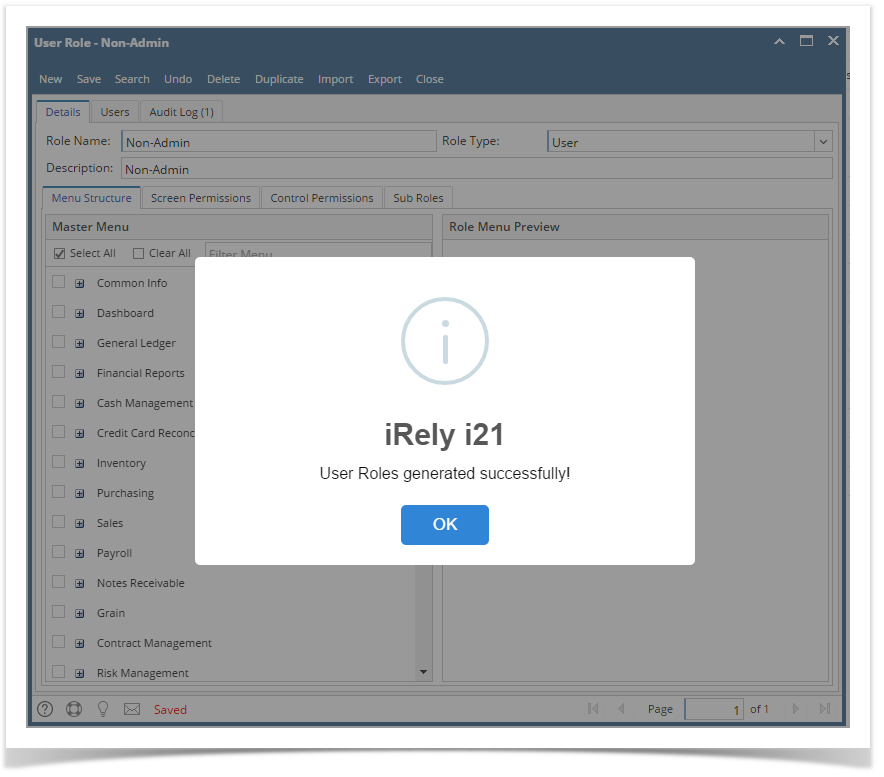
- For Non-Admin User Role type: User should manually select the menus that needs to be applied. When you select/deselect the root folder, all its sub-menus will also be selected/deselected. Note that whatever menu you select on this screen will be accessible to the users with this role.
NOTE: Role Name and Description can accept up to 100 characters each. - Click Save button to save the new User Role. This message will prompt.
| Expand | ||
|---|---|---|
| ||
Here are the steps on How to Add different User Role types:
|
| Expand | ||
|---|---|---|
| ||
Here are the steps on How to Add different User Role types:
|

...
Overview
Content Tools