Page History
...
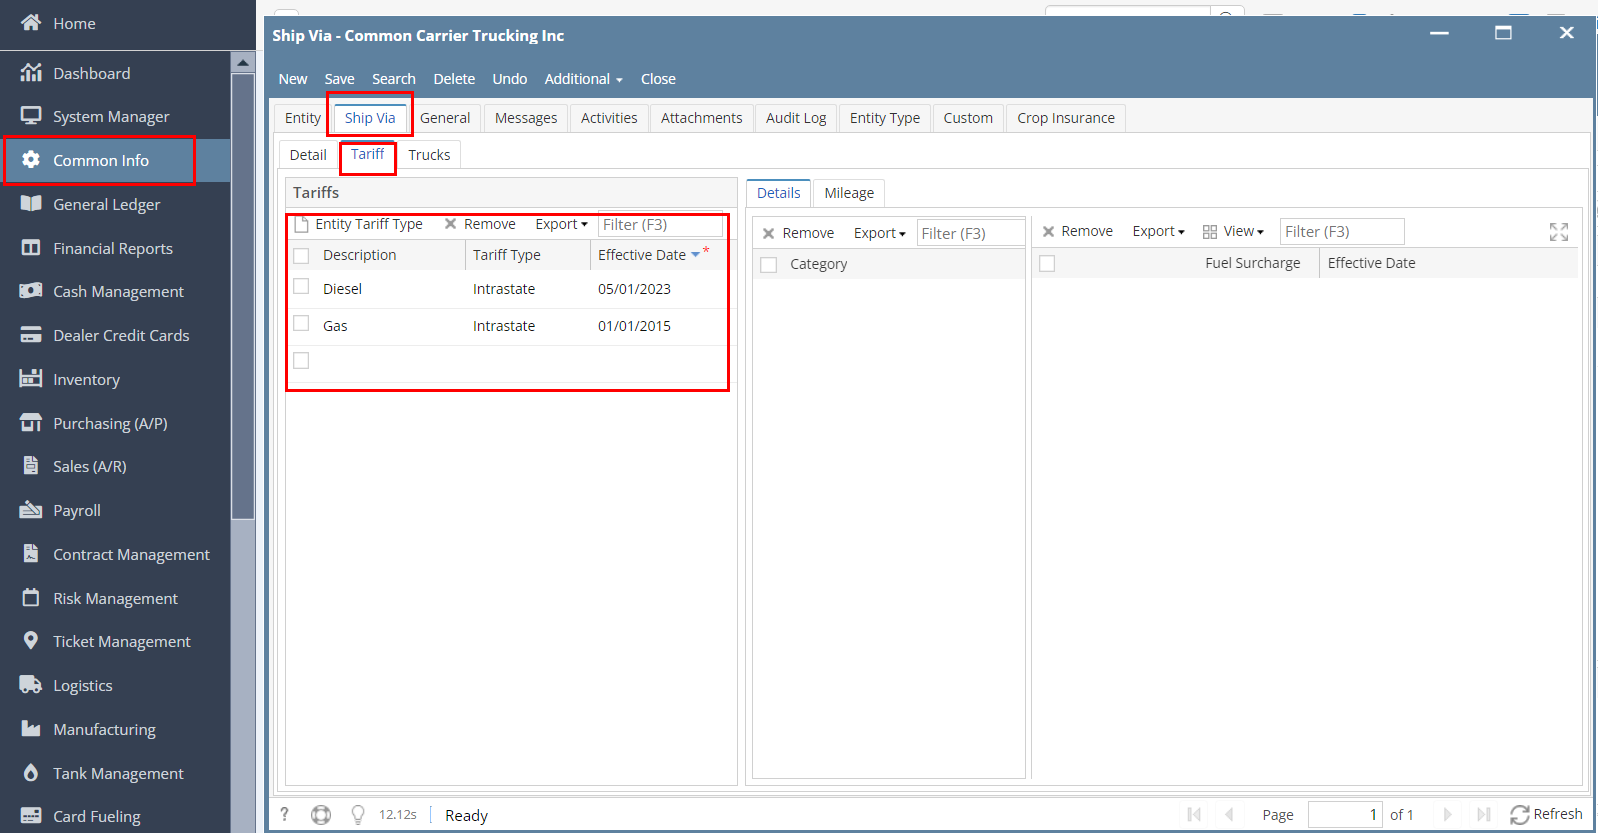
- Create a Ship Via from Common Info module > Ship Via and fill up the required fields.
- On the Ship via tab > Tariff tab create an Entity Tariff by clicking the Magnifying glass icon.
- Use the created Tariff type and enter the effective date.
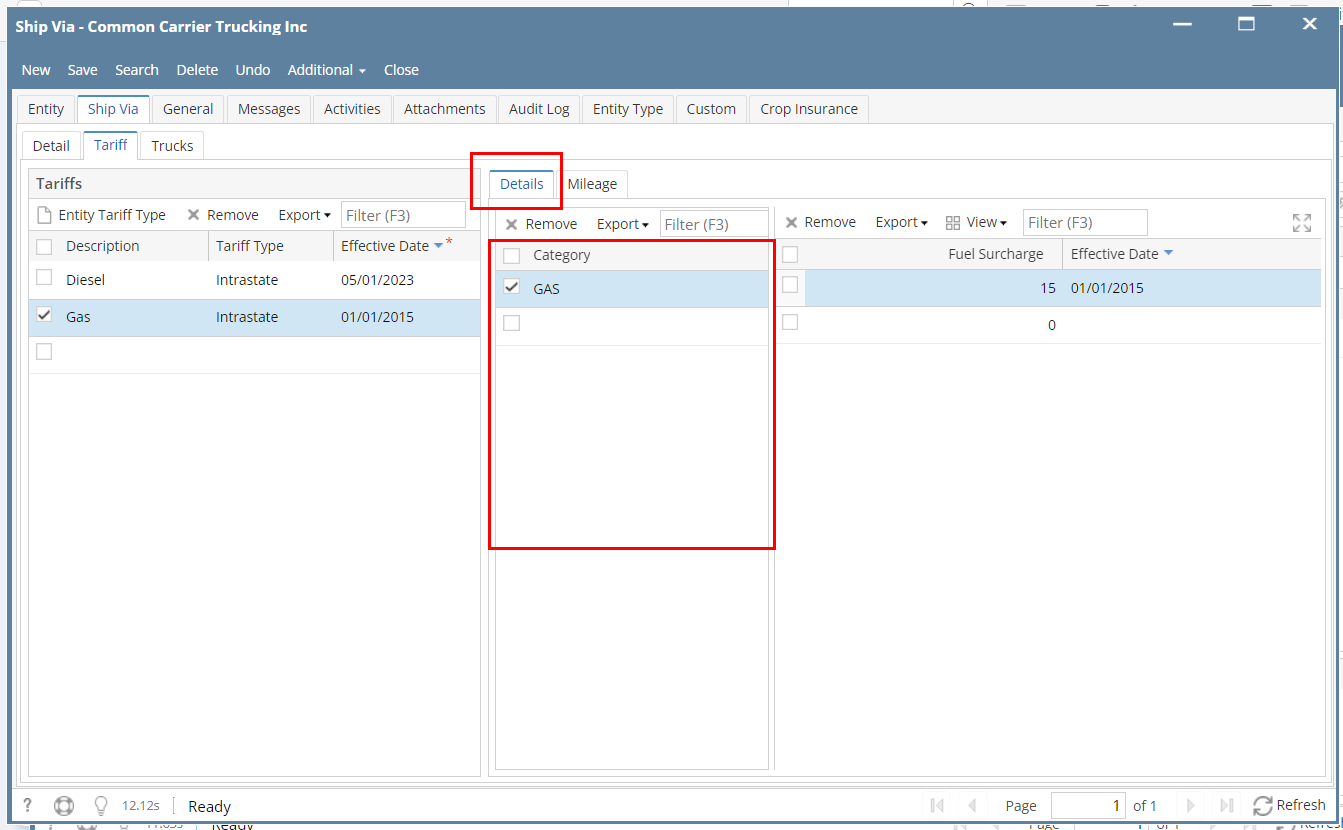
- On the details Tab select the category, enter the Fuel Surcharge and effective date.
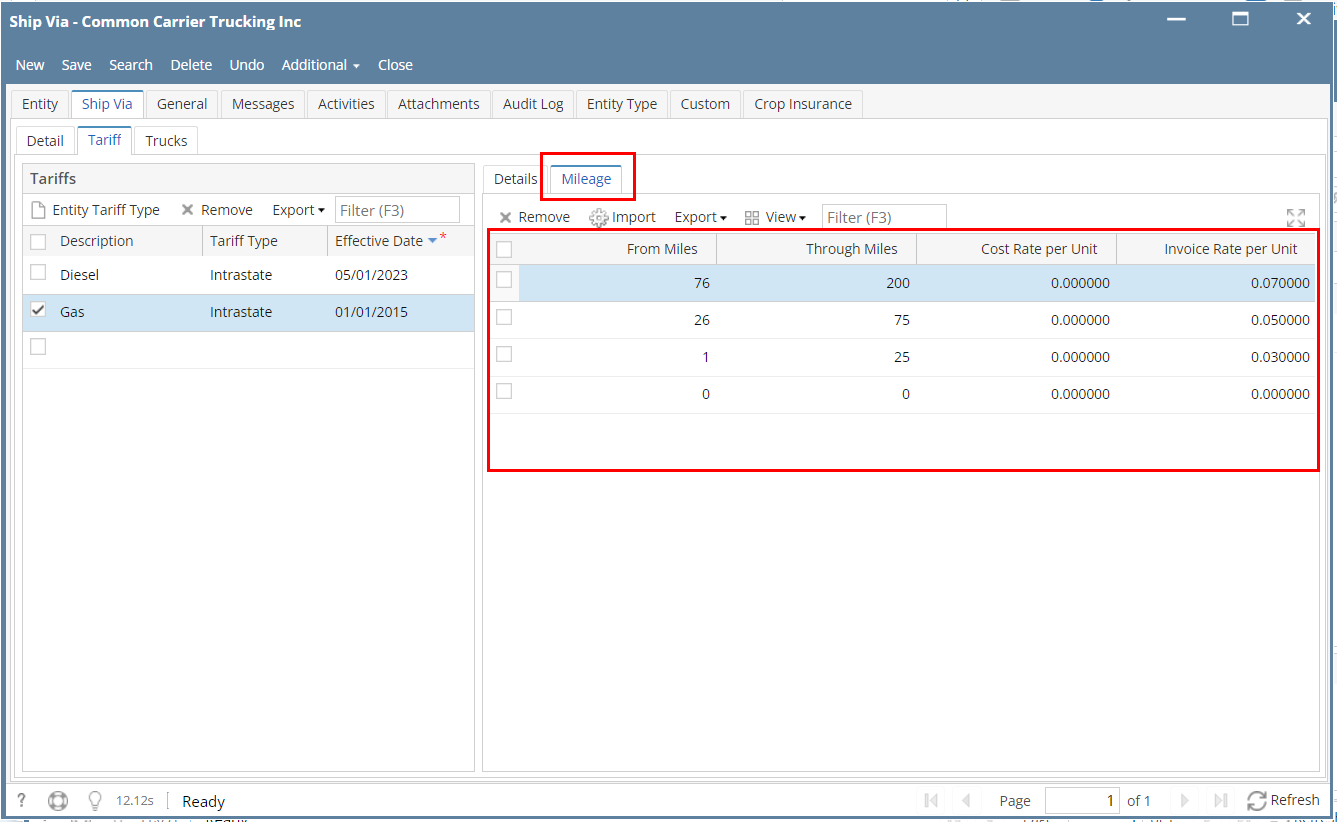
- On the mileage tab Enter the "From Miles" and "Through Miles" and enter a value on Invoice Rate per Unit for Sales Invoice and Cost Rate per Unit for Inventory receipt.
- On the Ship via tab > Tariff tab create an Entity Tariff by clicking the Magnifying glass icon.
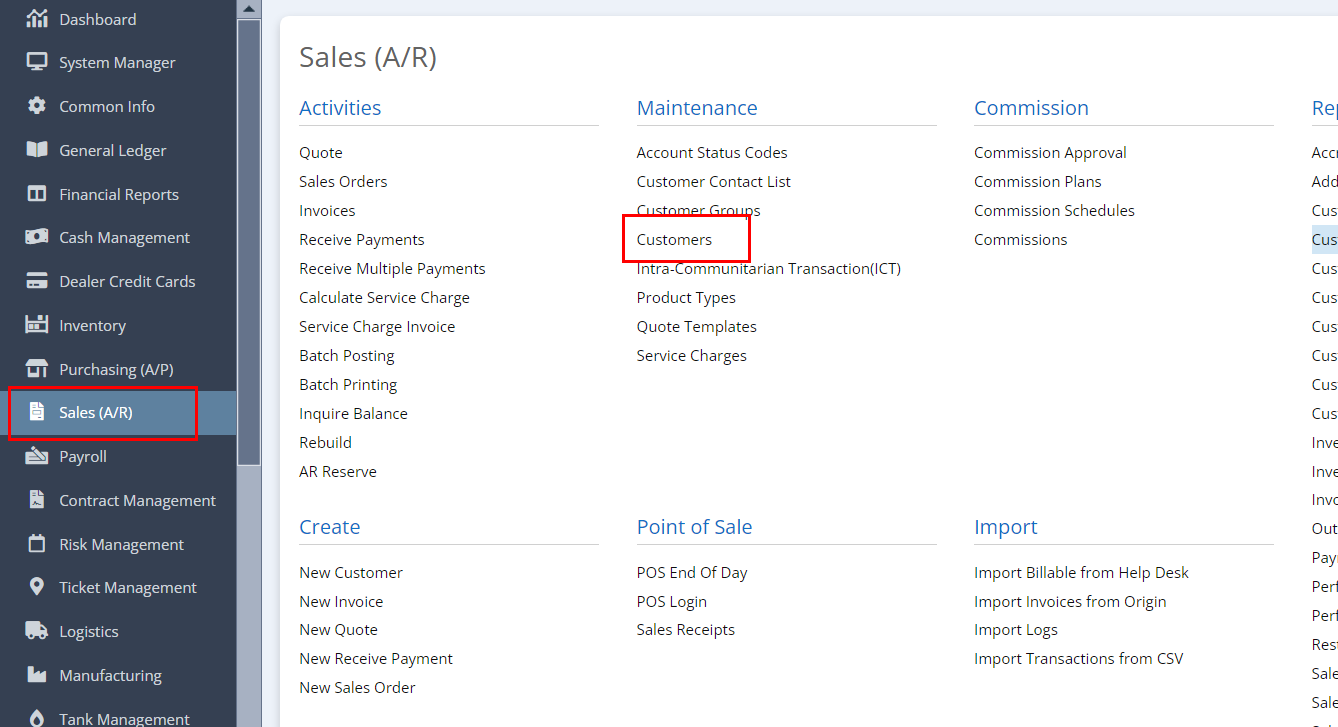
2. From the Sales module > Customers then select a customer that you want to have a setup.
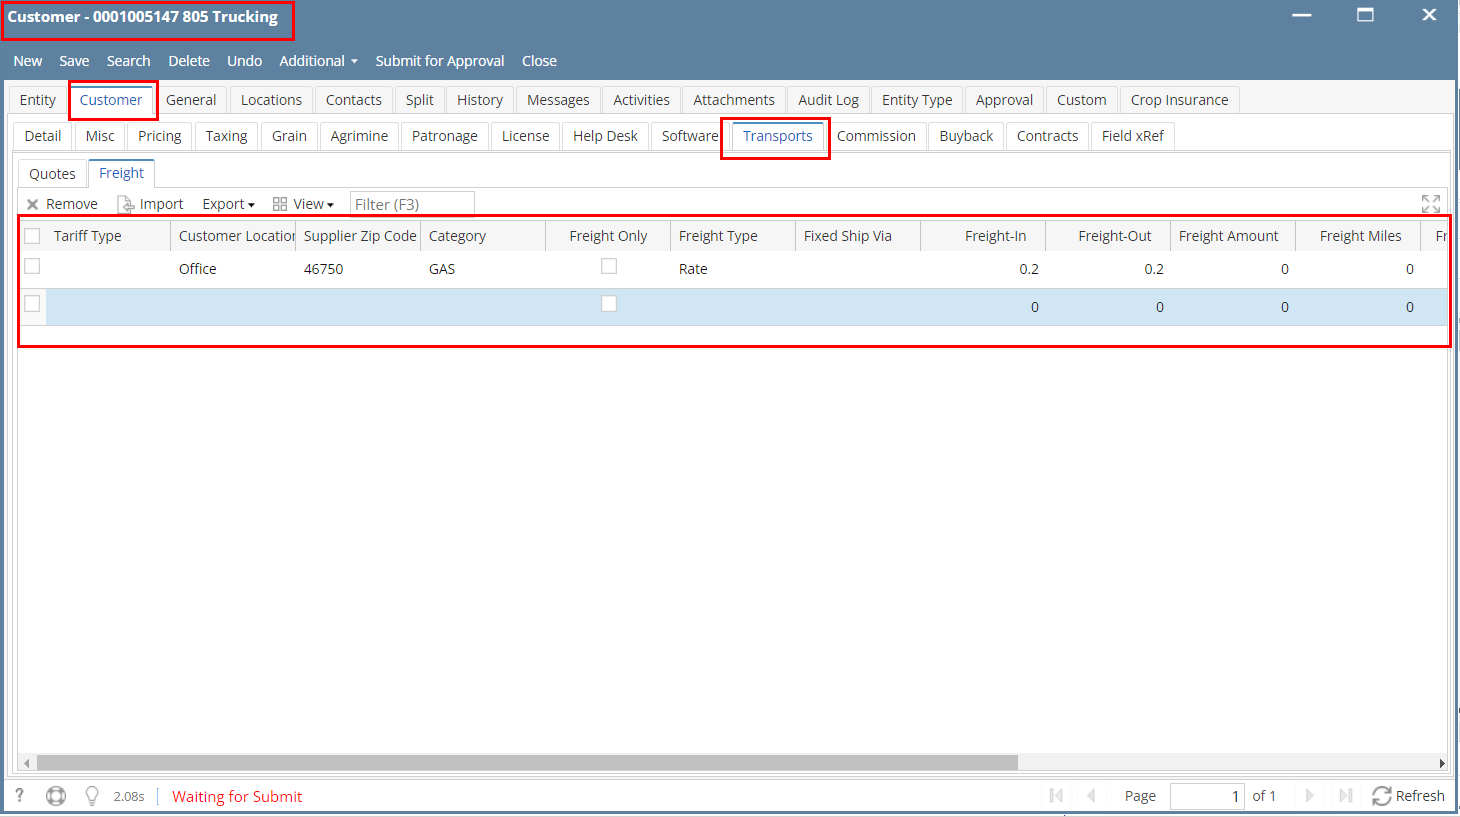
3. Go to the Customer tab > Transports tab > Freight tab.
Select a Customer Location, Supplier Zip code, Tarriff type, Category and enter the freight Miles. Freight type should be Miles
Note
Make sure that the Freight Miles you entered is on between the 'From Miles' and 'Through Miles' of the Ship
ViaVia
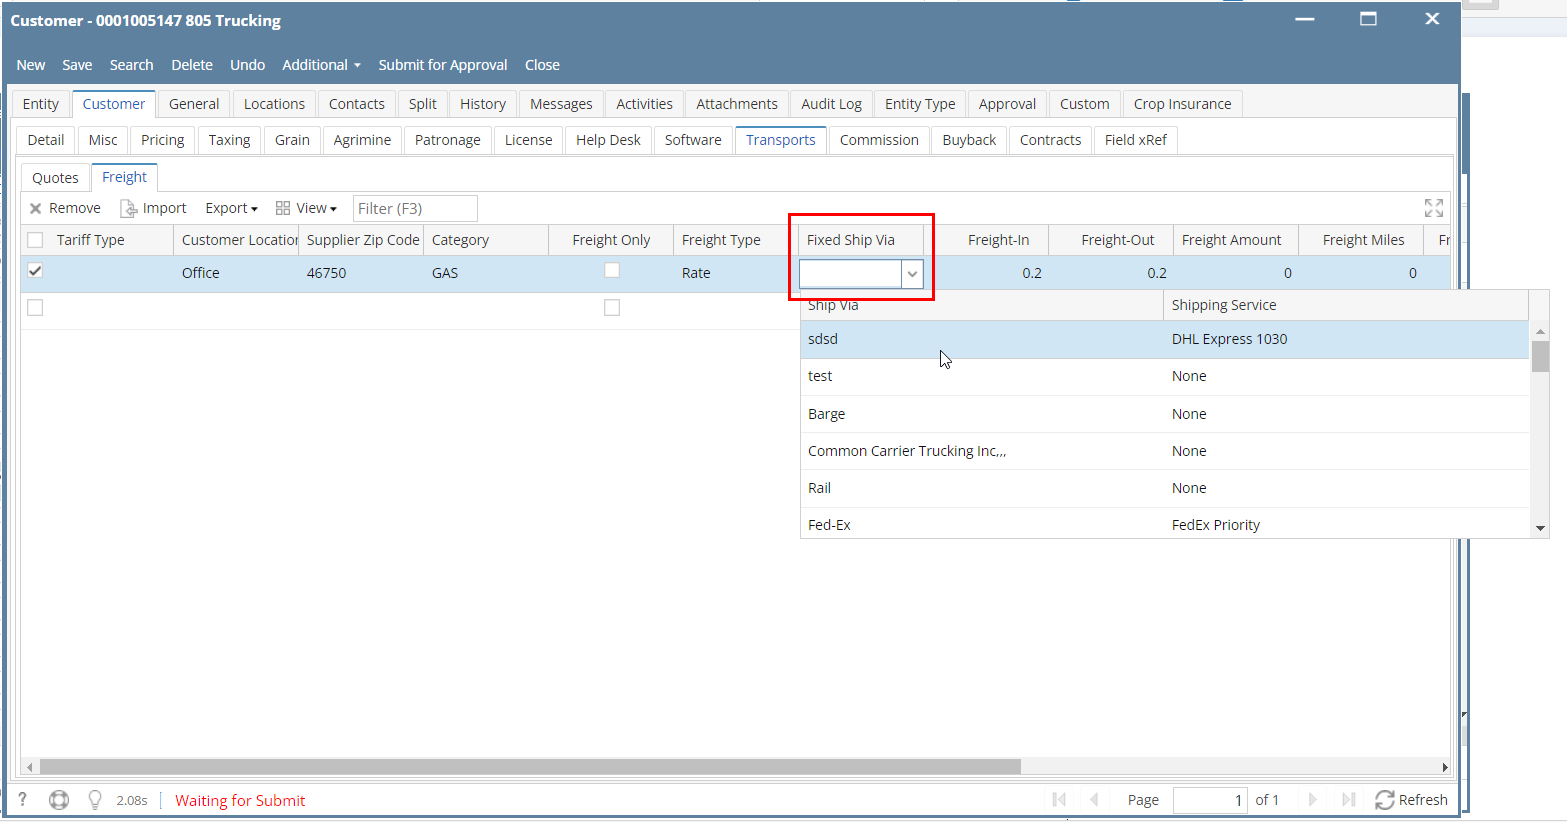
Select the Ship via you created on the Fixed Ship Via then Click Save.
4. In the Purchasing module > Vendors Look for the Supplier Zip code that you entered on the Customer setup
Location should also be the same as the supplier zip code. Sample below:
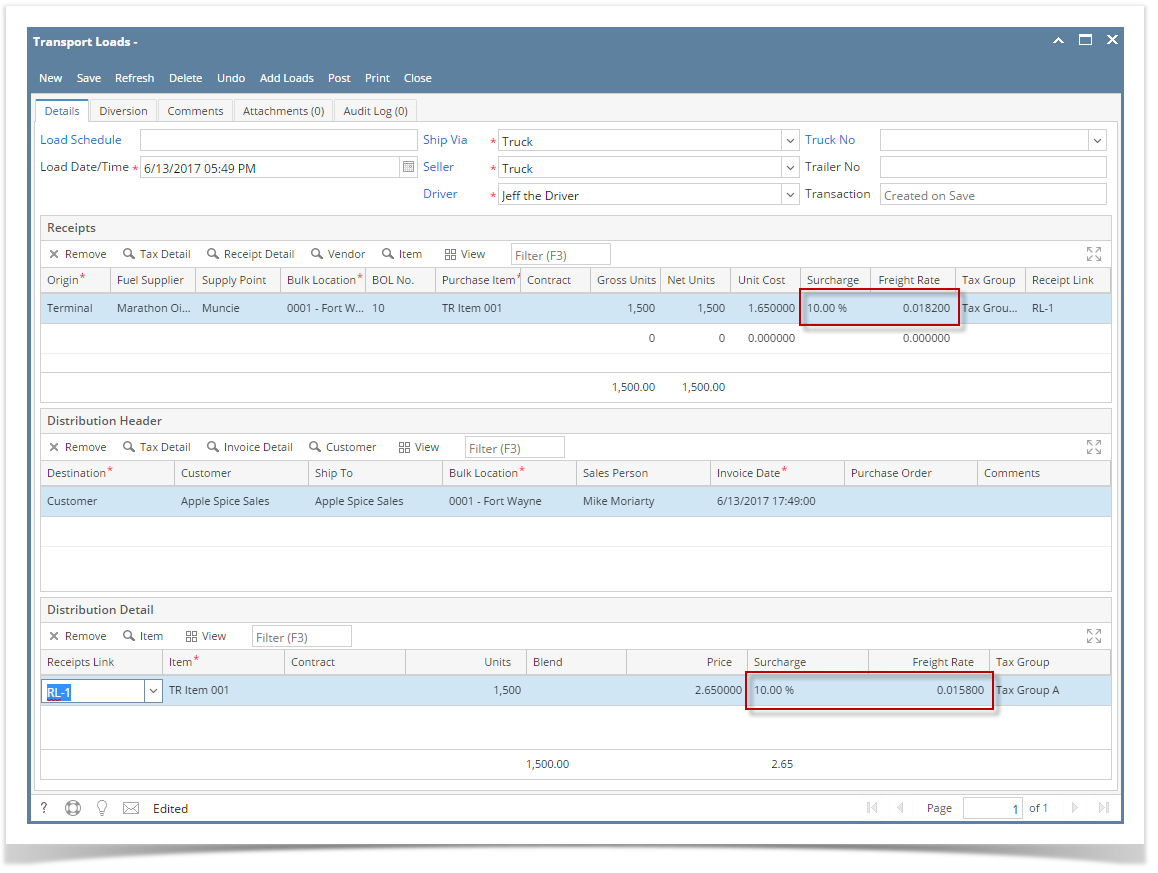
5. After After the steps above, Go to Transport > Transport load and create a Terminal to Customer by selecting the vendor, customer that has setup setup above.
6. Put the cursor to the units then click anywhere on the grid to show the As soon as Receipt Link is selected freight setup of the customer(distribution) and vendor(receipt) will get populated.
7. Click Save
...

