Page History
...
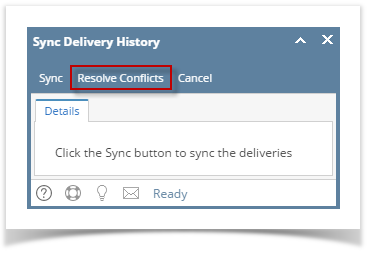
- On the Menu panel, click the Synchronize Delivery History menu. This will open the Sync Delivery History screen.

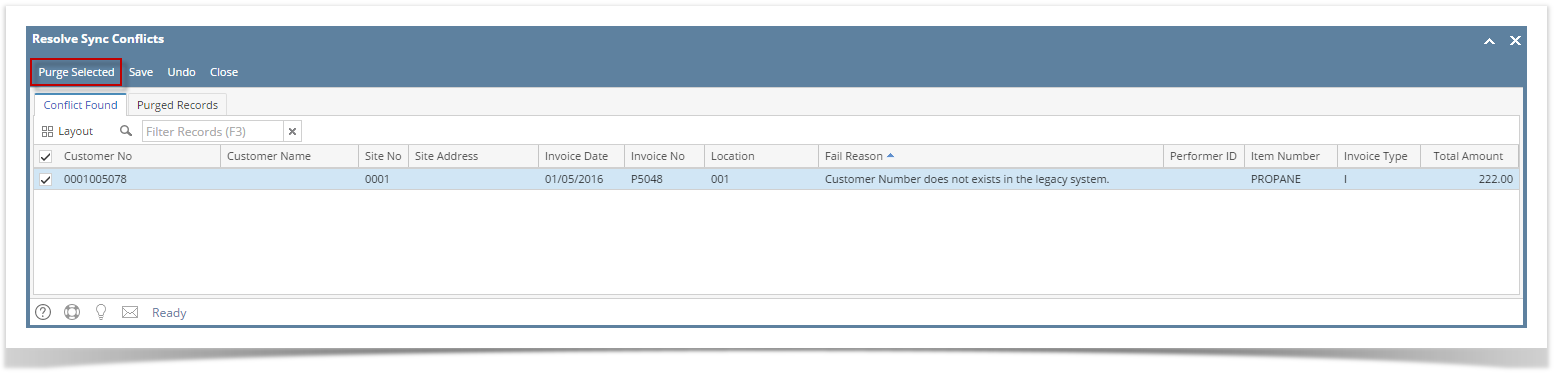
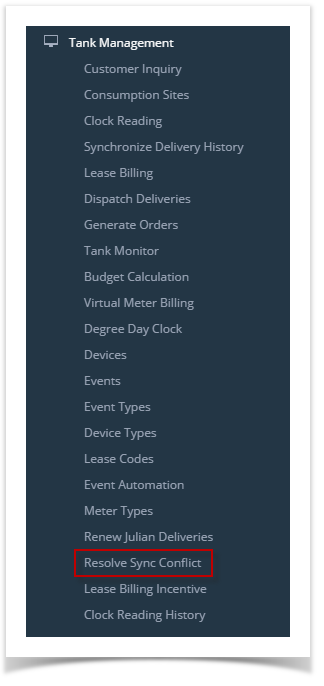
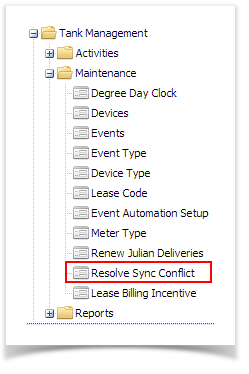
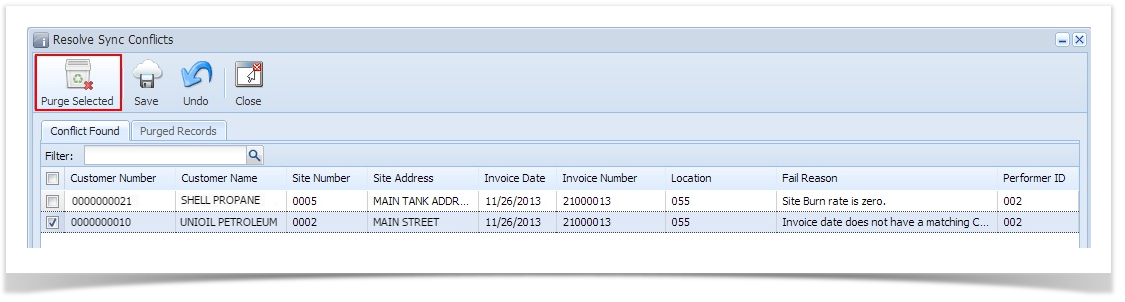
- Click the Resolve Sync Conflict toolbar button in the Sync Delivery History screen. This will open the the Resolve Sync Conflicts screen.
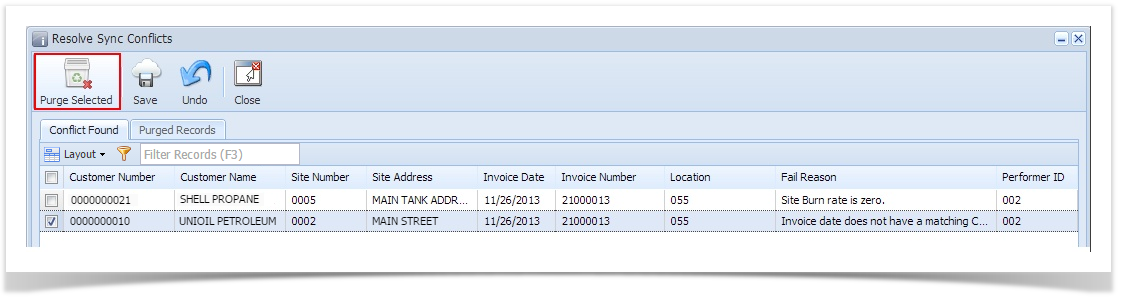
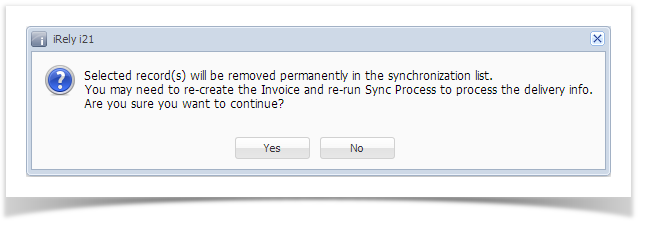
- Select the record in the Conflict Found grid, and then click the Purge Selected toolbar button. A confirmation message will be displayed.
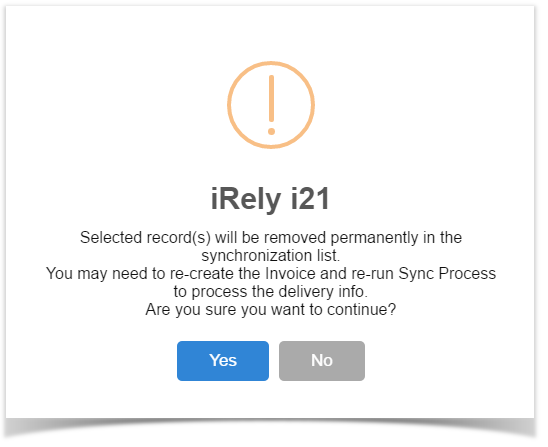
Select Yes on the confirmation message.
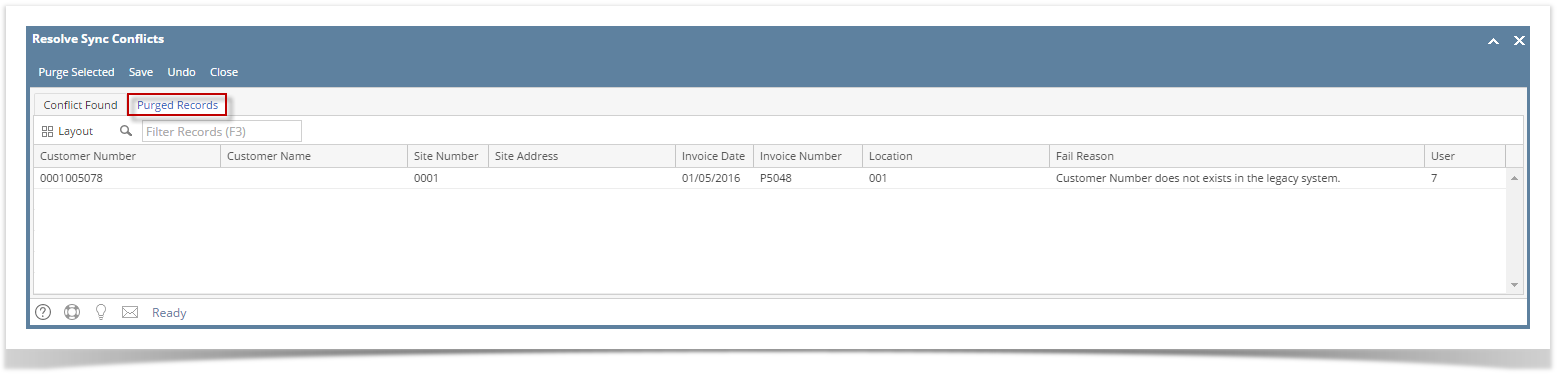
To view the purged records, navigate to Purged Records tab on the Resolve Sync Conflicts screen.
| Expand | ||
|---|---|---|
| ||
The Purge Selected toolbar button is used to delete a record/s from the tblTMCOBOLWRITE and tblTMSyncFailed tables and insert it into the tblTMSyncPurged table.
|
| Expand | ||
|---|---|---|
| ||
The Purge Selected toolbar button is used to delete a record/s from the tblTMCOBOLWRITE and tblTMSyncFailed tables and insert it into the tblTMSyncPurged table.
|
...
|
...
|
| Expand | ||
|---|---|---|
| ||
The Purge Selected toolbar button is used to delete a record/s from the tblTMCOBOLWRITE and tblTMSyncFailed tables and insert it into the tblTMSyncPurged table.
|
Overview
Content Tools