- Prerequisites to this process:
- The Consumption Sites record should be properly set up.
- The Clock Reading used in the Consumption Sites should have a valid clock reading record.
- Origin Invoice has been posted with a validConsumption Site.
- Origin Posting creates the delivery record for the Consumption Sites record to be synchronized.
- Delivery Record is shown in the tblTMCOBOLWRITE table. Below is a sample data.

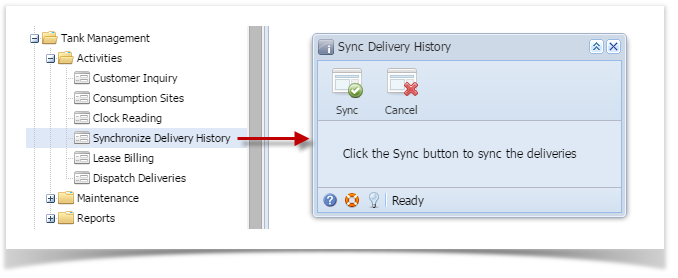
- On the Menu panel, click the Synchronize Delivery History menu. This will open the Sync Delivery History screen.
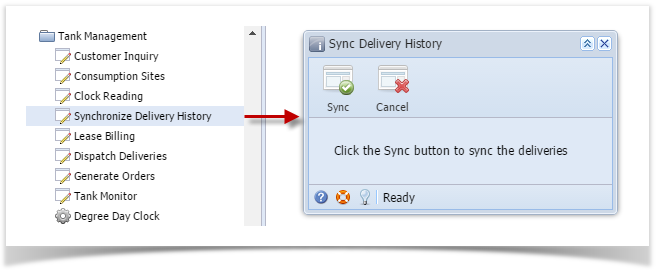
- If you want the program to continue with the synchronization process even if it found an invalid record or encountered an error, then select the ‘Proceed syncing when an error occurred.’ option. Otherwise, leave it unchecked.
- Click the Sync toolbar button.
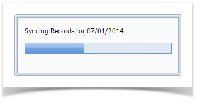
- Syncing Records process message will display. This will determine the invoice date that the system currently syncs.
- Once the process has been completed, an alert message about the outcome of the process will be displayed. Here is a sample message.
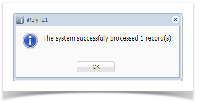

- Click the OK button on the alert message.
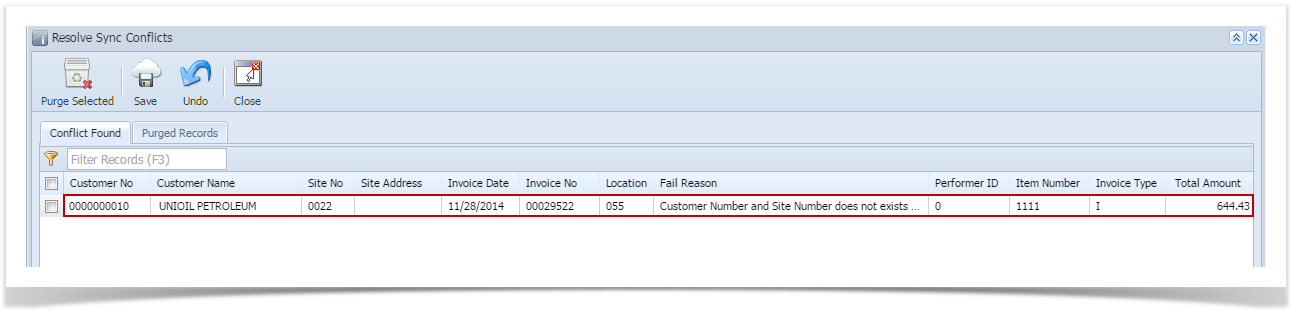
- If there are records that failed the process, double click the Resolve Sync Conflict menu in the Menu panel. This will open the Resolve Sync Conflicts screen which lists down all the records that failed the synchronization process, as well as the reason for its failure.
- Prerequisites to this process:
- The Consumption Sites record should be properly set up.
- The Clock Reading used in the Consumption Sites should have a valid clock reading record.
- Origin Invoice has been posted with a valid Consumption Site.
- Origin Posting creates the delivery record for the Consumption Sites record to be synchronized.
- Delivery Record is shown in the tblTMCOBOLWRITE table. Below is a sample data.
- On the Menu panel, double click the Synchronize Delivery History menu. This will open the Sync Delivery History screen.
- If you want the program to continue with the synchronization process even if it found an invalid record or encountered an error, then select the ‘Proceed syncing when an error occurred.’ option. Otherwise, leave it unchecked.
- Click the Sync toolbar button.
- Syncing Records process message will display. This will determine the invoice date that the system currently syncs.
- Once the process has been completed, an alert message about the outcome of the process will be displayed. Here is a sample message.
- Click the OK button on the alert message.
- If there are records that failed the process, double click the Resolve Sync Conflict menu in the Menu panel. This will open the Resolve Sync Conflicts screen which lists down all the records that failed the synchronization process, as well as the reason for its failure.
Overview
Content Tools