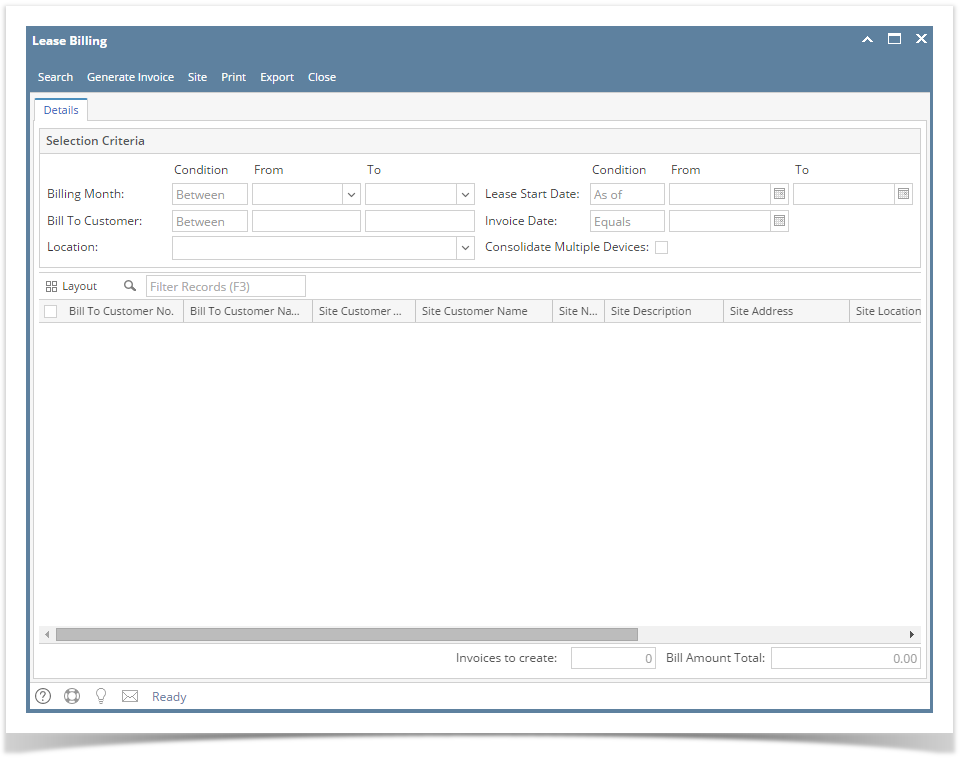
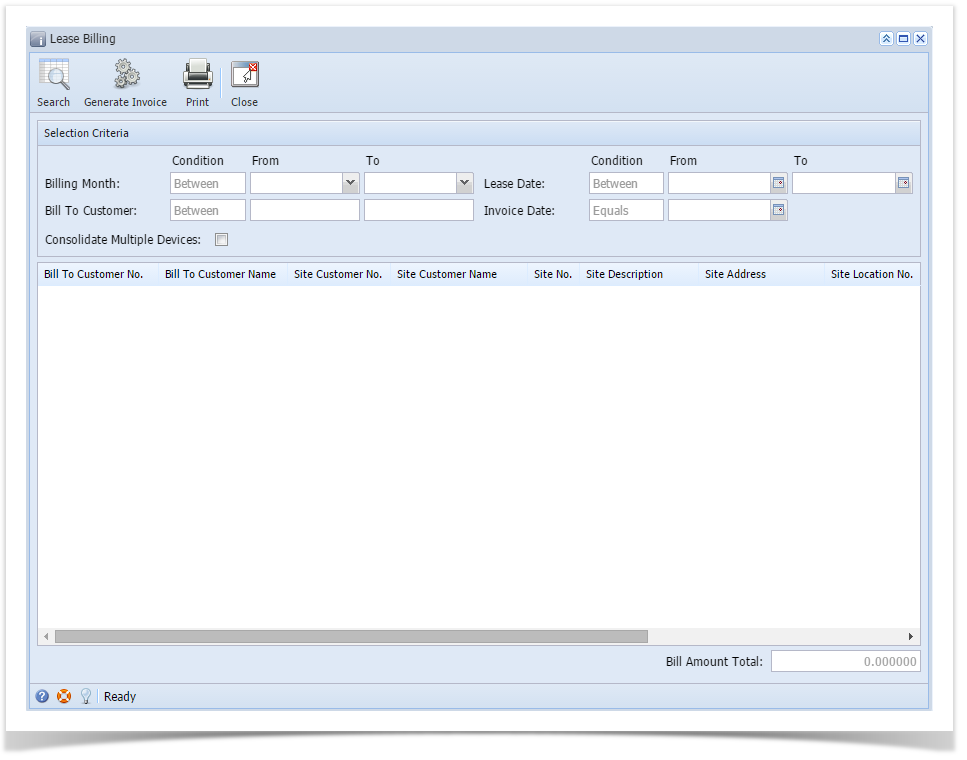
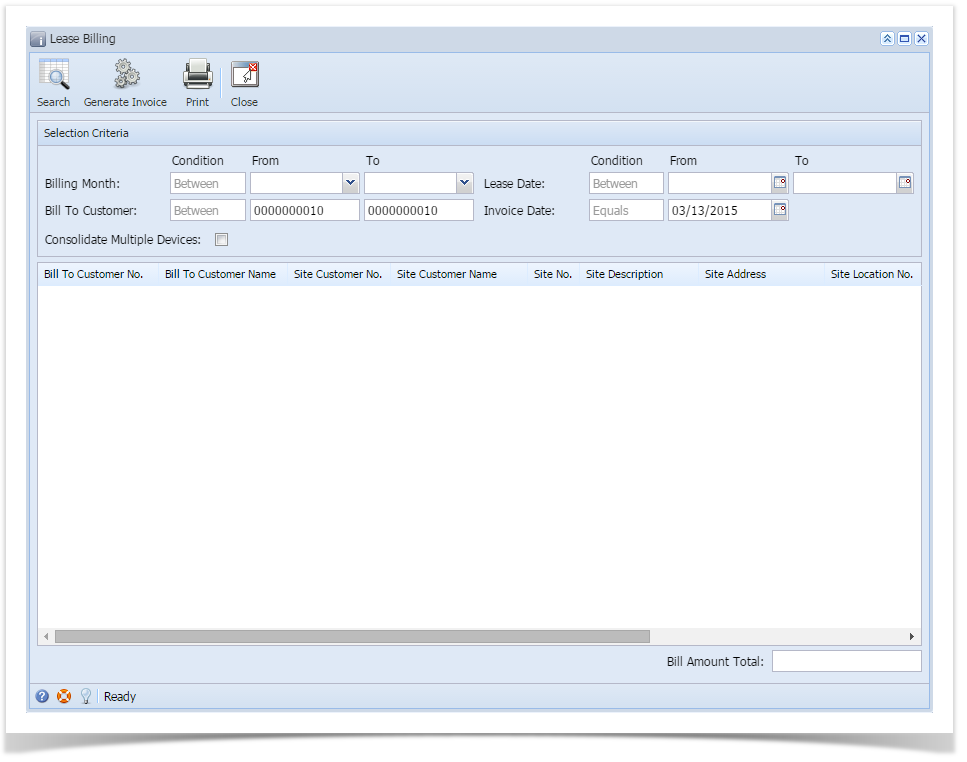
- On the Menu panel, click the Lease Billing menu. This will open the Lease Billing screen.
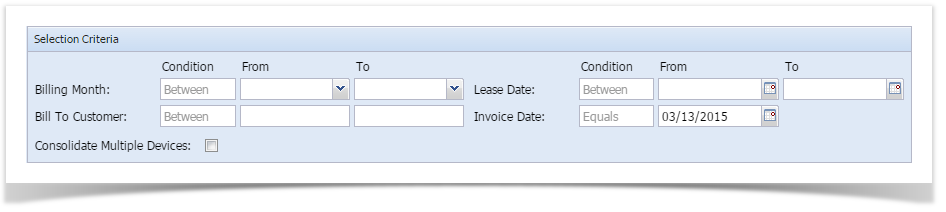
- Enter the Invoice Date. This is a required field.
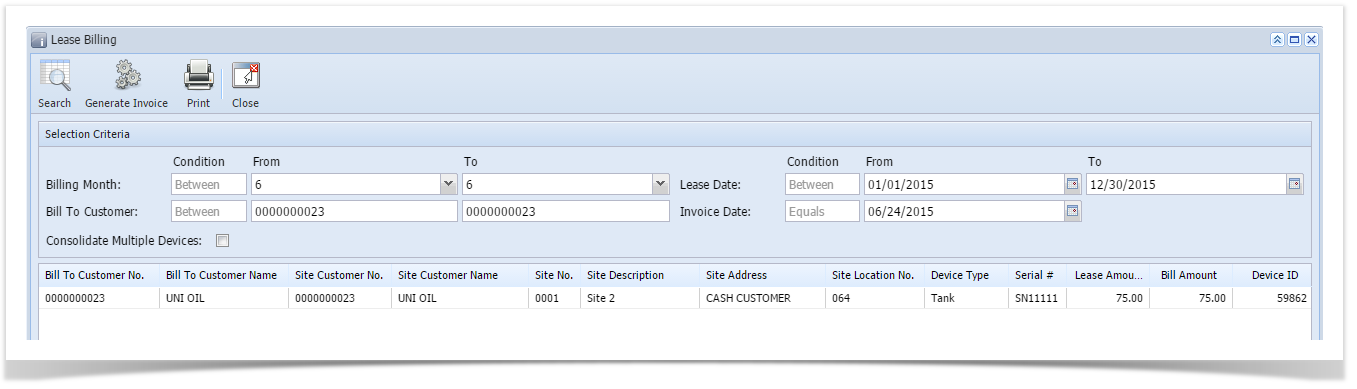
- Filter the records in the grid using the fields in the Selection Criteria panel.

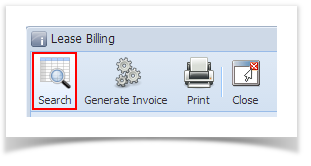
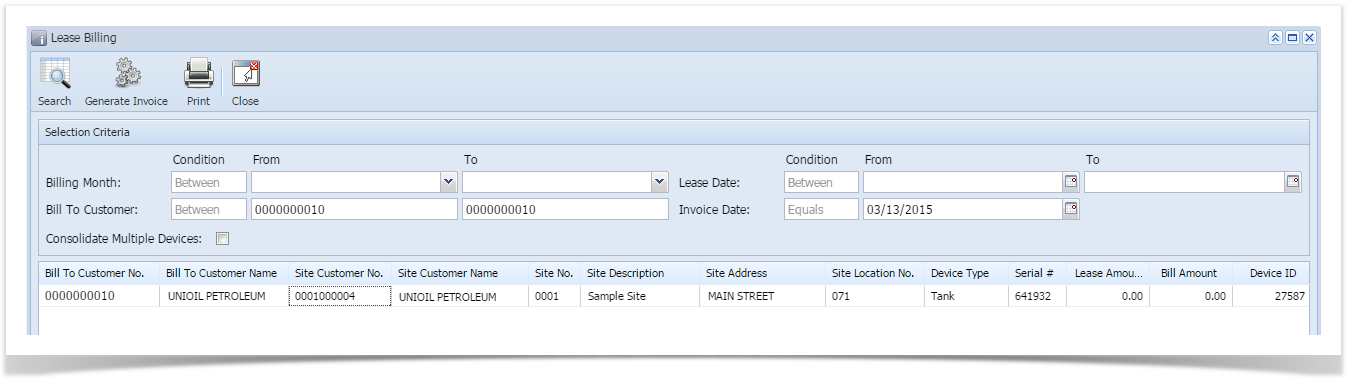
- Click the Search toolbar button. The grid will display records based on the filters used in step 3.

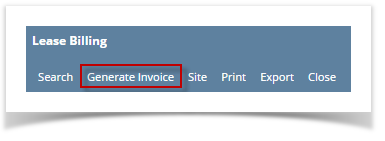
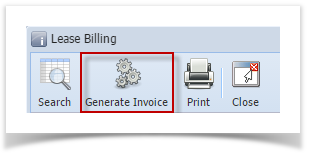
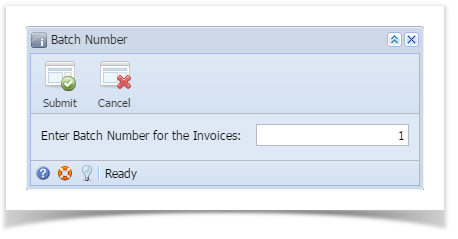
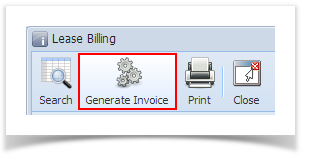
- Click the Generate Invoicetoolbar button. This will open the Batch Number screen.
- Enter a valid Batch Number.
- Click the Submi ttoolbar button. The 'This may take a while’ alert message will prompt.

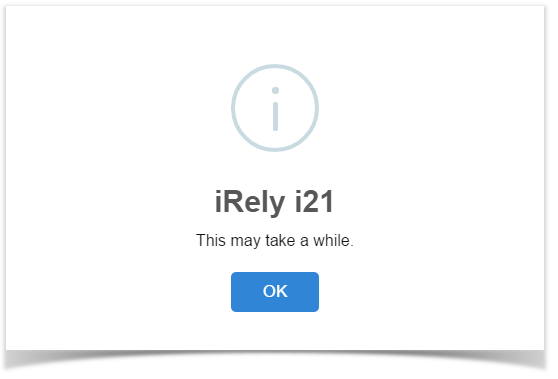
- Click the OK button on the alert message.
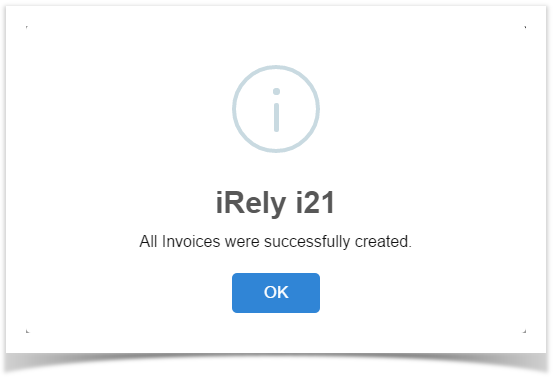
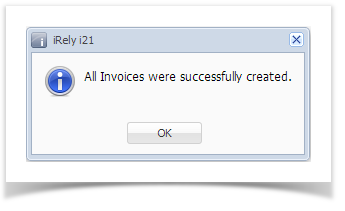
- Once the process has been completed, an alert message about the outcome of the process will be displayed. Click the OK button on the message.
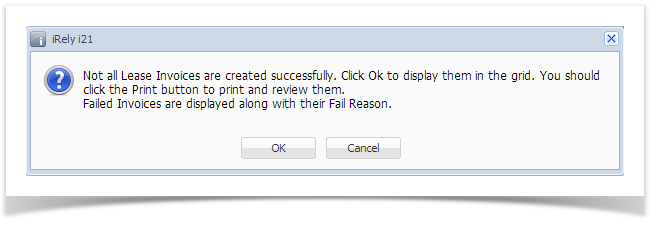
- If there are records that failed during the process, the message below will display. Clicking the OK button will open the Failed Lease Billing(s) screen which lists down all the records that failed to be lease billed, as well as the reason for its failure.
- After successfully generating an invoice, the Event-020 will be displayed on the Consumption Sites > Event History tab, and the Lease > Last Lease Billing Date field will be updated and display the invoice date.
- On the Menu panel, click the Lease Billing menu. This will open the Lease Billing screen.
- Enter the Invoice Date. This is a required field.
- Filter the records in the grid using the fields in the Selection Criteria panel.
- Click the Search toolbar button. The grid will display records based on the filters used in step 3.

- Click the Generate Invoice toolbar button. This will open the Batch Number screen.
- Enter a valid Batch Number.
- Click the Submit toolbar button. The 'This may take a while’ alert message will prompt.
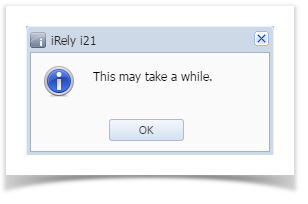
- Click the OK button on the alert message.
- Once the process has been completed, an alert message about the outcome of the process will be displayed. Click the OK button on the message.
- If there are records that failed the process, this message below will display. Clicking the OK button will open the Failed Lease Billing(s) screen which lists down all the records that failed the process, as well as the reason for its failure.
- After successfully generating an invoice, the Event-020 will be displayed on the Consumption Sites > Event History tab, and the Lease > Last Lease Billing Date field will be updated and display the invoice date.
- On the Menu panel, double click the Lease Billing menu. This will open the Lease Billing screen.
- Enter the Invoice Date. This is a required field.
- Filter the records in the grid using the fields in the Selection Criteria panel.
- Click the Search toolbar button. The grid will display records based on the filters used in step 3.
- Click the Generate Invoice toolbar button. This will open the Batch Number screen.
- Enter a valid Batch Number.
- Click the Submit toolbar button. The 'This may take a while’ alert message will prompt.
- Click the OK button on the alert message.
- Once the process has been completed, an alert message about the outcome of the process will be displayed. Here is a sample message.
- If there are records that failed the process, this message below will display. Clicking the OK button will open the Failed Lease Billing(s) screen which lists down all the records that failed the process, as well as the reason for its failure.
- After successfully generating an invoice, the Event-020 will be displayed on the Consumption Sites > Event History tab, and the Lease > Last Lease Billing Date field will be updated and display the invoice date.
Overview
Content Tools