- Open Load/Shipment Schedule Screen in new mode.
Header Entry: - Select Shipment Type as Shipment, Transaction Type as Inbound, Source Type as Contract and Transport Mode as Truck/Ocean Vessel.
- Select position as Shipment/Spot based on Contract Position.
- Select Weight Unit.
Order tab entry: - Select Purchase Contract in the Orders tab which will be of selected Position type and have balance to ship quantity.
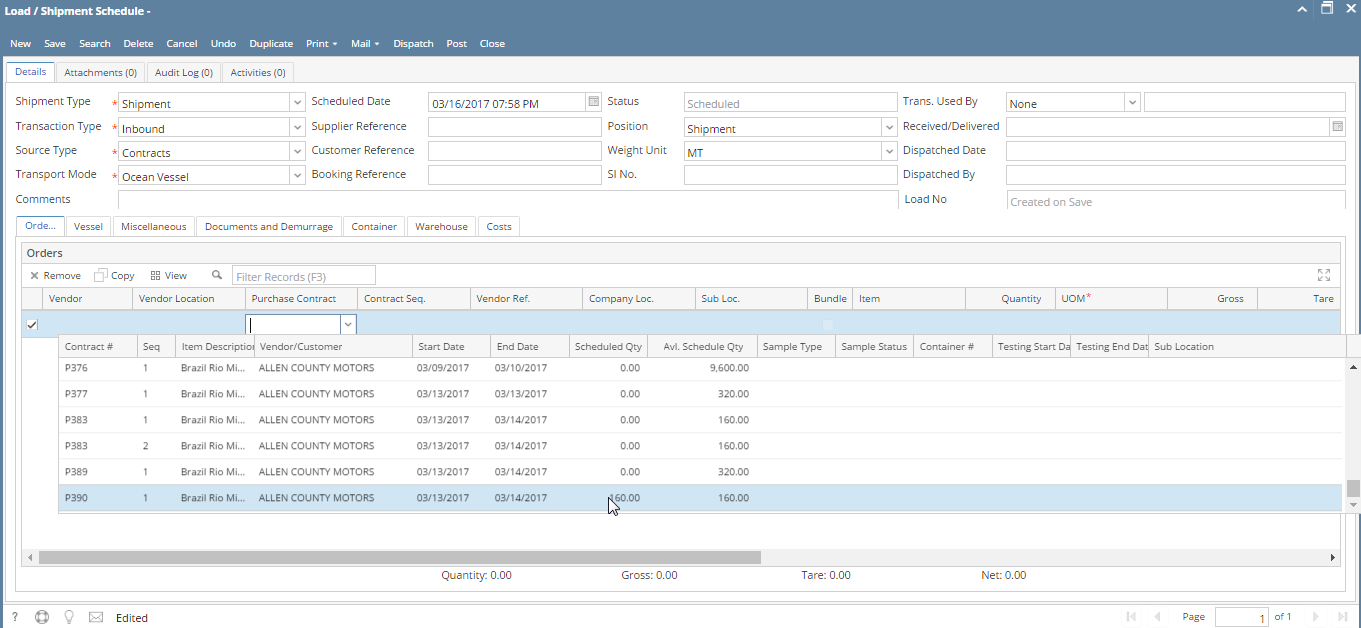
6. It will populate corresponding contract information with Vendor name, Item, Qty to be shipped, Gross/tare/net weight values.

7. Change Gross/Tare/Net if needed.
8. repeat from steps 5 to select another Purchase Contracts.
Vessel Tab Entry:
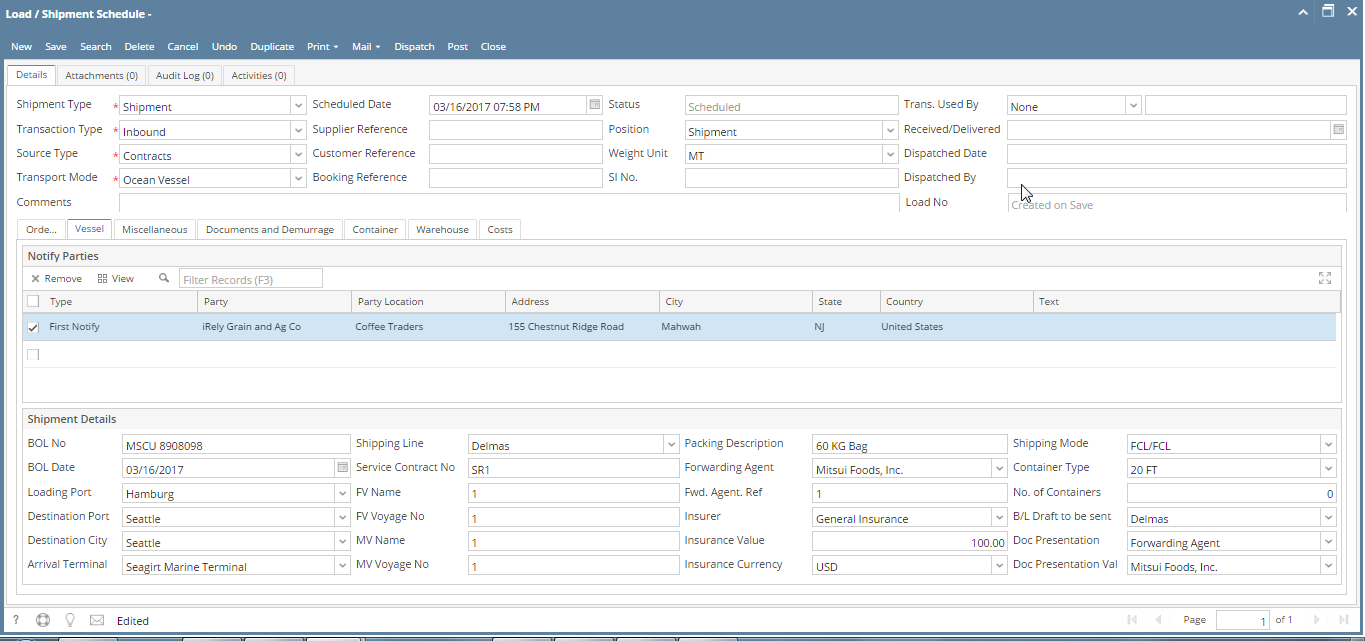
9. Enter Notify Party Information.
10. Select Notify Party Type, Party Name from drop downs.
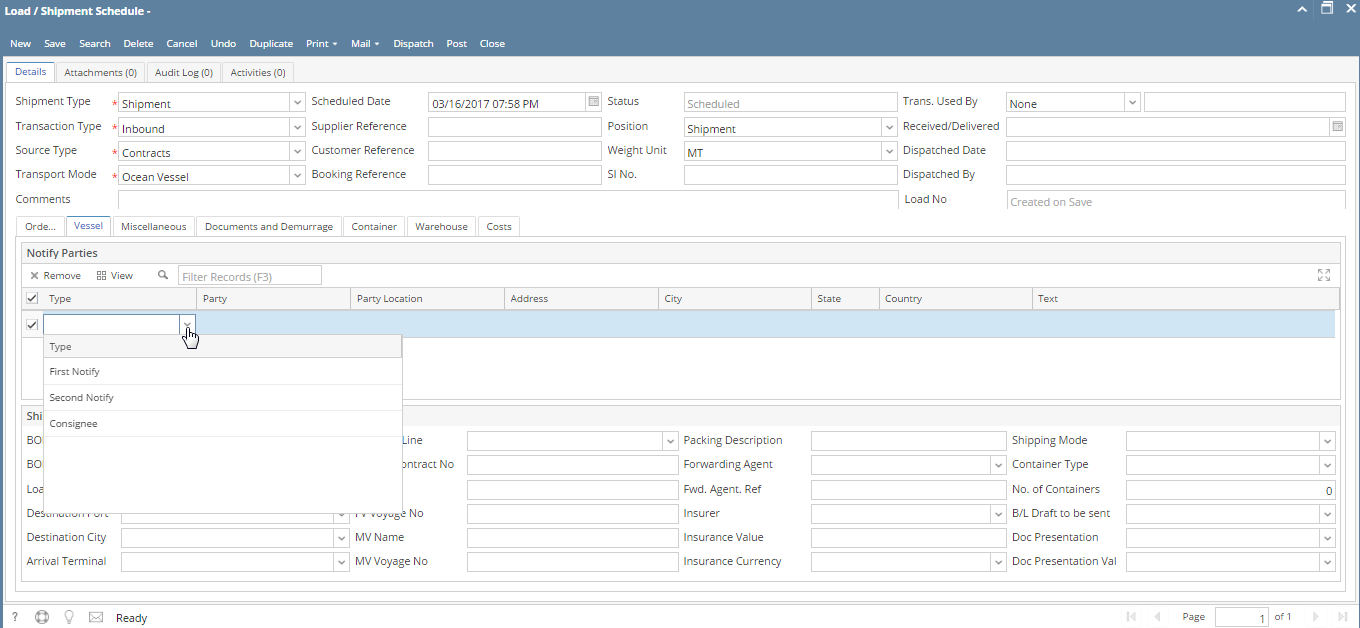
11. Enter Shipment Details:
Miscellaneous Tab Entry:
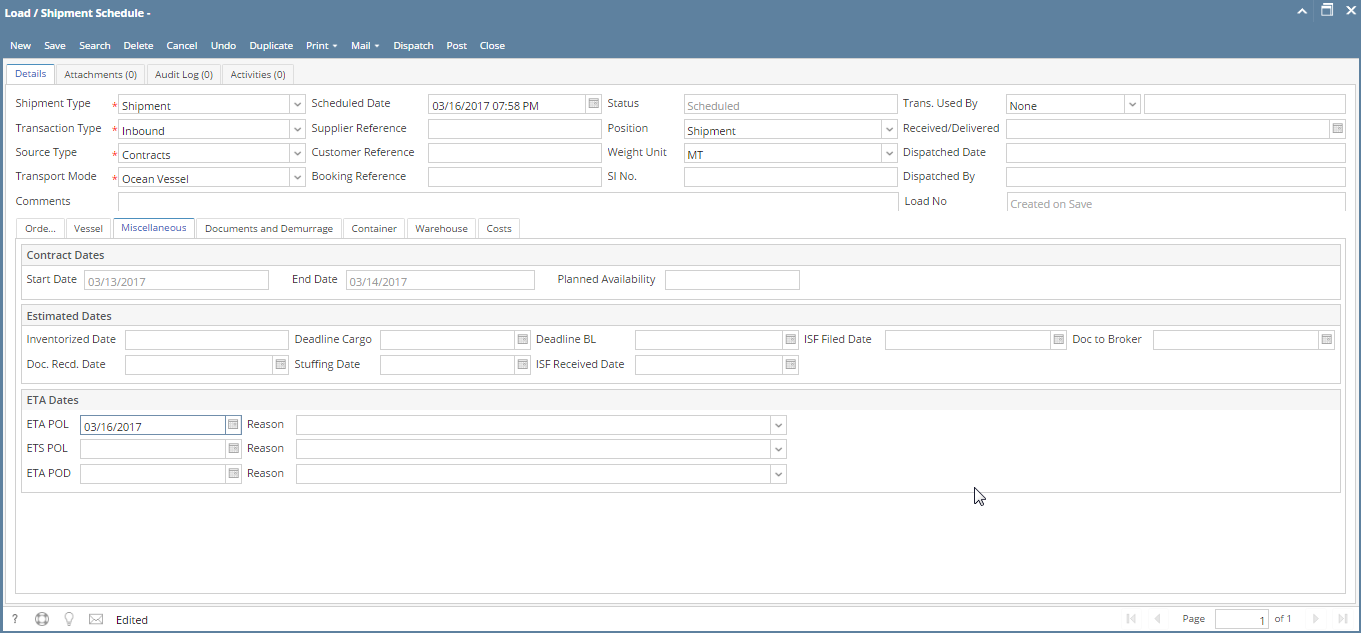
12. Contract Start will come as earliest start date of all contracts selected in Order tab.
13. End Date will come as latest end date of all contracts selected in Order tab.
14. Enter Estimated Dates and ETA Dates.
Documents and Demurrage Tab:
15. Certificates entered in Contract will prepopulate here or user can enter/edit required Certificates in this tab.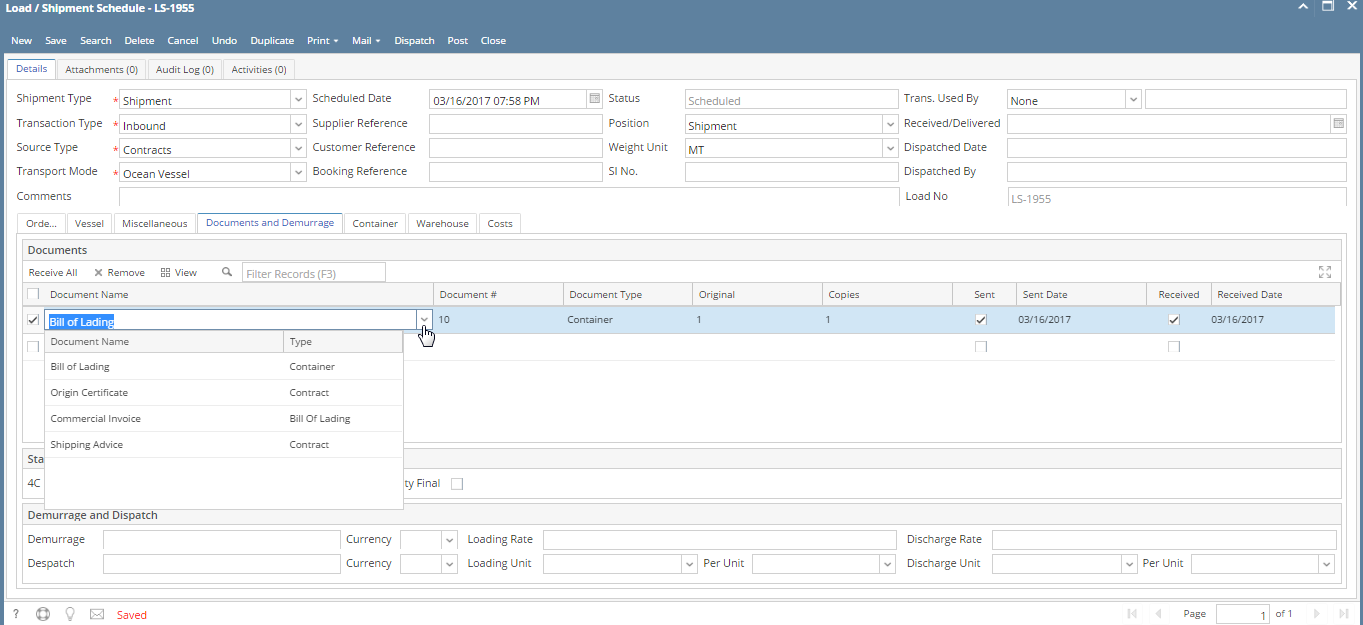
Container Tab Entry:
16. Enter ‘Container Number’ in the grid, enter ‘Quantity’, select ‘Packing Unit’ and enter ‘Marks’.
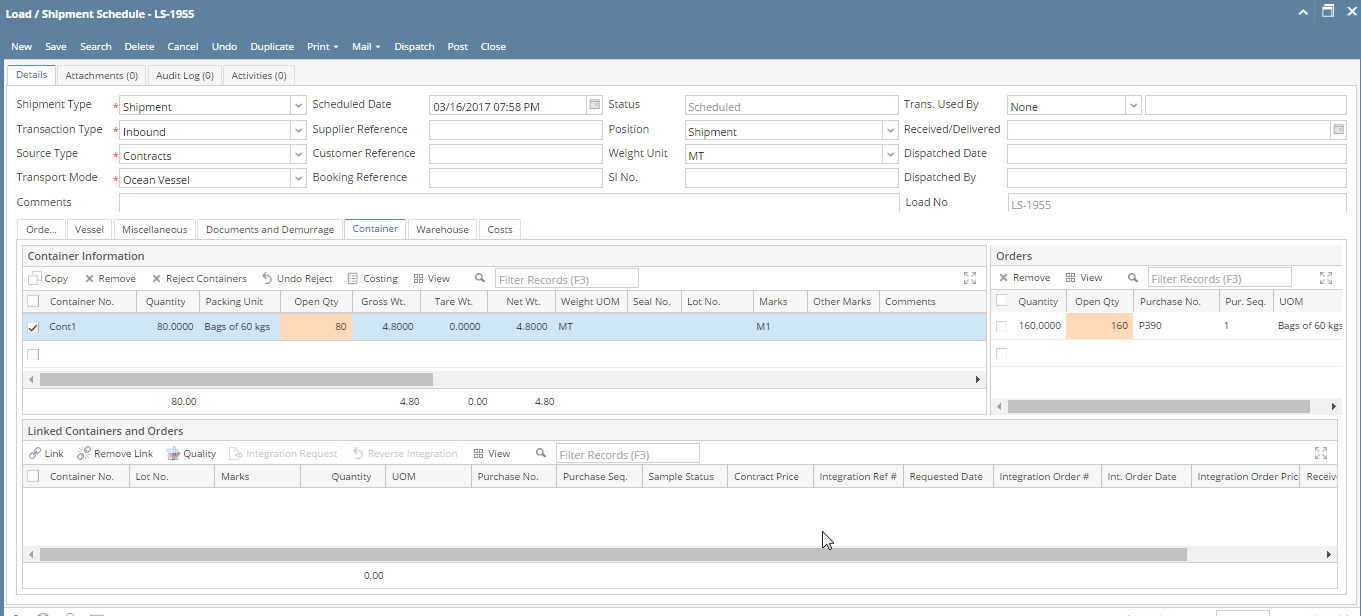
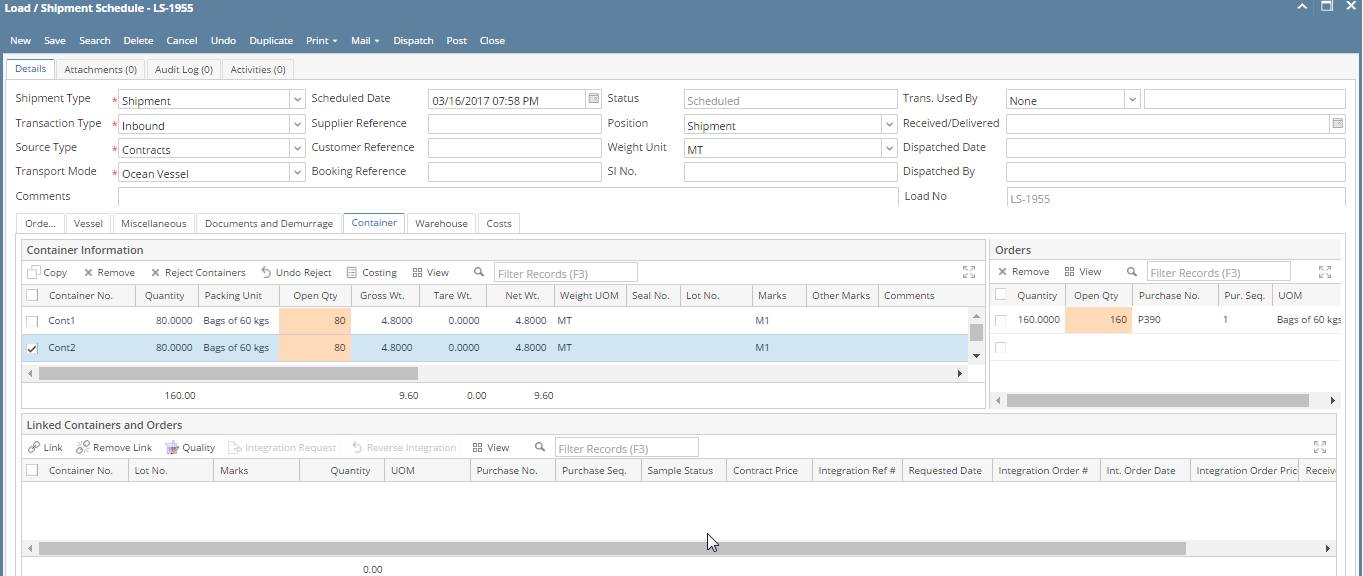
17. Click on ‘Copy’ button above the grid to create more containers and change the container number, quantity, packing unit, marks etc.
18. Note: If containers are already approved in quality module, system will auto-populate the containers on selecting the purchase contract sequence in the ‘Orders’ tab. Follow below steps only if container information is not auto-populated.
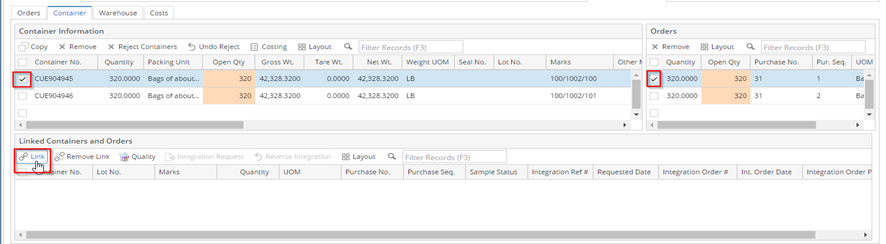
19. If there is only one Container in Container information section or one Order in Orders section of Container tab, user can click directly on Link button.
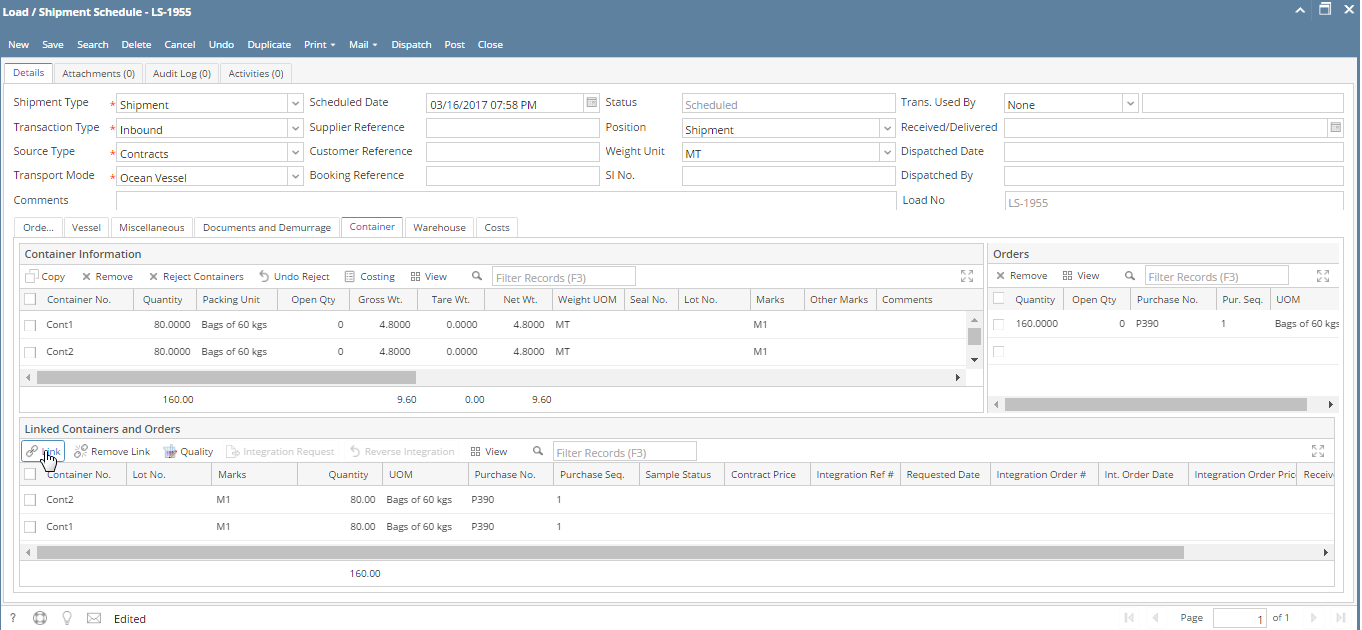
20. Else, Select container in the left side grid, select purchase contract sequence in the right side grid and click on Link.
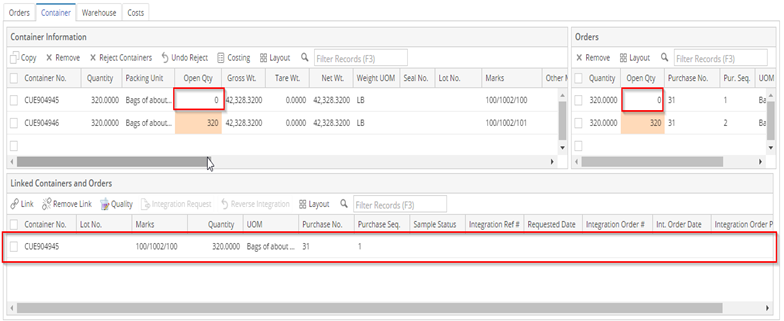
21. After linking, linked container information will show in down section and Open Qty of Container and Order will be zero.
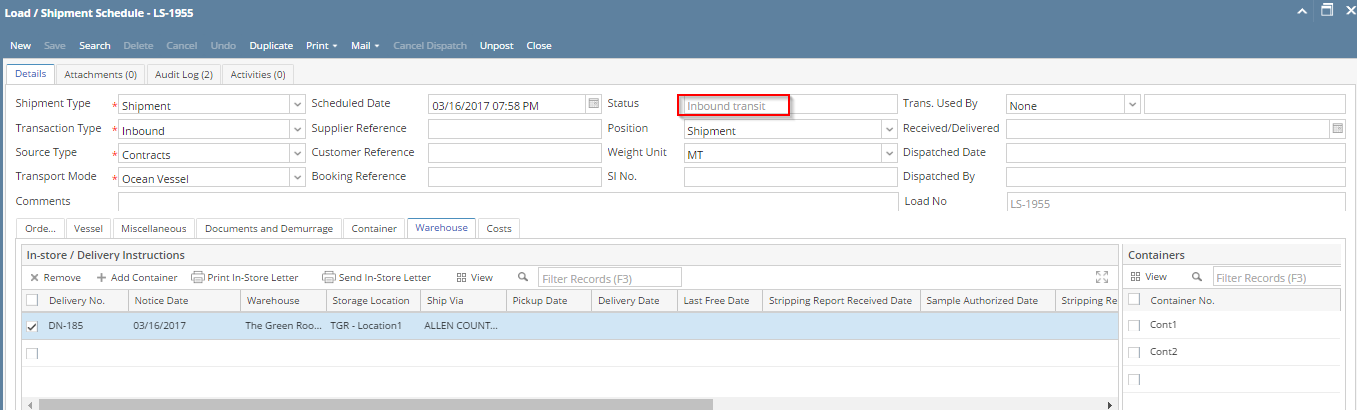
Warehouse Tab:
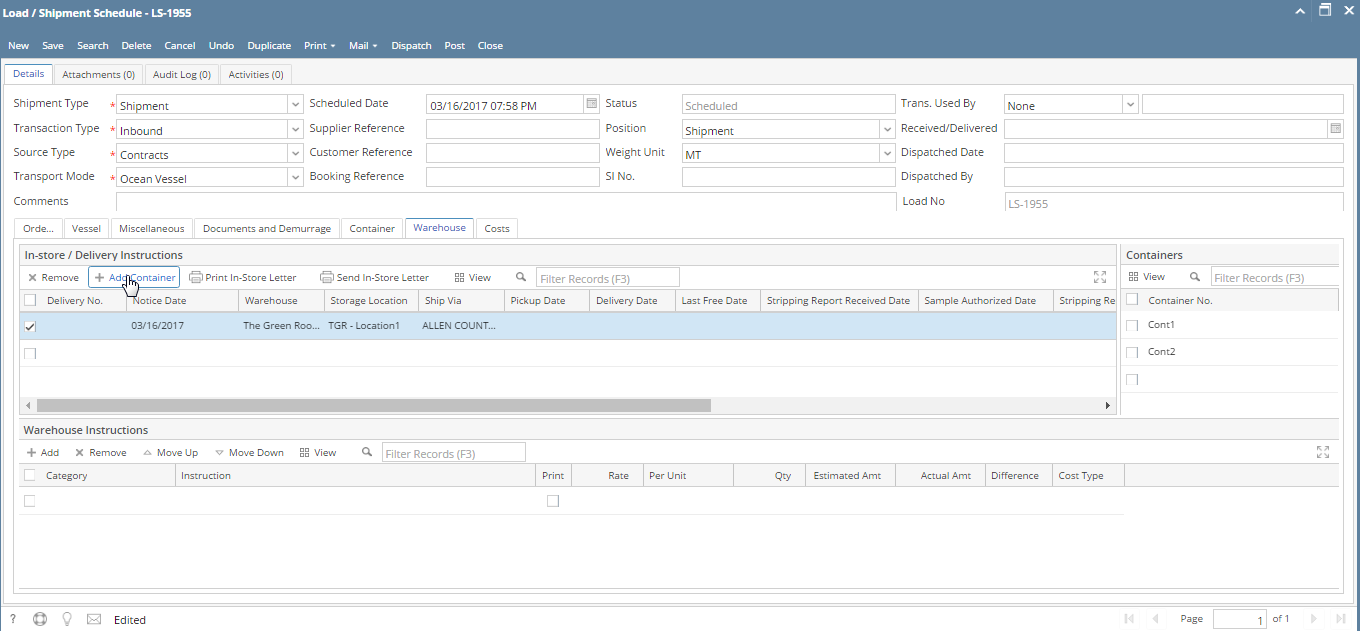
22. Enter Delivery Notice Date, Warehouse Name, Ship Via, etc. in the left side and select Containers in the right side.
23. It will create a link between warehouse and containers and click on the save button on top. If there is a single warehouse line, user can click on 'Add Containers' button to auto link all the containers against this line.
Posting:
24. After saving, click on Post button.
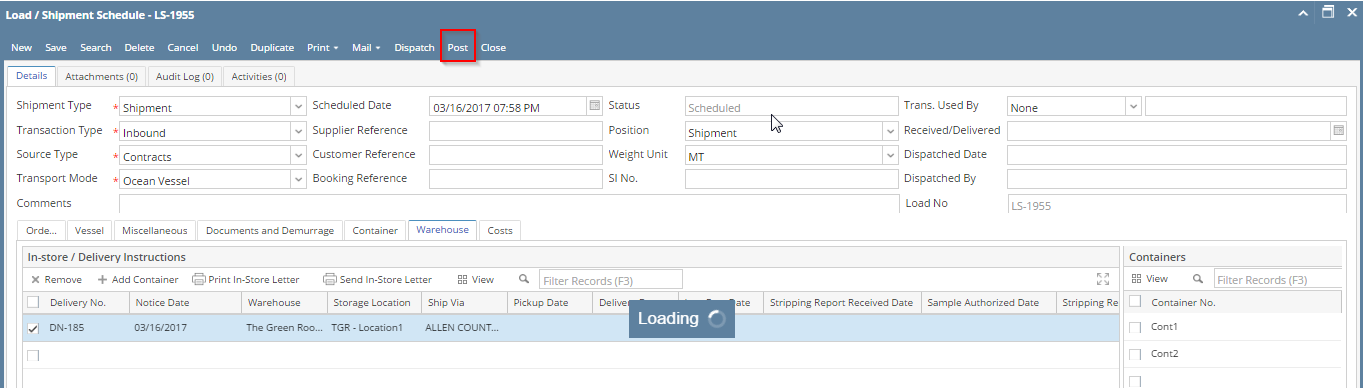
25. It will create In-Transit Inventory ready to receive.
Overview
Content Tools