Here are the steps on how to print AP Transactions by GL Account Report:
- Open Reports Viewer screen of AP Transactions by GL Account Report: (See How To Print Accounts Payable Reports)

2. Fill out on the Selection Criteria section. User can either select on the drop down list or manually enter values on the criteria fields.
If fields are left blank , all transaction records will be included on the report.
3. Preview the reports by clicking Generate button.
- If generated reports has more than 1 page. User can either select or manually enter the number of page. Or user can also navigate to other pages using the previous and next buttons.

- Export buttons using different file type are also available. Click Generate > Select file type > Export a report and save to disk button.

- If generated reports has more than 1 page. User can either select or manually enter the number of page. Or user can also navigate to other pages using the previous and next buttons.
Here are the steps on how to print AP Transactions by GL Account Report:
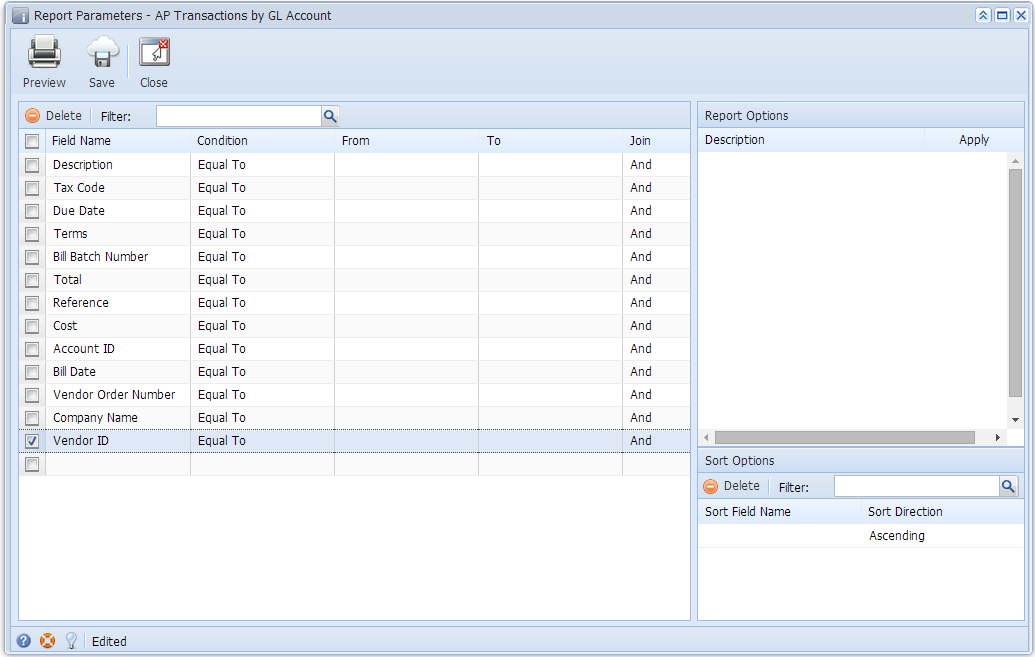
- Open Report Parameters screen of AP Transactions by GL Account report. (See How To Print Accounts Payable Reports)
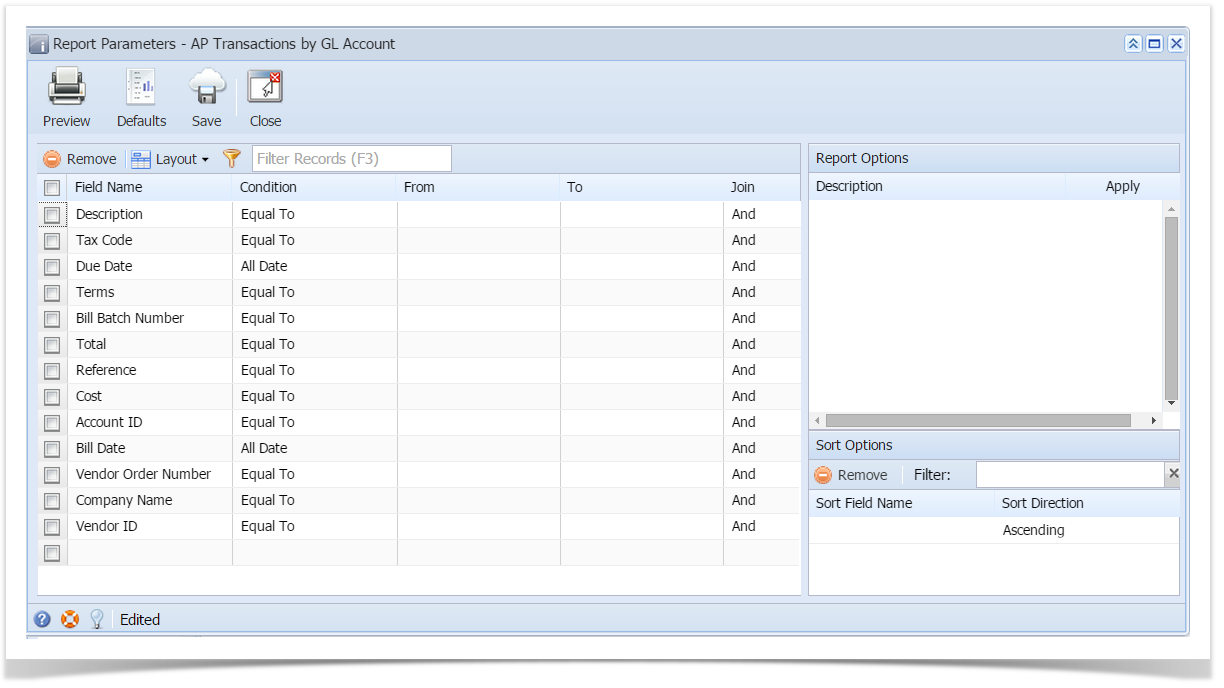
- Fill out Selection Criteria section. User can select from the combo box list, or manually type on the field of the Field Name column. If field is left blank, all records will be included in the report.
- Preview the report by clicking the Preview toolbar button.
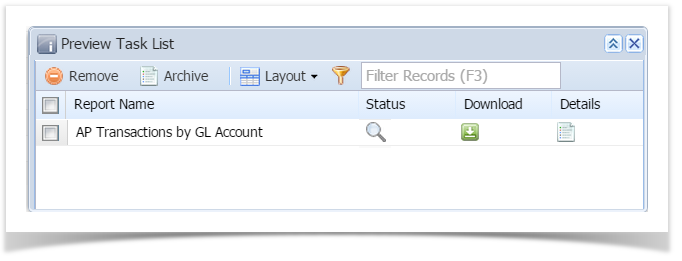
- If generated report has more than 10 pages, Preview Task List screen will open. Click on the magnifying glass icon to open Report Preview.
- If generated report is 10 pages or less, Report Preview window will open automatically.
- If generated report has more than 10 pages, Preview Task List screen will open. Click on the magnifying glass icon to open Report Preview.
Here are the steps on how to print AP Transactions by GL Account Report:
- Open Report Parameters screen of AP Transactions by GL Account report. (See How To Print Accounts Payable Reports)
- Fill out Selection Criteria section. User can select from the combo box list, or manually type on the field of the Field Name column. If field is left blank, all records will be included in the report.
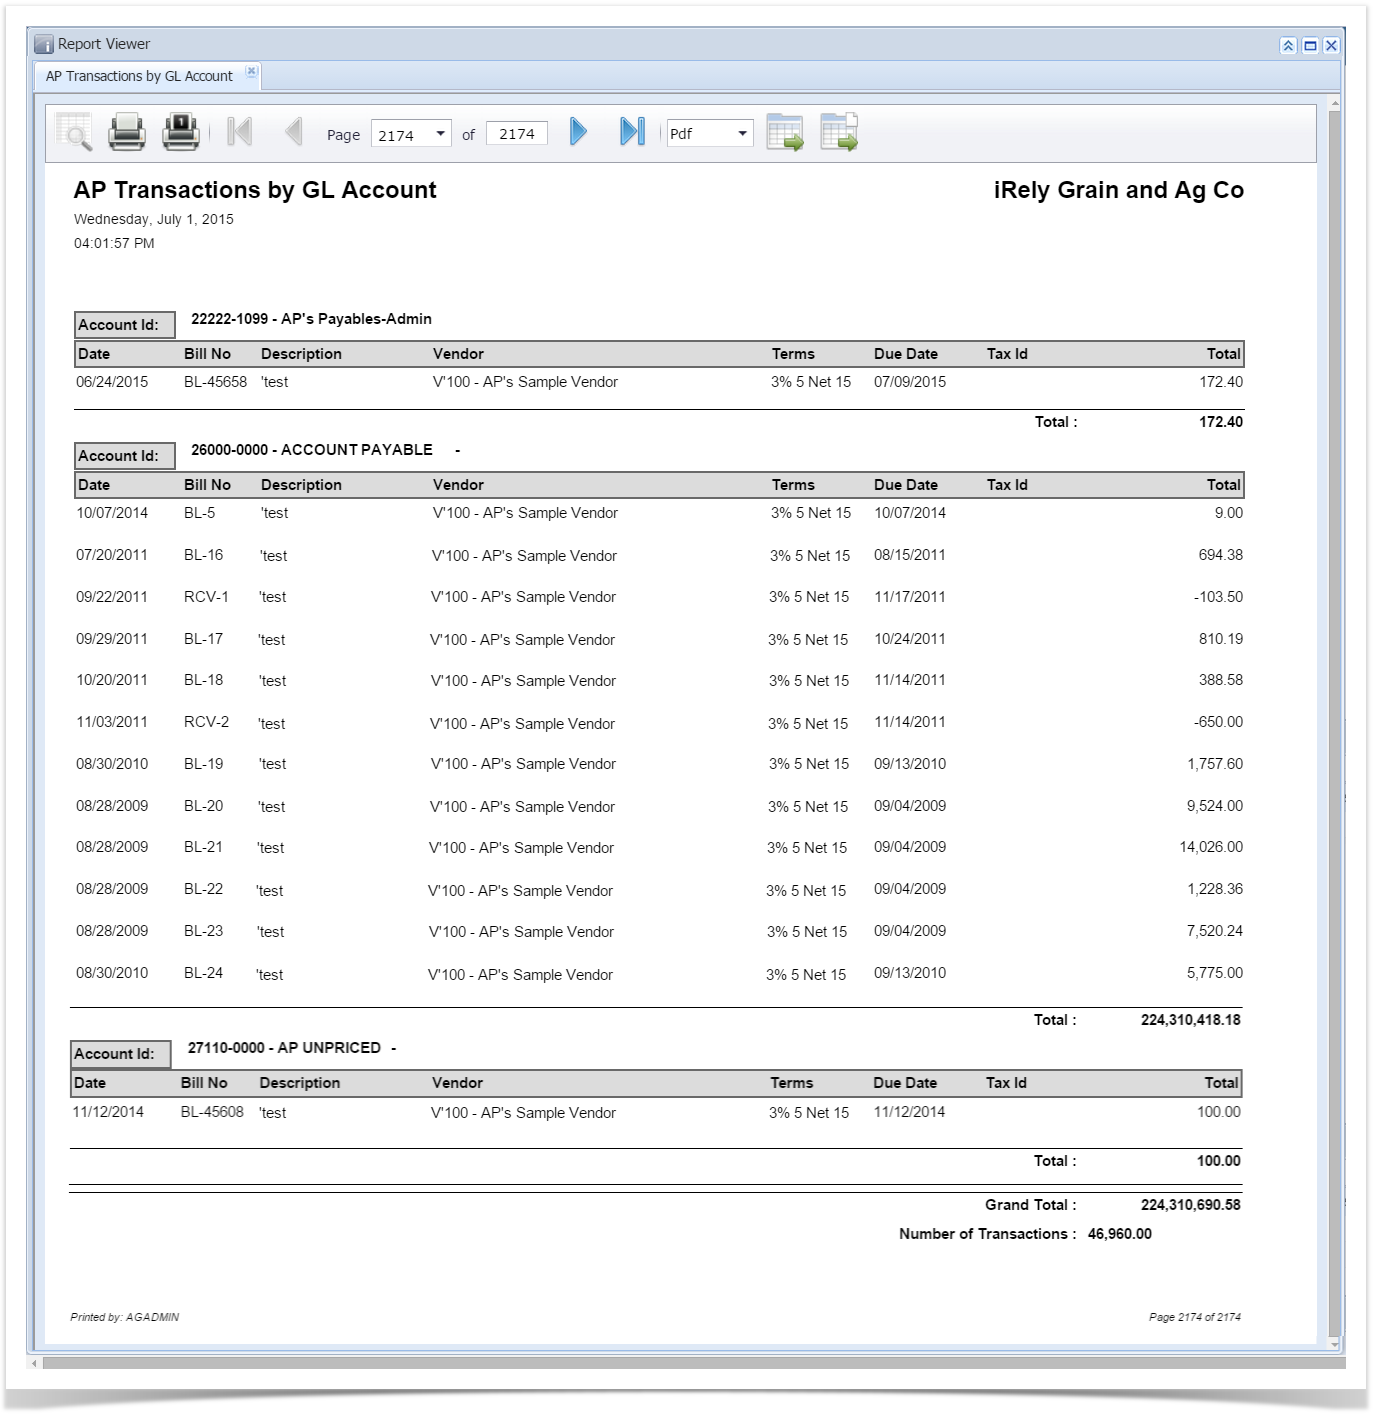
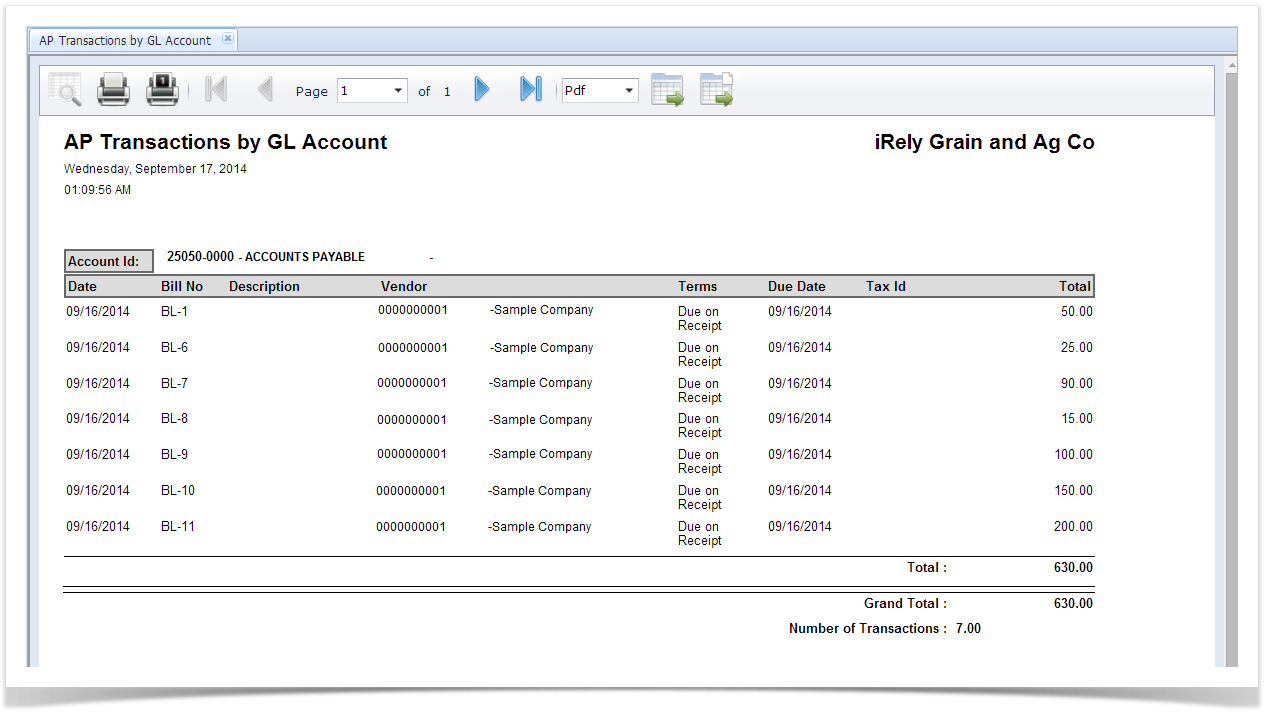
- Preview the report by clicking the Preview toolbar button. The report looks like this:
Overview
Content Tools