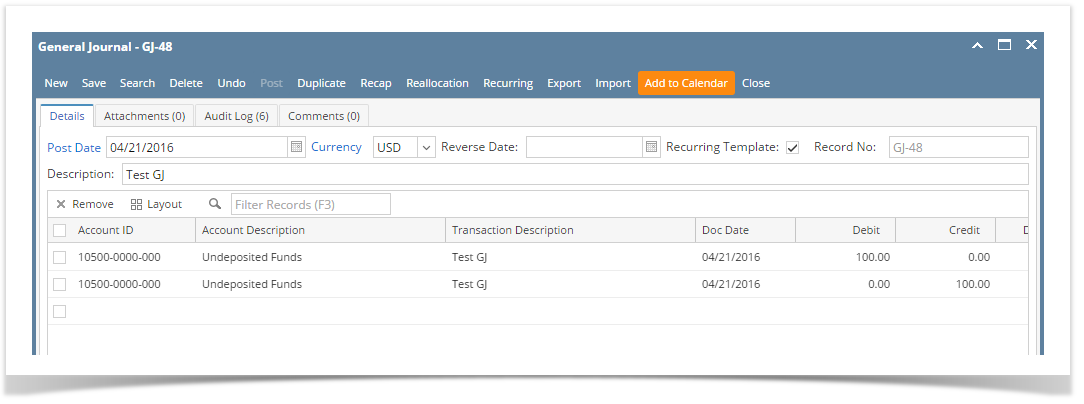
- Open a screen/transaction record that will be added to the Calendar
- Click the Add to Calendar button
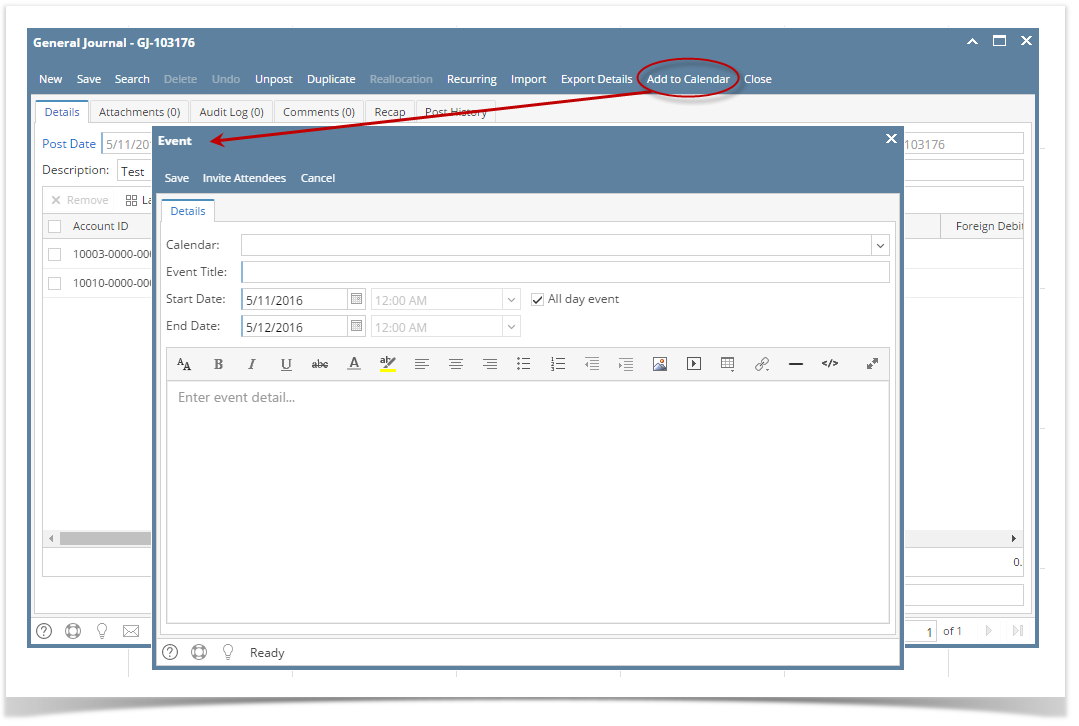
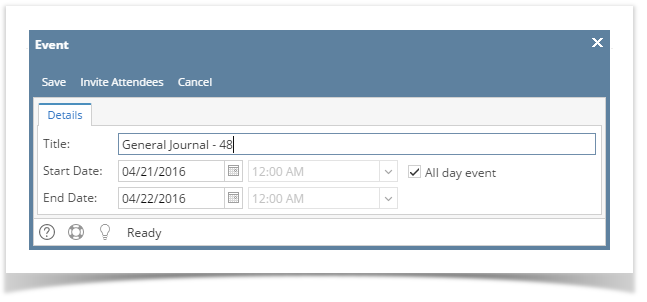
- On the Event form, add the necessary details (Calendar, Event Title, Event Details)
- By default Start Date will be filled with the Post date, but this can be changed.
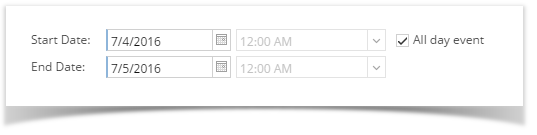
- If the All day event check box is checked, End Date will be 12:00 AM of the next day from the Start Date
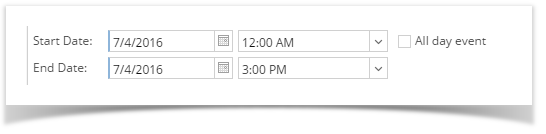
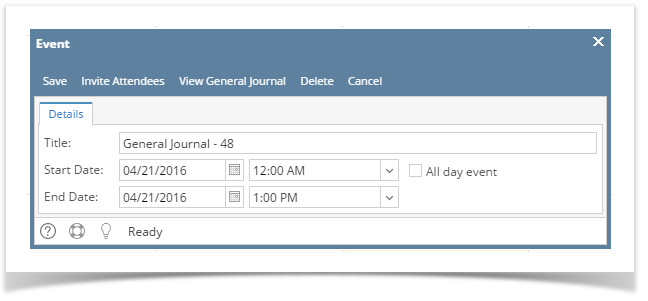
- If the event is within the day, duration will start from Start Date's hour then ends in End Date's hour
- If the All day event check box is checked, End Date will be 12:00 AM of the next day from the Start Date
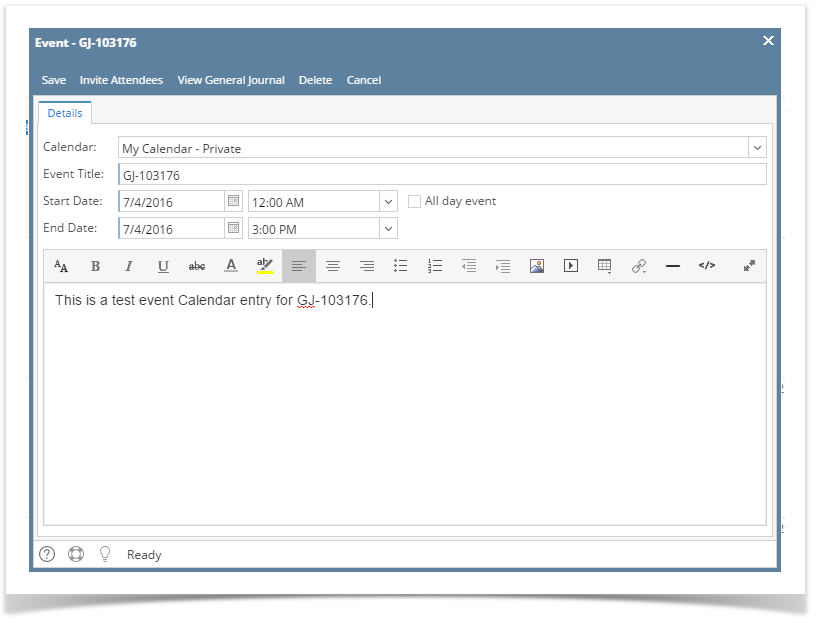
- Click the Save button to save the event. Once the event is saved, it will appear in the calendar
- Go to Common Info > Calendar
Month View: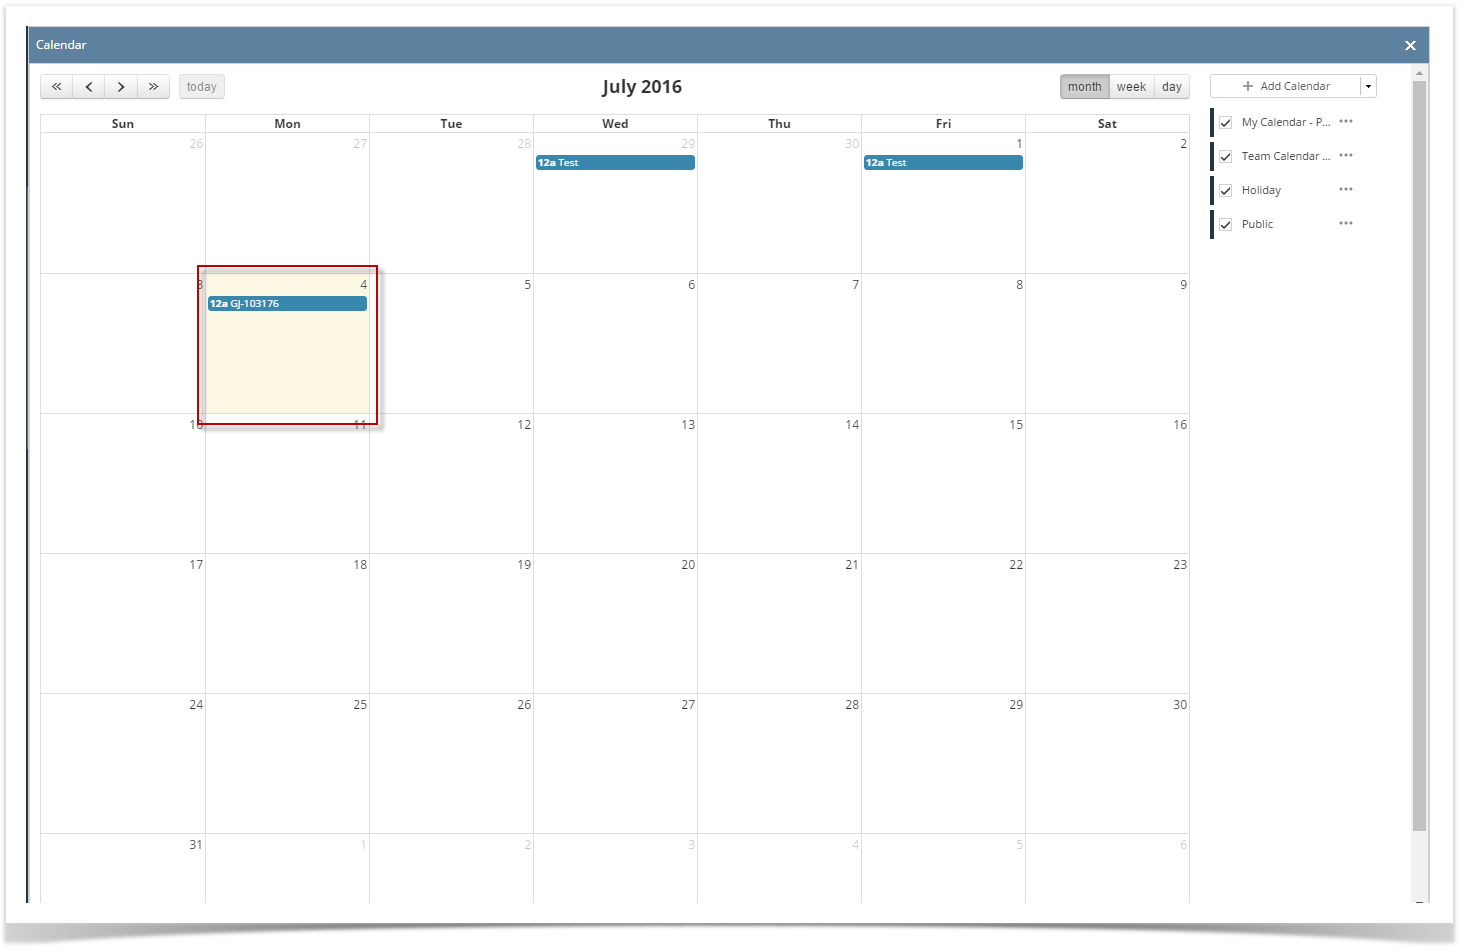
Week View: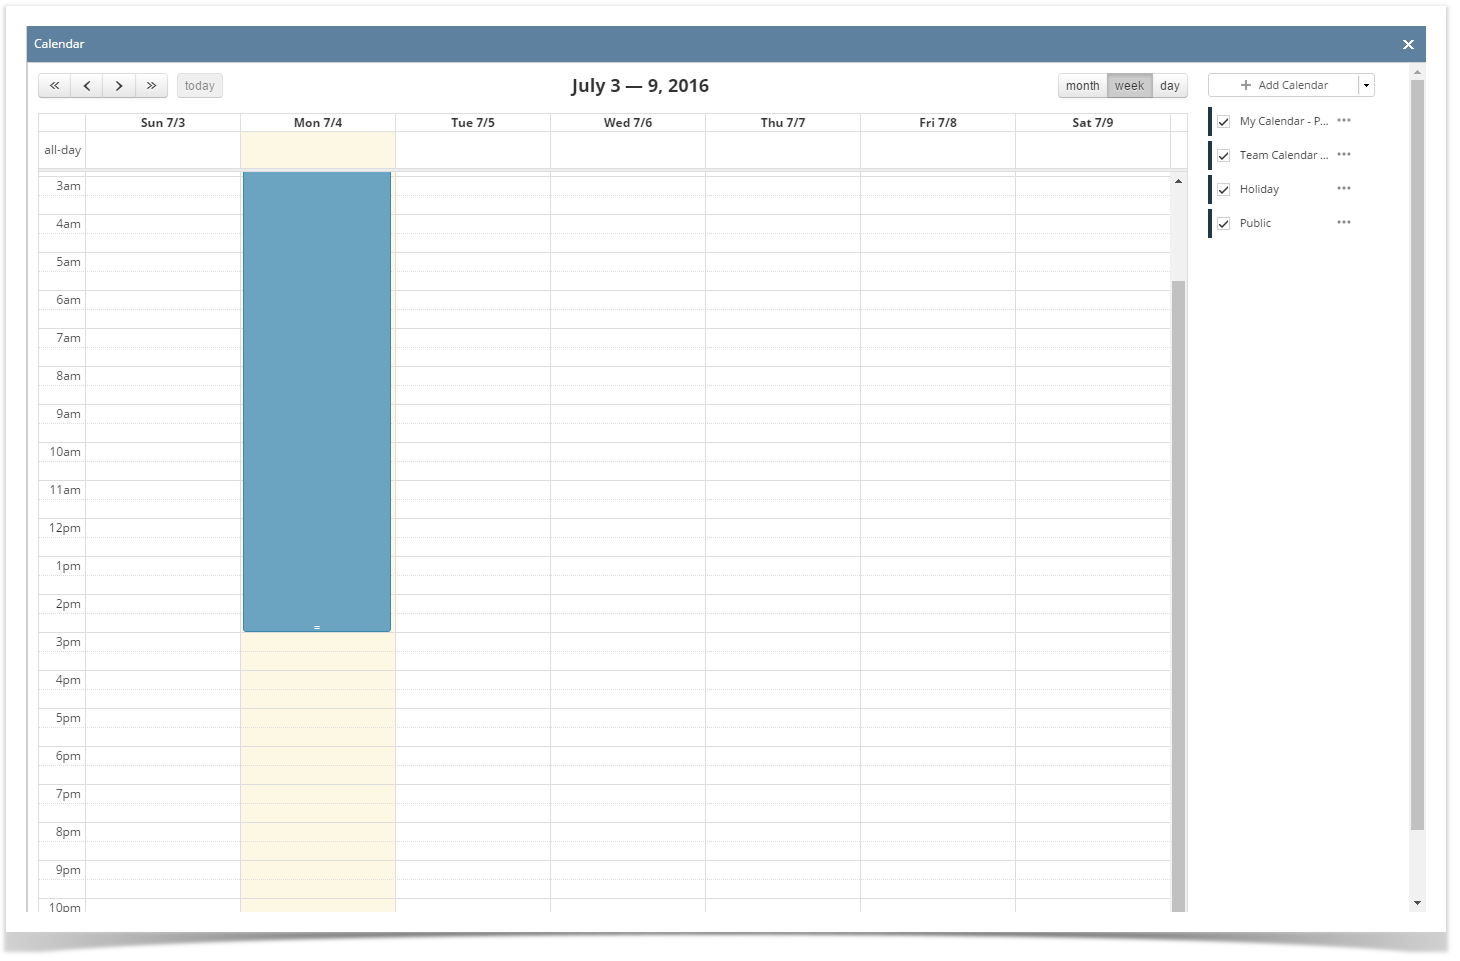
Day View: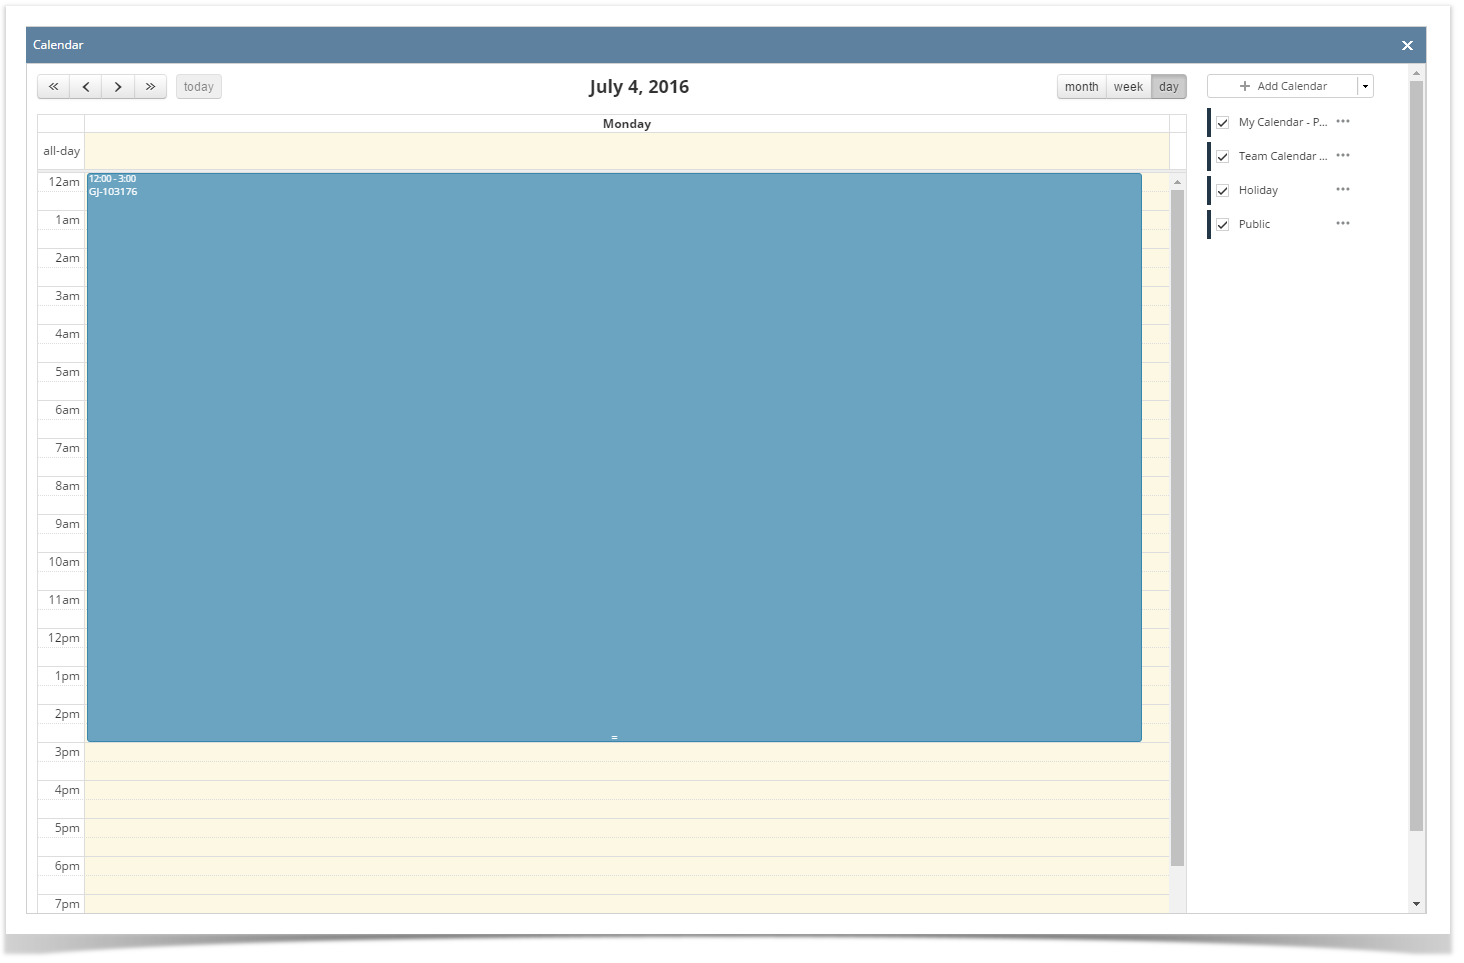
- Open a screen/transaction record that will be added to the Calendar
- Click the Add to Calendar button
- On the Event form, add a Title for the Event
- If the All day event check box is checked, End Date will be 12:00 AM of the next day from the Start Date
- If the event is within the day, duration will start from Start Date's hour then ends in End Date's hour
- If the All day event check box is checked, End Date will be 12:00 AM of the next day from the Start Date
- Click the Save button to save the event. Once the event is saved, it will appear in the calendar
- Go to Common Info > Calendar
Month View: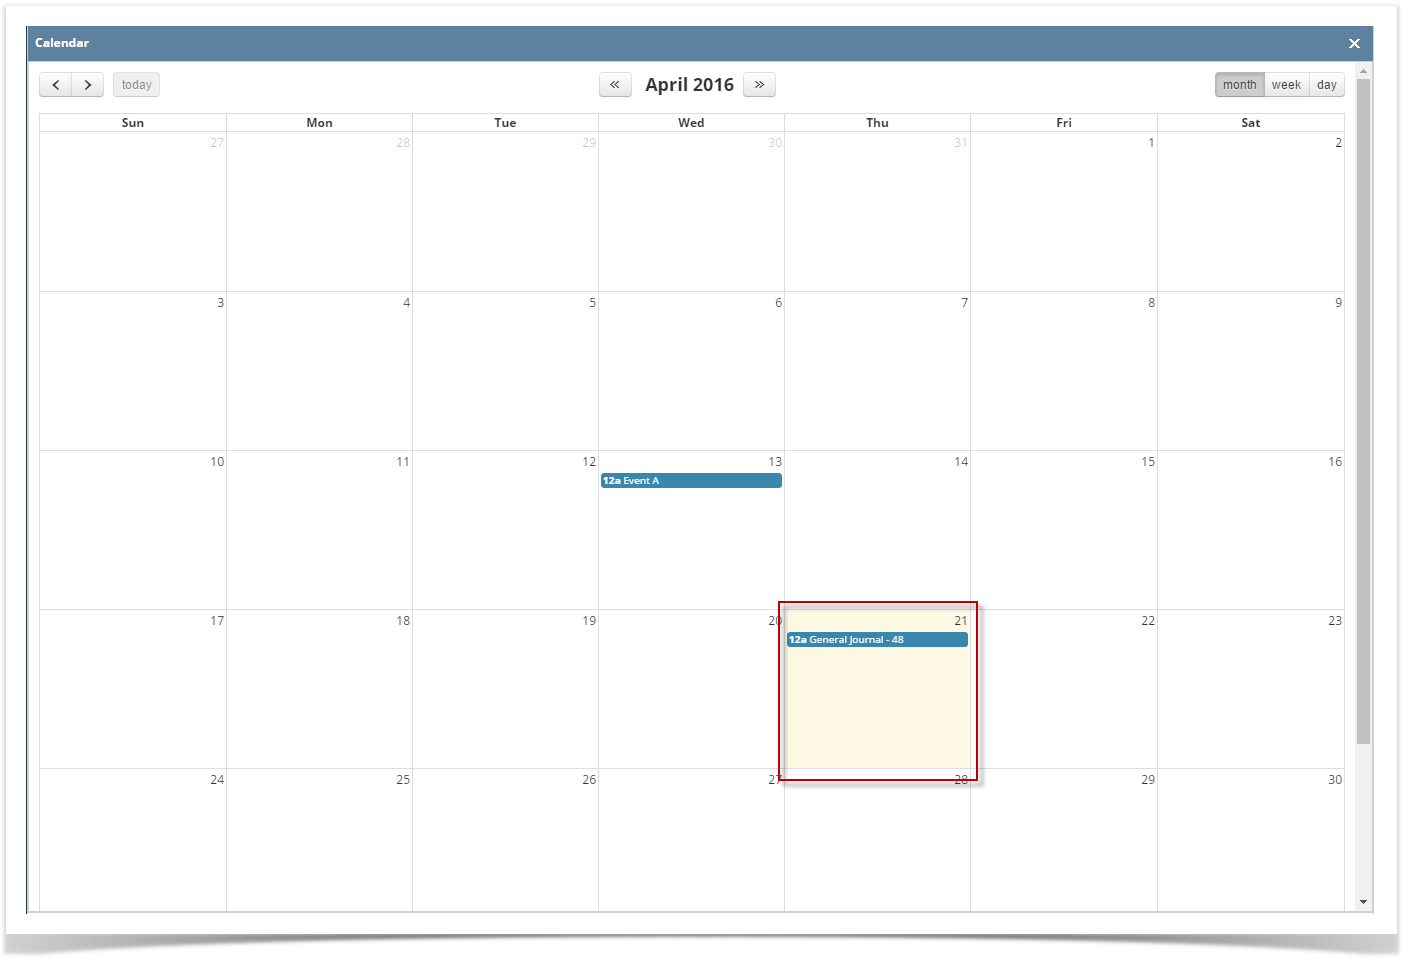
Week View: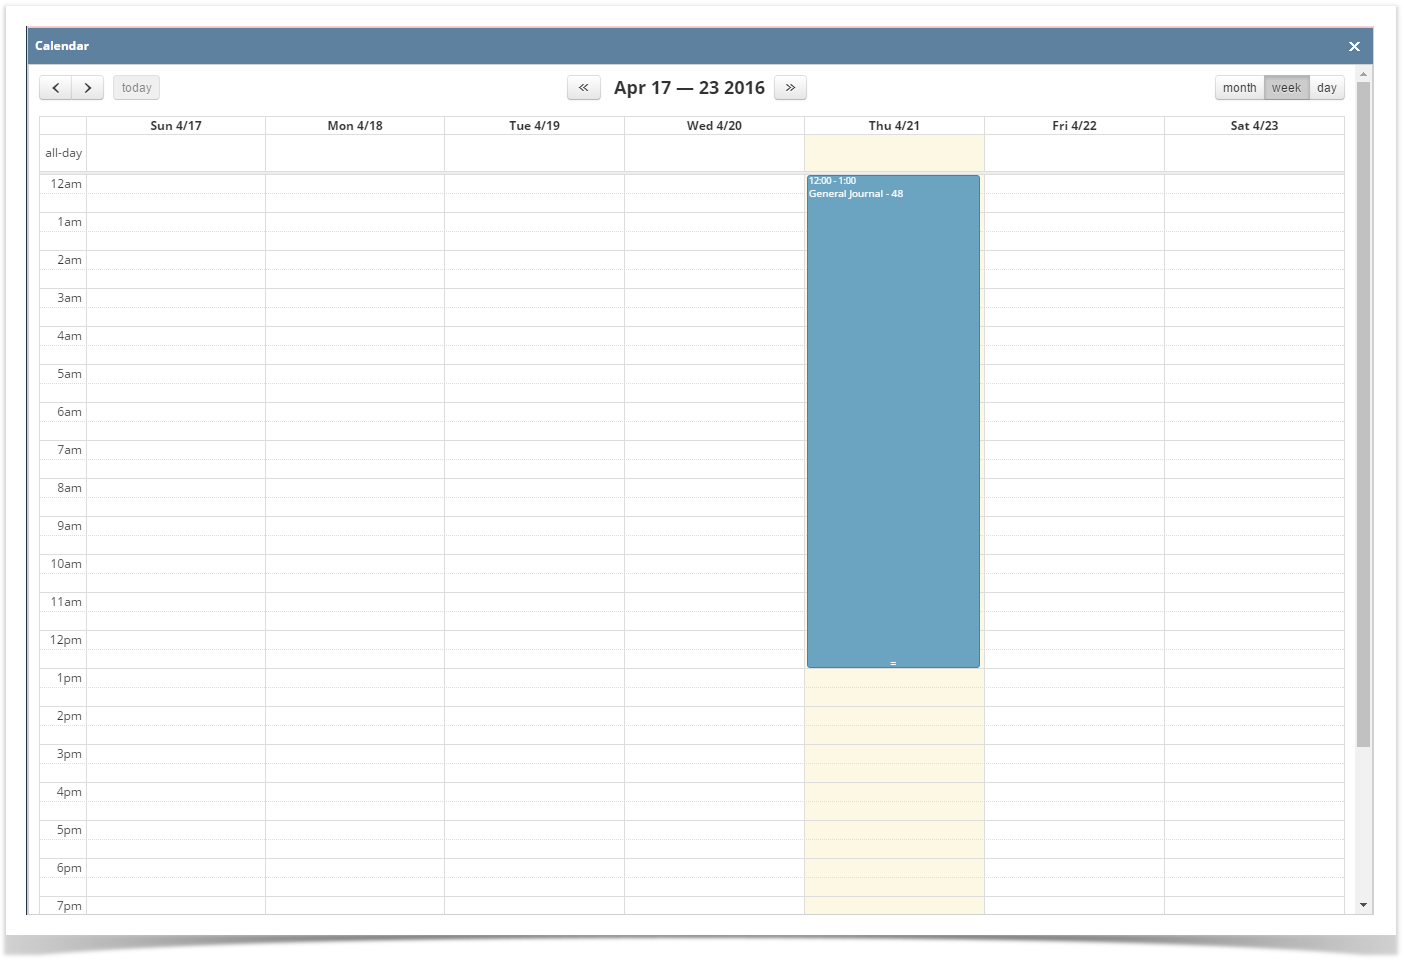
Day View: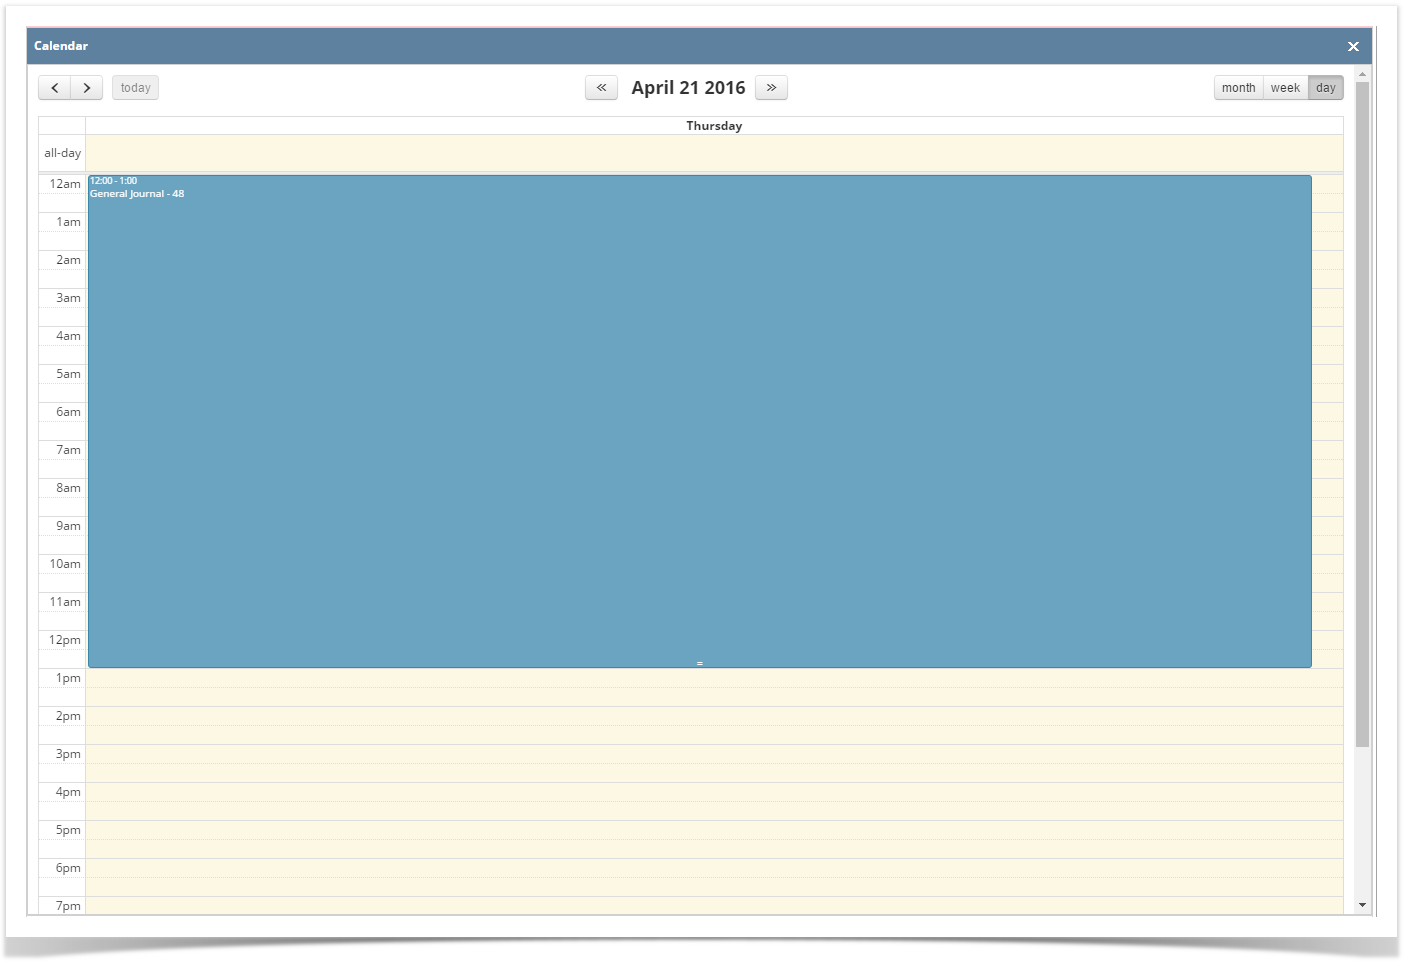
Overview
Content Tools