To be able to create Transport Load for Blended Item, the following needs to be setup first:
a. Item Setup:
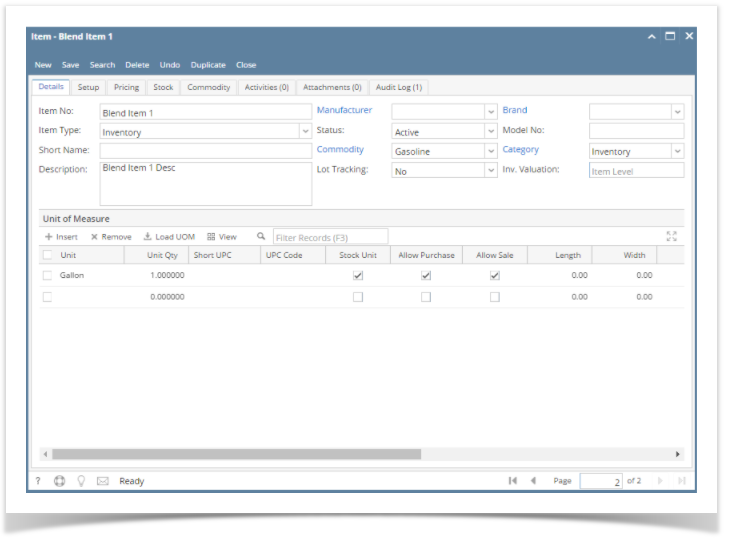
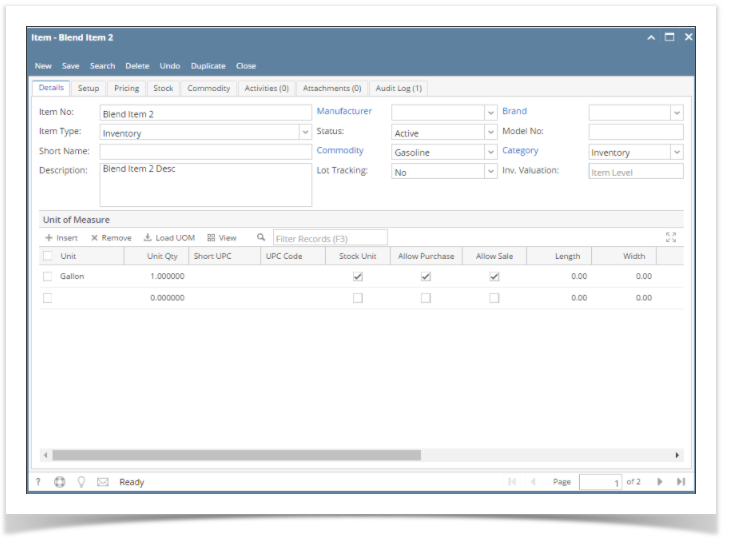
- From Inventory > Items, create 2 new items as Inventory Item Type and save. Sample below:
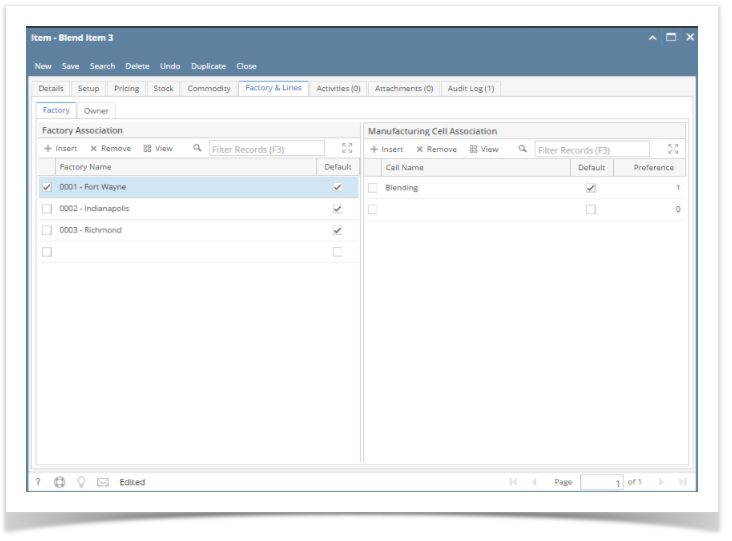
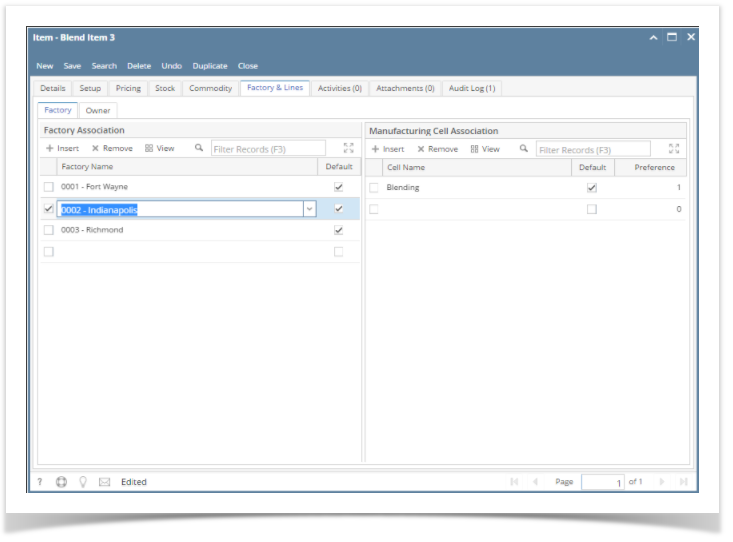
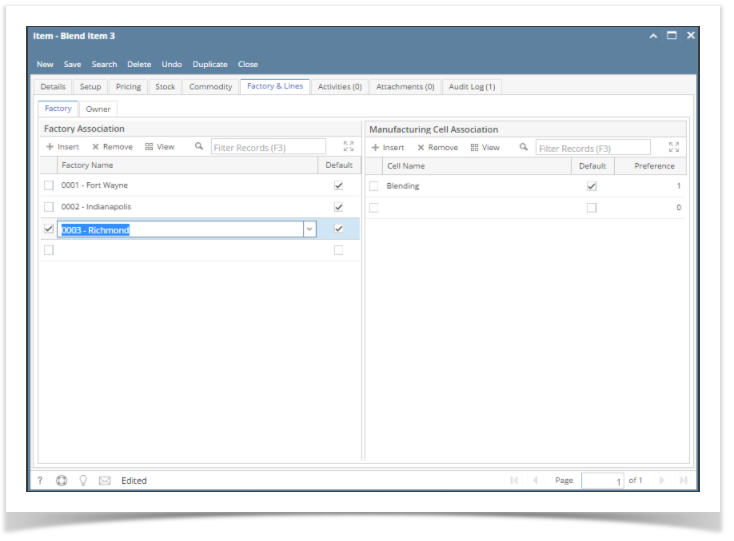
- Create another item as Finished Good Item Type and fill in Factory & Lines tab > Factory tab. Select Company Locations on Factory Name. Each factory name should have Manufacturing Cell Association Cell Name and Default checkboxes should be enabled. Click Save button. Sample below:
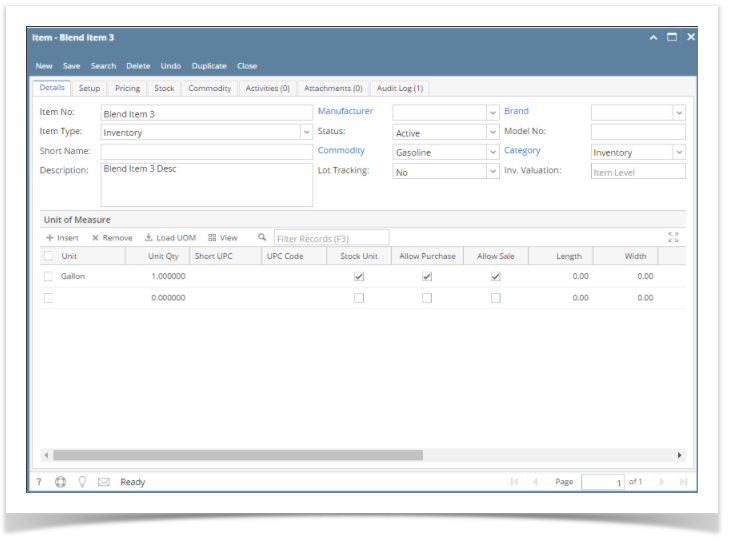
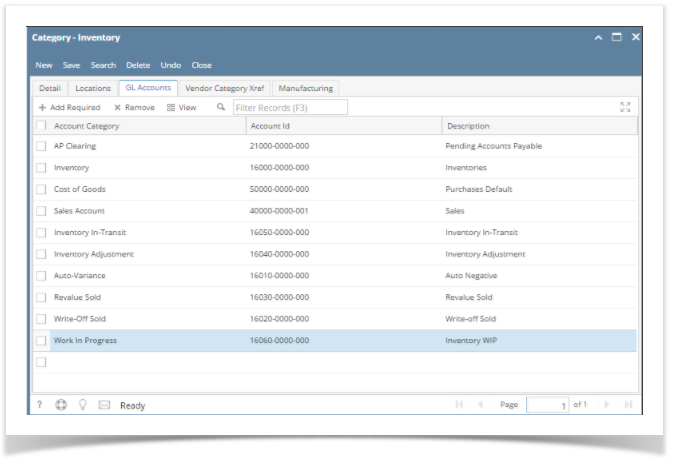
- Once filled in, go to Details tab and change the Item Type to Inventory and select Category with Work In Progress GL Account. Sample below:
- Make sure to save the changes on the last item.
b. Recipe Setup:
- From Manufacturing > Recipes, create new recipe.
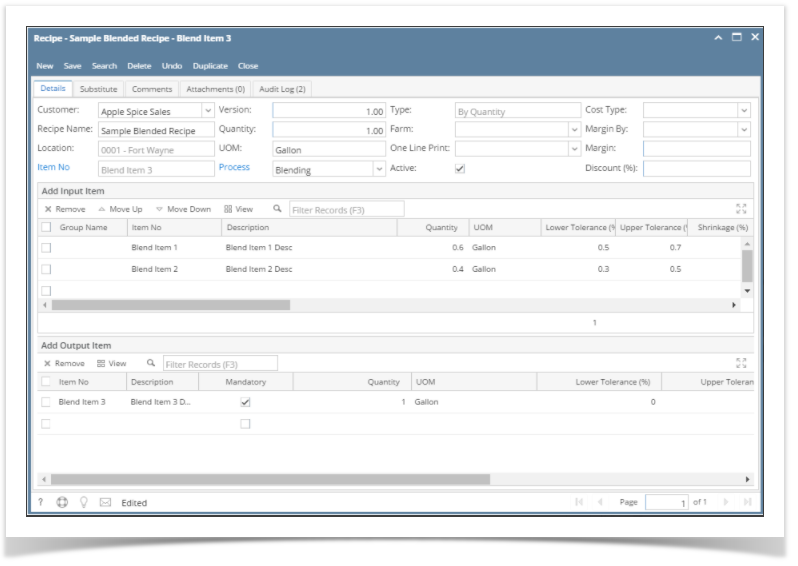
- Enter Recipe Name, Location, Item (actual item to hold the output - ie. Blend Item 3), Quantity and UOM on the header
- On Add Input Item grid, add the 2 inventory items as ingredients and add required quantity and its UOM.
- Set Lower and Upper Tolerance.
- On Add Output Item grid, added item on the header area will show by default.
- Click Save. Sample below:
c. Transports Implementation:
- From Transports > Transport Load, hit New button.
- Supply Load Date/Time and Driver field.
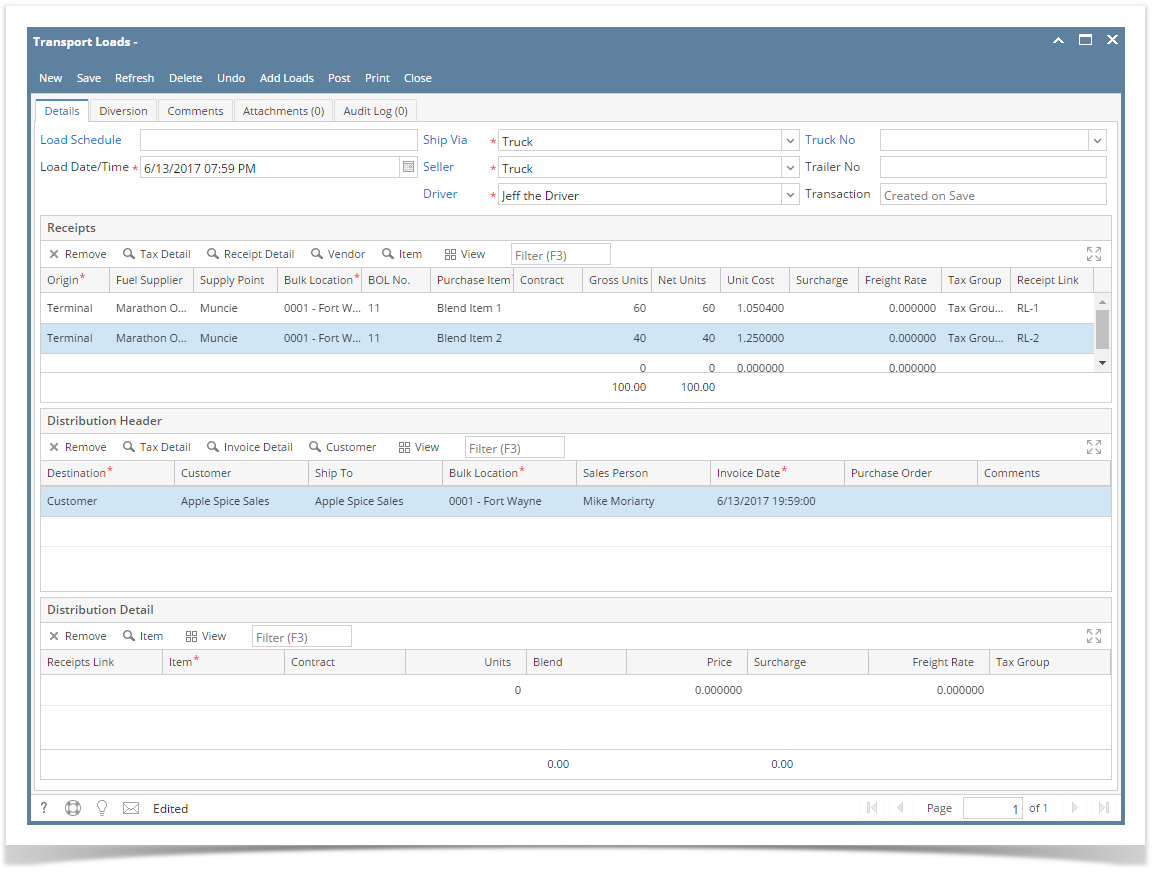
- Add the 2 ingredients items on Receipts grid using same vendor and vendor location.
Add customer on Distribution Header grid and other required fields. Sample below:
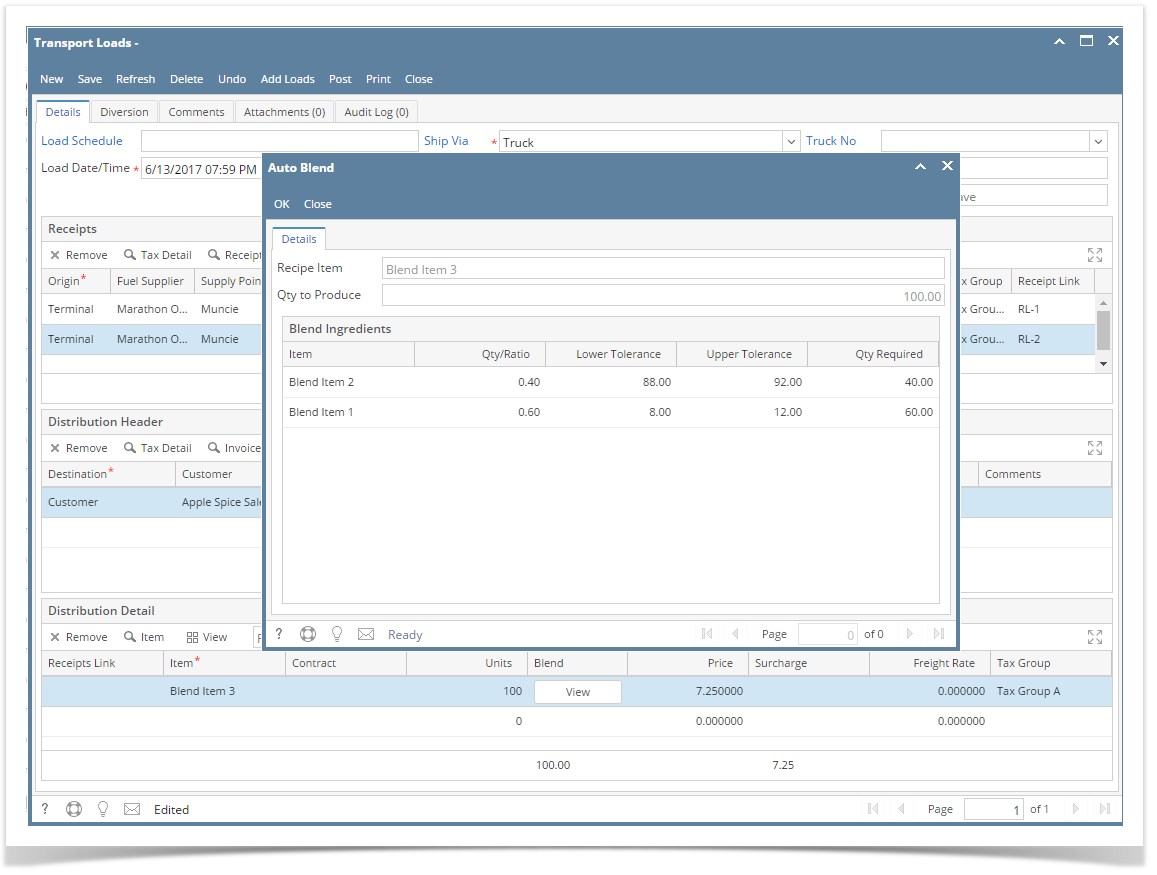
- On Distribution Detail grid, select the output item (Blend Item 3) on Item field. Add Units = 100 then tab. Auto Blend screen appears showing the Blend Ingredients quantity required:
- Click OK button then save and post.
Overview
Content Tools
