Here are the steps on how to create a Inbound shipments:
- Go to Logistics module> Shipping Instruction. If there's an existing option, Search Shipping Instruction screen will open. Otherwise, New Shipping Instruction screen will open automatically.
- Click on the New button of Shipping Instruction- search screen and a new fresh Shipping Instruction screen will open.
Details Tab
- User can enter the shipping date, Booking No:, Booking Date, Shipment Date, Seller, Buyer in the header portion. Selecting Customer is not mandatory- User can select the customer only if it is not a direct shipment case and the Reference No: will get added automatically.
- According to the selected vendor, the PO numbers will list out in the purchase section.
- User can select multiple PO contracts in the grid.
- If The customer is selected in header portion, the Sales Contracts with the selected Customer will populate in the SO number column under Sales contract section.
Shipment Details
- User can enter the shipment details like Origin Port, destination port, shipping line, vessel details, container dertails, B/L details etc... in this section
Estimated Dates
- User can enter the estimated date of arrival, discharge, Deadline B/L, ISF filed date, ISF Received date etc in this section.
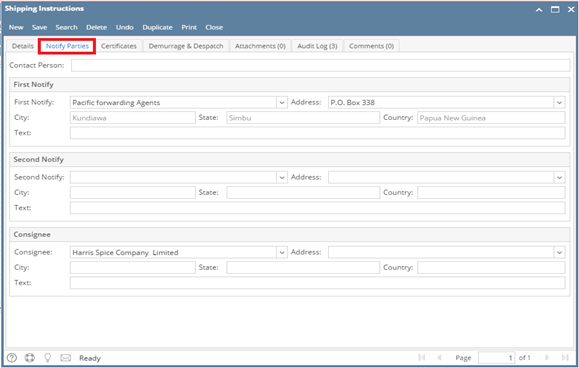
Tab-2 , User can enter information about consignee and notify party. If for consignee user wants to enter some text like “To Order”, it can be entered in the text box.
Tab-3 Certificates
The certificates selected in the contract are populated here.
After entering all the relevant information, save the shipping instruction and click on print.
The shipping instruction document can be printed and saved locally on the user’s machine and after that the same can be uploaded in i21.
Click on add, and an interface pops up to help with the upload process. In the below screen click on Insert files
On clicking on insert files, you can select the file from destination and click open
The file name is shown in the grid. Next, click on Upload
The document is saved and uploaded in i21, it can be retrieved later on by clicking on download.


