Page History
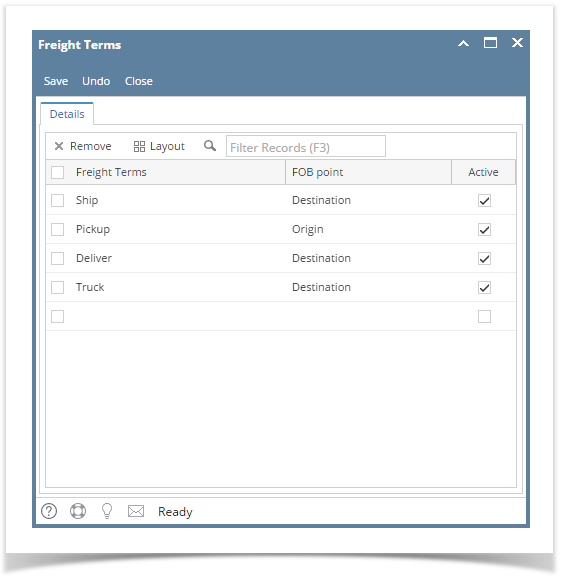
- On the user’s menu panel go to Common Info folder then click Freight Terms

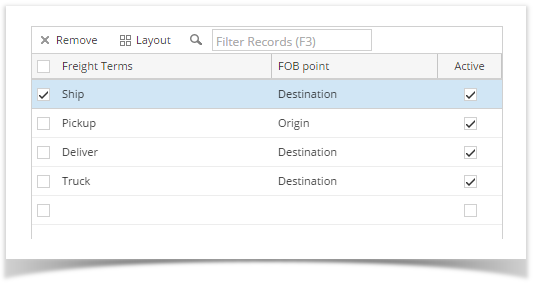
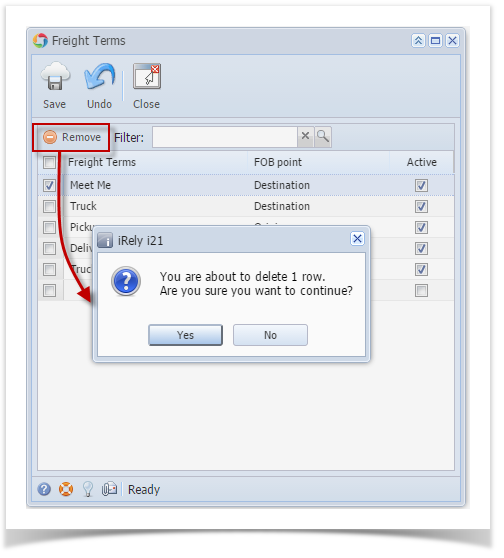
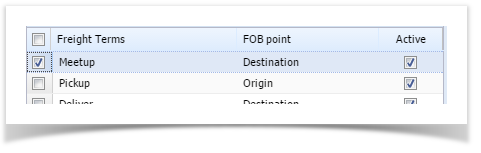
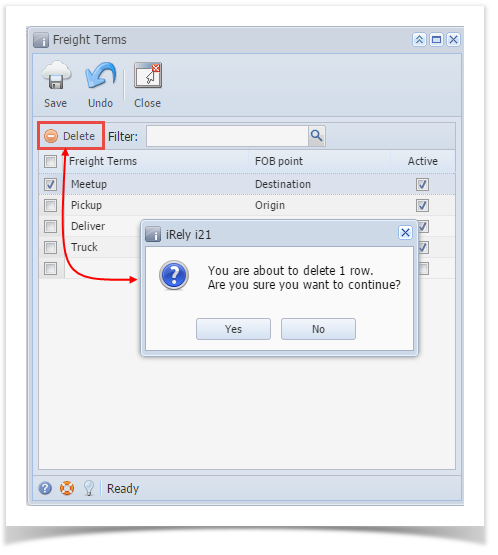
- Select a record from the list by clicking on it or the check box besides it.

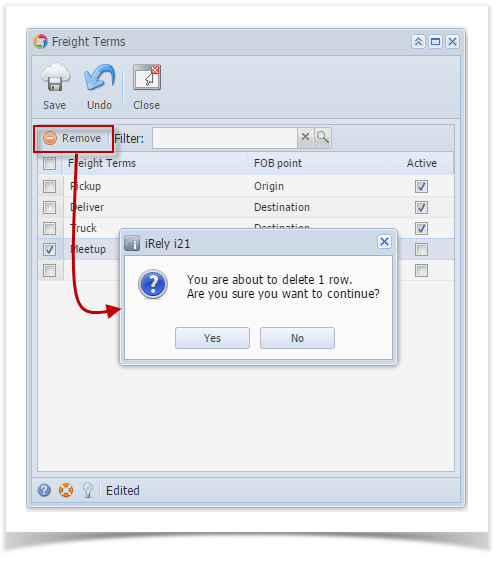
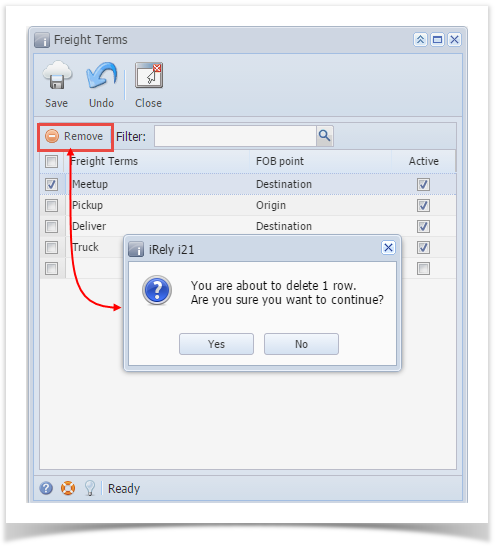
- Click Remove button. A confirmation message will appear.
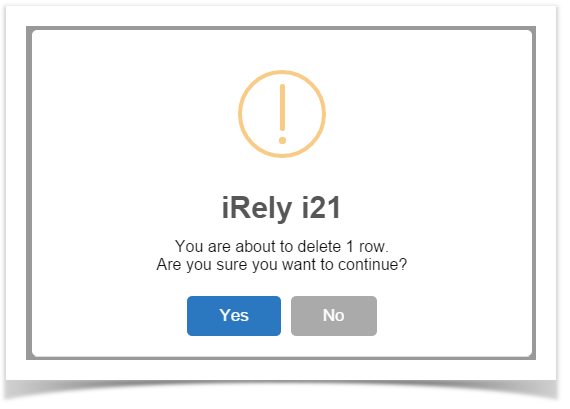
- Click Yes on the message box.
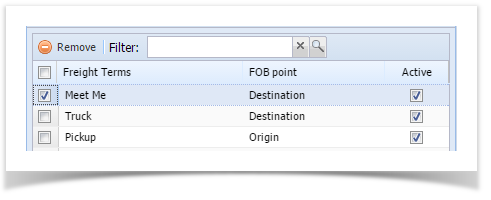
- Click Save toolbar button.
| Expand | ||
|---|---|---|
| ||
|
| Expand | ||
|---|---|---|
| ||
|
| Expand | ||
|---|---|---|
| ||
|
| Expand | ||
|---|---|---|
| ||
|
| Expand | ||
|---|---|---|
| ||
|
...
Overview
Content Tools