Here are the steps on how to add vendors:
- From Main Menu, select Account Payables > Maintenance and then click on Vendors. If there's an existing record, Search Vendor screen will open. Otherwise, Vendor screen will open.
- If Search Vendor screen opens, click on New button to open blank Vendor screen.
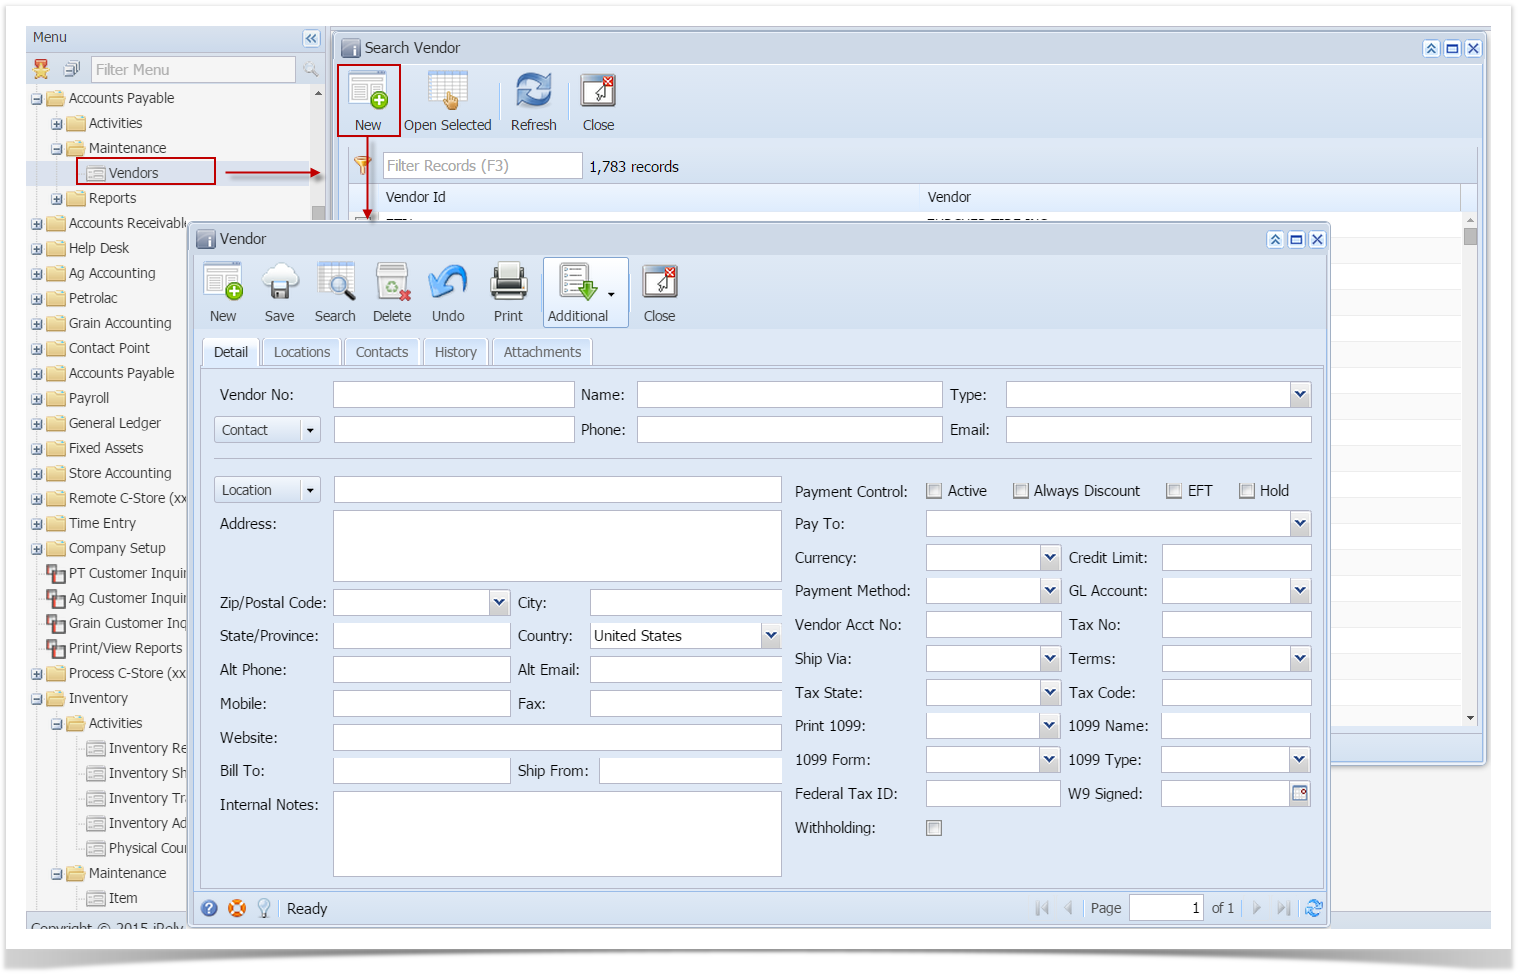
- Enter vendor details on Detail tab. Required fields are Vendor No, Name, Type, Contact, Location, GL Account, Ship Via and Terms.
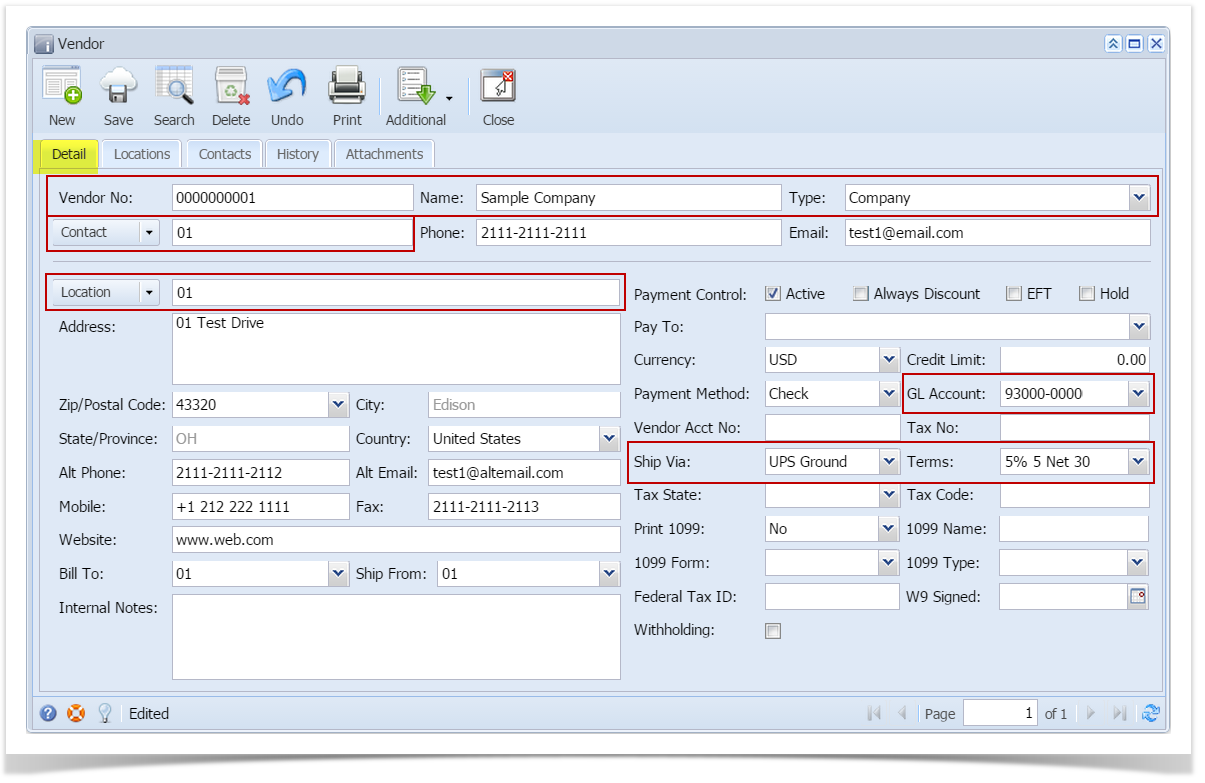
- On Locations tab, location entered on the Detail tab is also displayed. Adding more locations is possible but this is only available when Origin Integration is turned OFF.

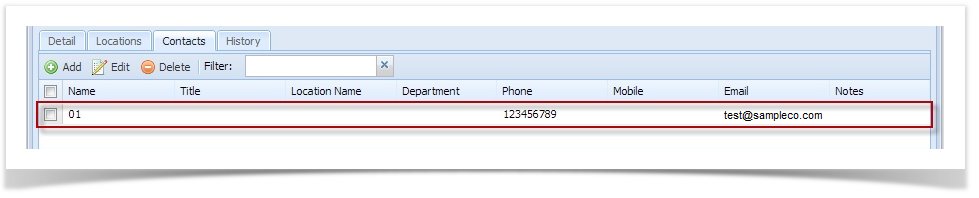
- On Contacts tab, contact entered on the Detail tab is also displayed. Click Add button to add more contacts for this vendor.

- Click Save toolbar button to save newly created vendor.
Here are the steps on how to add vendors:
- From Main Menu, select Account Payables > Maintenance and then click on Vendors. If there's an existing record, Search Vendor screen will open. Otherwise, Vendor screen will open.
- If Search Vendor screen opens, click on New button to open blank Vendor screen.
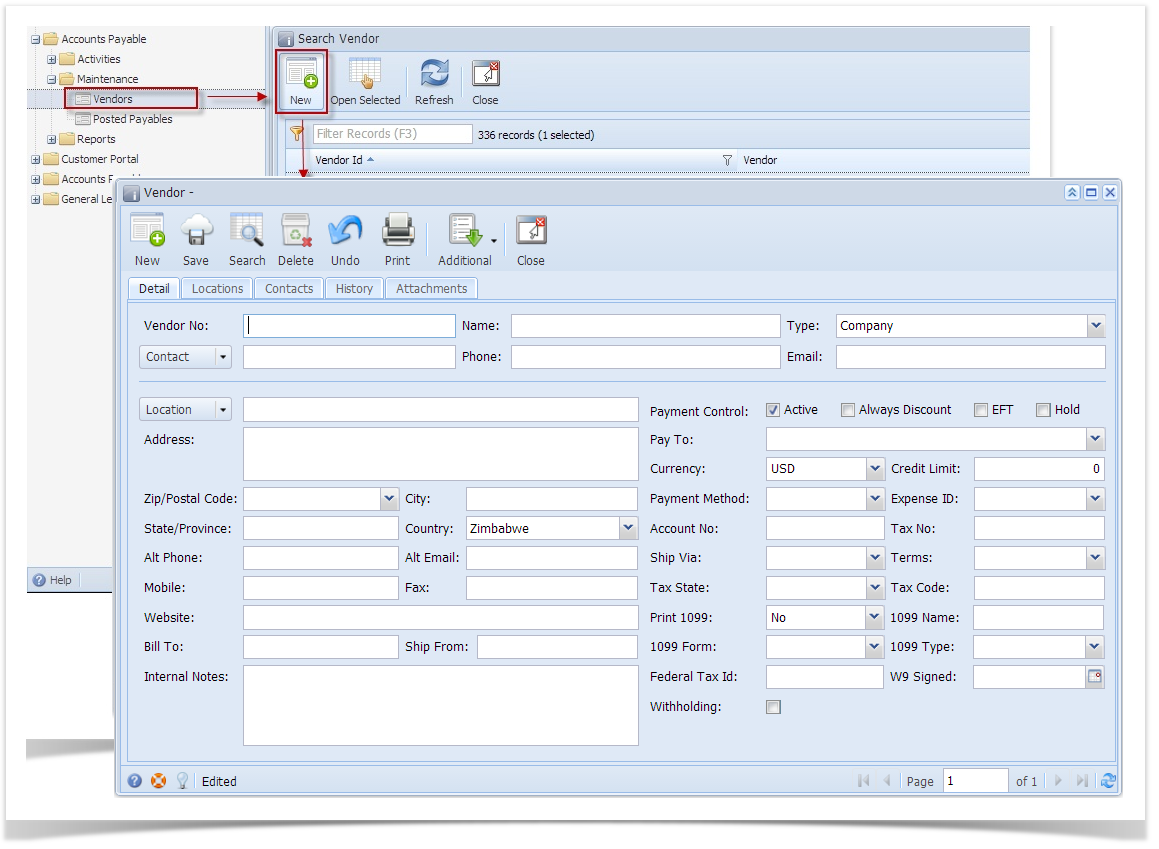
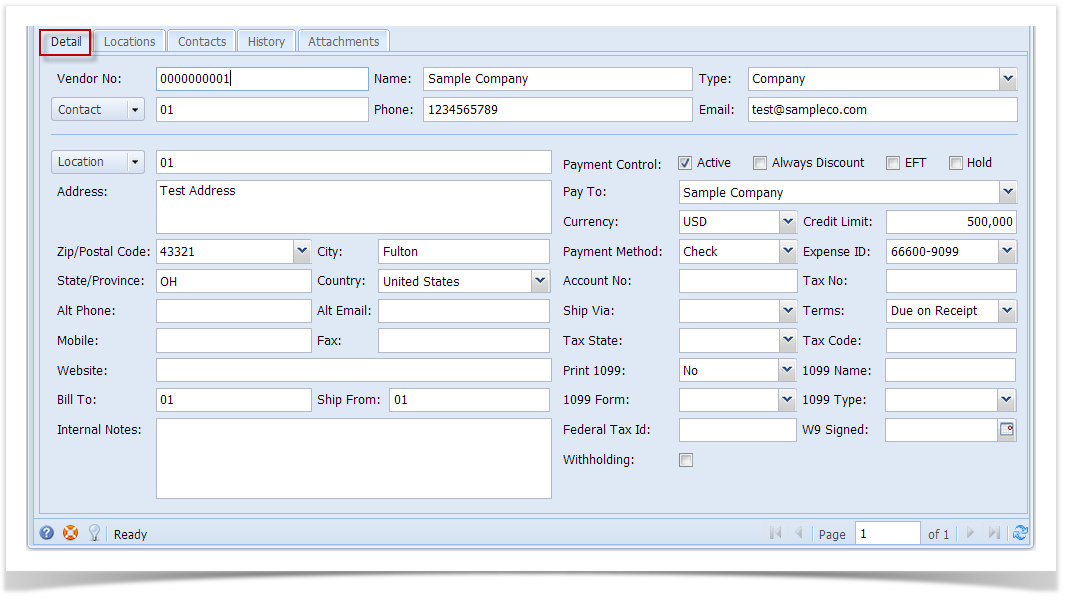
- Enter vendor details on Detail tab. Required fields are Vendor No, Name, Type, Contact, Location, Expense ID, Ship Via and Terms.
- On Locations tab, location entered on the Detail tab is also displayed. Adding more locations is possible but this is only available when Origin Integration is turned OFF.

- On Contacts tab, contact entered on the Detail tab is also displayed. Click Add button to add more contacts for this vendor.
- Click Save toolbar button to save newly created vendor.
Overview
Content Tools