- Add an Item with Item Type set to Service. See also How to Add Item - Service Type.
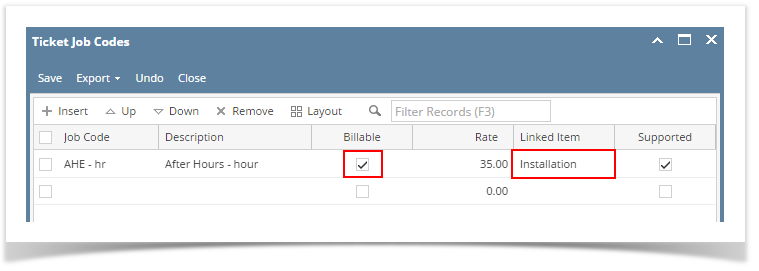
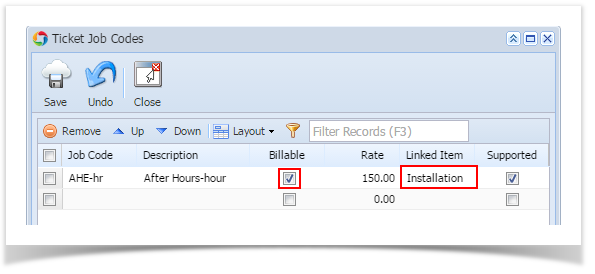
- Associate above item to a billable Job Code. See also How to Add Ticket Job Codes.
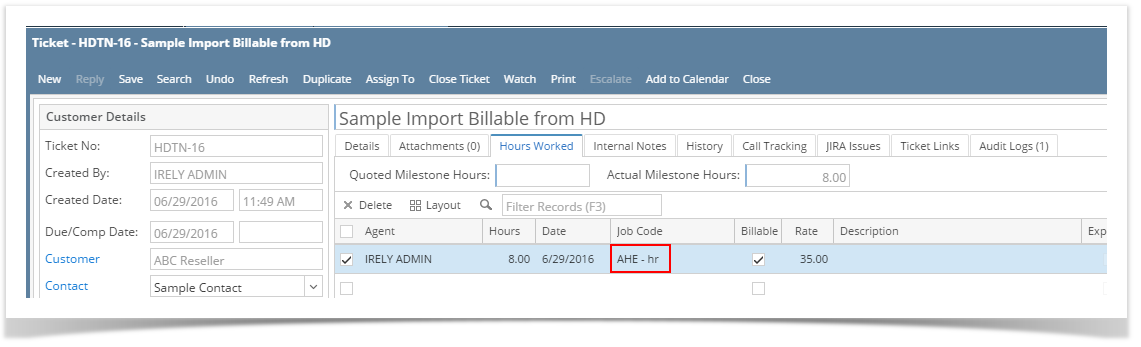
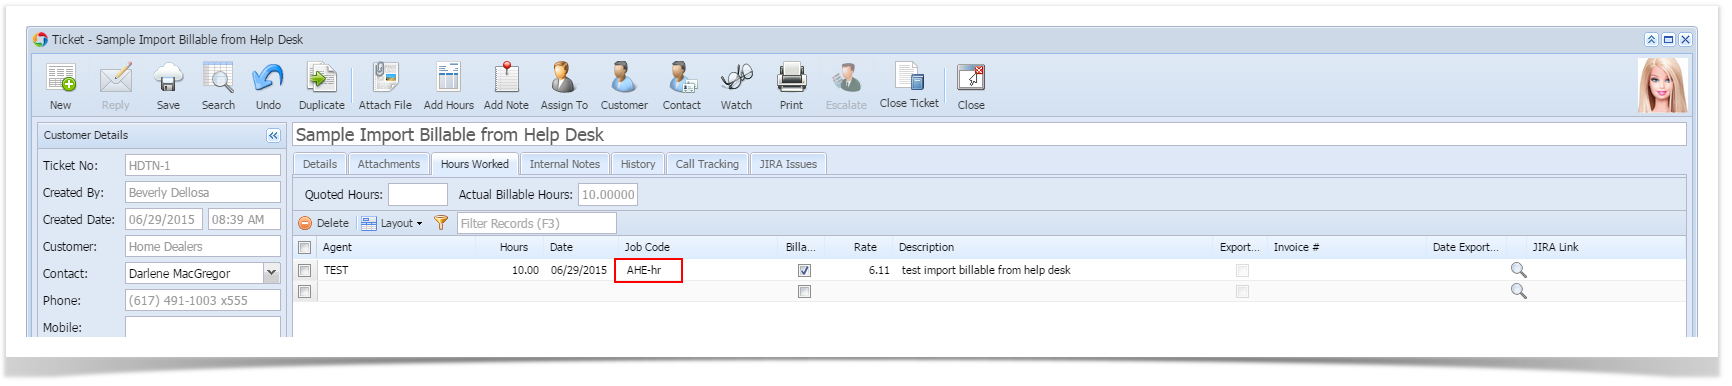
- Create a ticket for the customer and add an Hours Worked. On the Job Code field, select a code that is billable and is liked to an item. The Rate will default to the price configured on the inventory item at the time the job gets created. See also How to Create Tickets.
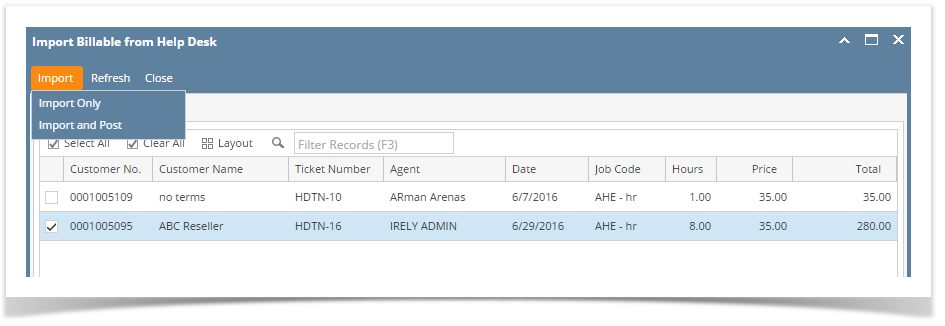
- Open the Import Billable from Help Desk screen, Sales | Import Billable from Help Desk menu. The screen will display all the billable hours from Help Desk.
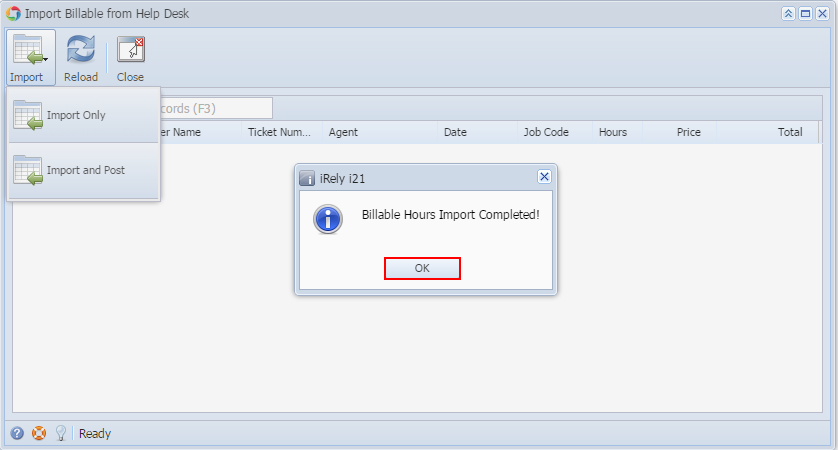
- Select the row/s to be imported then click the Import button. You have two import options,
- Import Only - this will import the billable hours and generate an Invoice. Invoice is not posted.
- Import and Post - this will import the billable hours, generate an Invoice, and Post the Invoice.
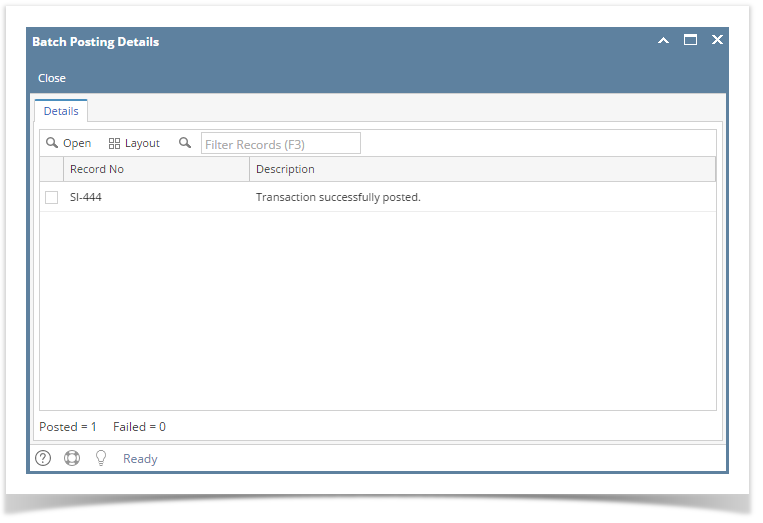
This message will be displayed. Click the OK button. All imported records will be removed in the Import Billable from Help Desk grid.

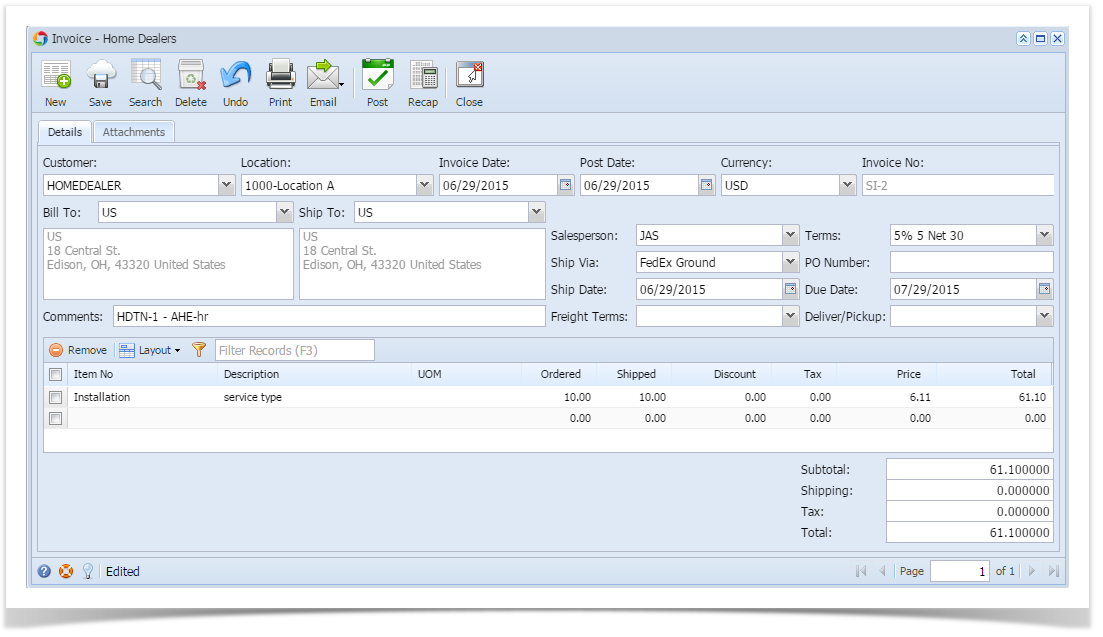
Open the Invoice search grid, Sales | Invoices menu. The imported record will be displayed on the upper row of the search grid.
If there are multiple imported billable hours, the system will group it by customer and location. Thus, tickets from the same Customer and having the same Location will be grouped in a single Invoice.
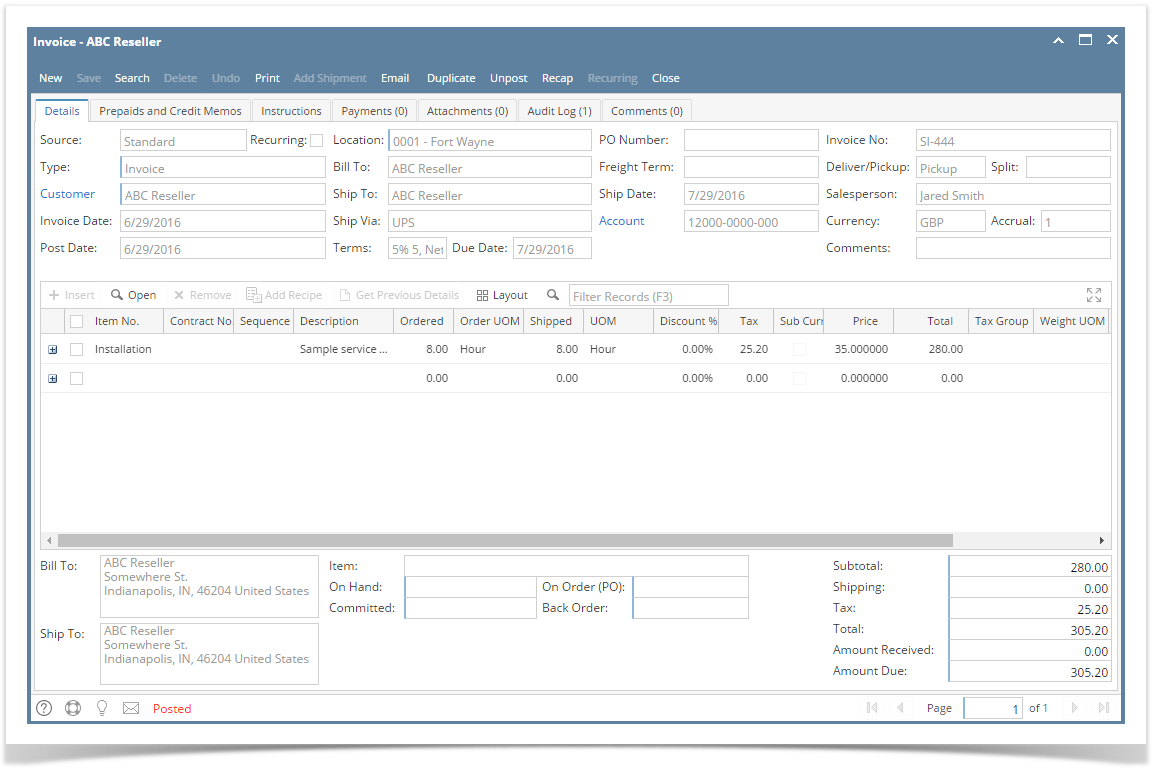
- Open the Invoice record and verify the details.
- Add an Item with Item Type set to Service. See also How to Add Item - Service Type.
- Associate above item to a billable Job Code. See also How to Add Ticket Job Codes.
- Create a ticket for a customer, then add an Hours Worked. On the Job Code field, select a code that is billable and is liked to an item. The Rate will default to the price configured on the inventory item at the time the job gets created. See also How to Create Tickets
- On Sales folder, click the Import Billable from Help Desk menu. The screen will display all the billable hours from Help Desk.

- Select the row to be imported then click the Import toolbar button. You have two import options,
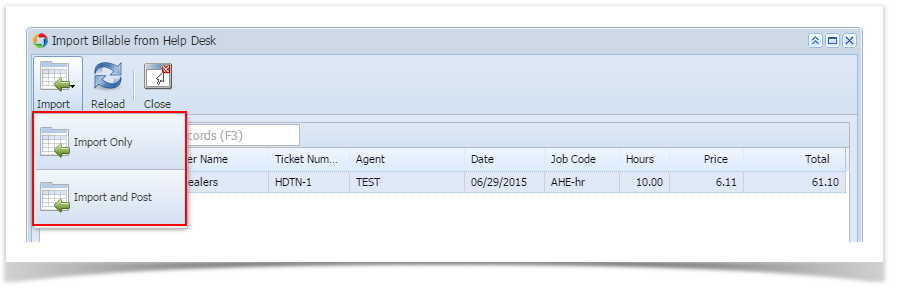
- Import Only - this will import the billable hours and generate an Invoice. Invoice is not posted.
- Import and Post - this will import the billable hours, generate an Invoice, and Post the Invoice.
- Once importing is successful, you will receive this message. Click OK button. The imported billable hours should be removed in the grid.
- On Sales folder, click the Invoice menu. The imported record will be displayed on the upper row of the search grid.

- Open the Invoice record and verify the details.
Overview
Content Tools