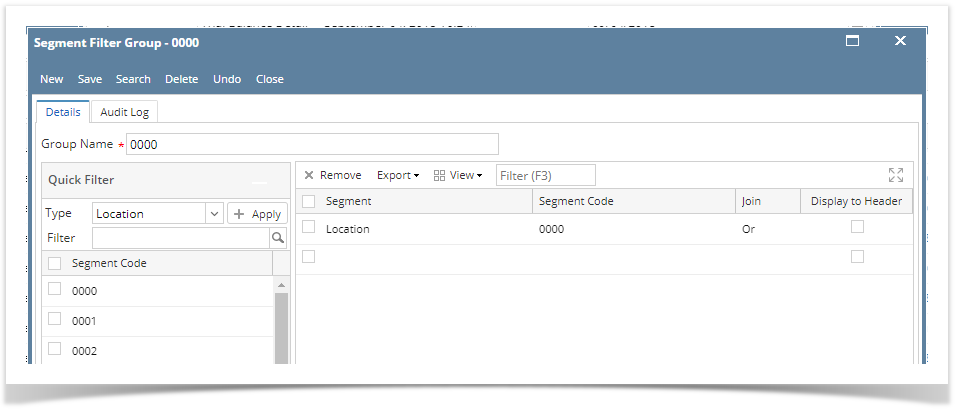
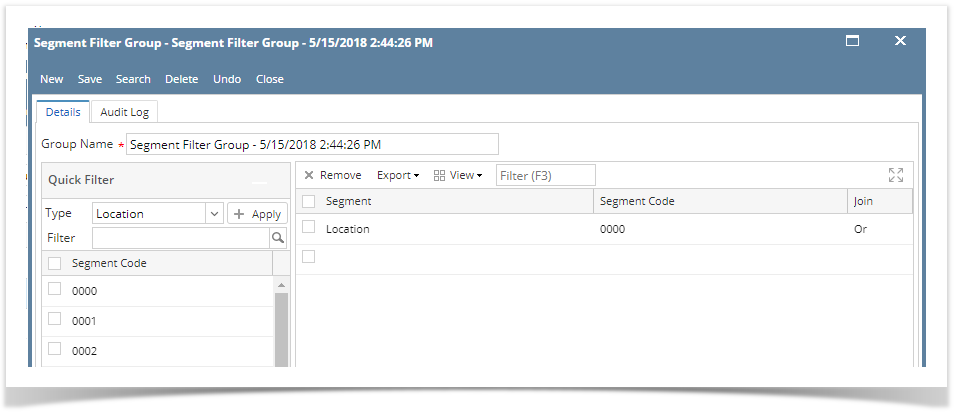
Follow the steps below on how to assign Segment Filter to a column.
  1. Select any of these columns, 
    1. Beginning Balance
    2. Budget
    3. Credit
    4. Credit Units
    5. Debit
    6. Debit Units
    7. End Balance
    8. GL Amounts
    9. GL Trend
    10. Units
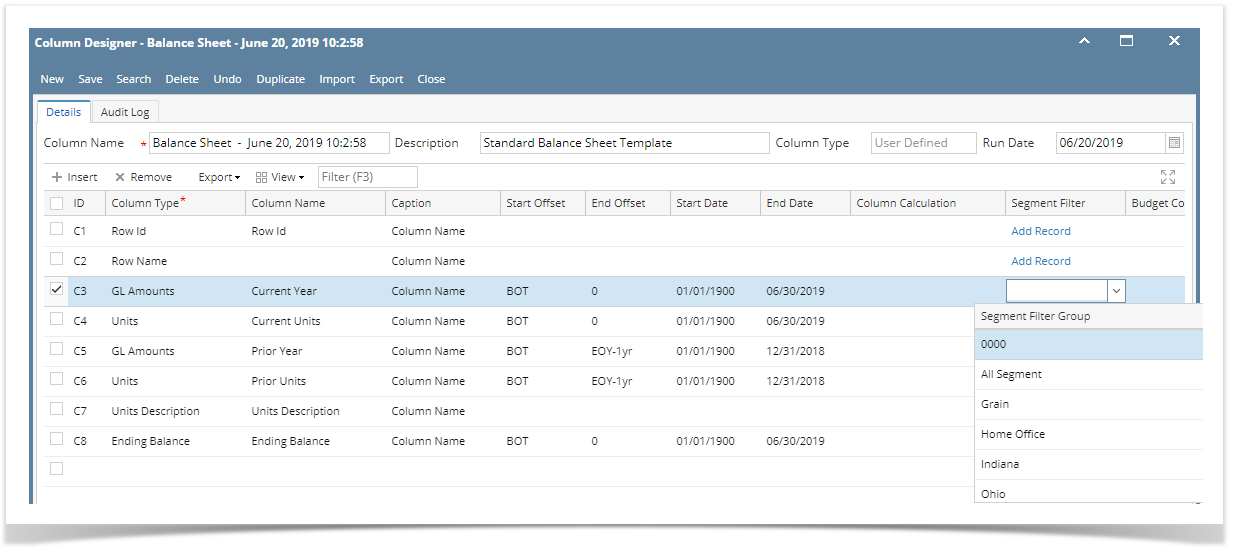
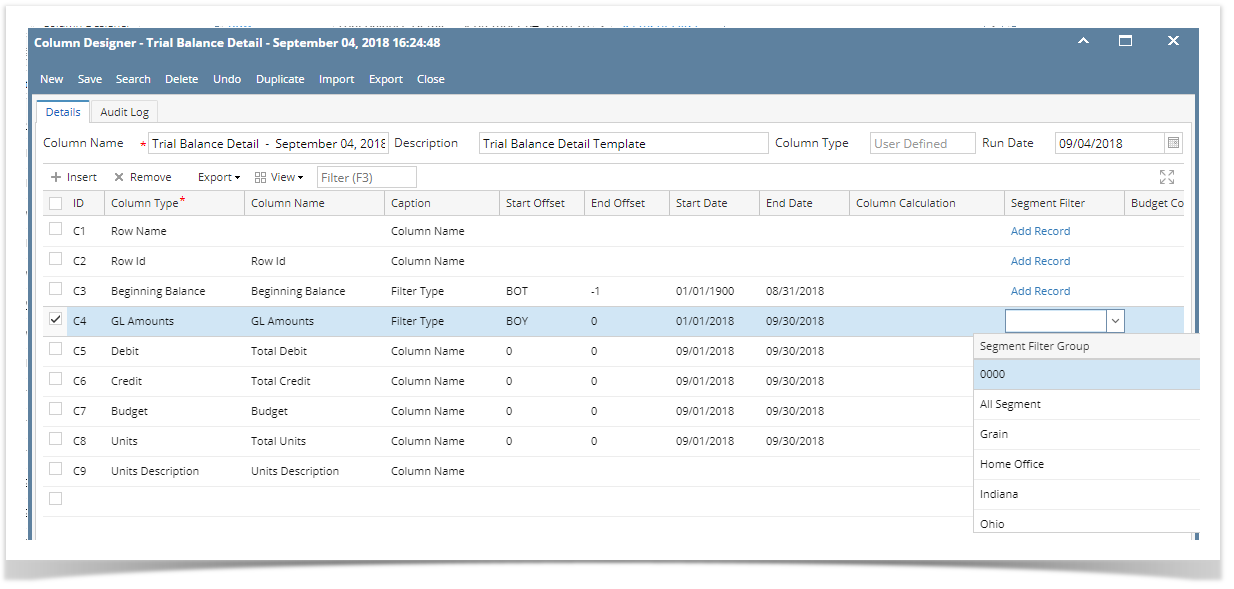
  1. Place your cursor on the Segment Filter field. A dropdown button will be shown. Click on that button. The Segment Filter Group combo box will be shown. 
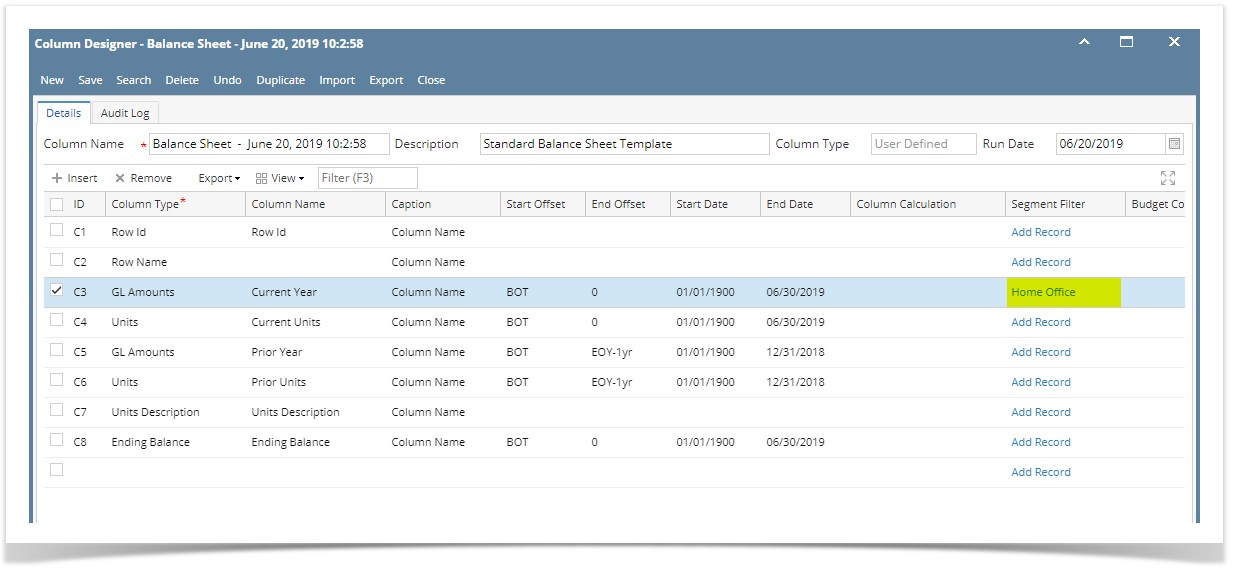
  2. Select a Segment Filter for the column. 
  3. Save and close the Column Designer screen.
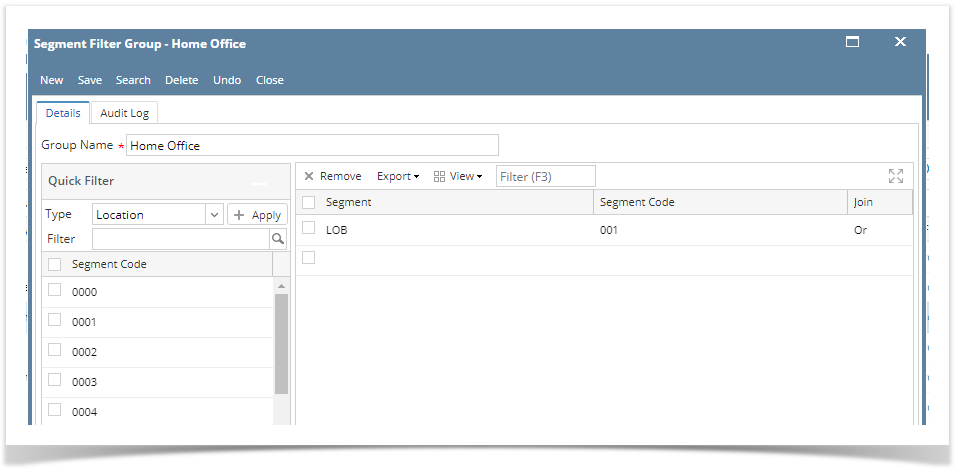
  4. When printing a report using this column designer, the specific column will be filtered by LOB 001 as configured. 

Follow the steps below on how to assign Segment Filter to a column.

  1. Select any of these columns, 


    1. Beginning Balance
    2. Budget
    3. Credit
    4. Credit Units
    5. Debit
    6. Debit Units
    7. End Balance
    8. GL Amounts
    9. GL Trend
    10. Units
  1. Place your cursor on the Segment Filter field. A dropdown button will be shown. Click on that button. The Segment Filter Group combo box will be shown. 
  2. Select a Segment Filter for the column. 
  3. Save and close the Column Designer screen.
  4. When printing a report using this column designer, the specific column will be filtered by Location 0000 as configured. 
Follow the steps below on how to assign Segment Filter to a column.
  1. Select any of these columns, 
    1. Beginning Balance
    2. Budget
    3. Credit
    4. Credit Units
    5. Debit
    6. Debit Units
    7. End Balance
    8. GL Amounts
    9. GL Trend
    10. Units
  1. Place your cursor on the Segment Filter field. A dropdown button will be shown. Click on that button. The Segment Filter Group combo box will be shown. 
  2. Select a Segment Filter for the column. 
  3. Save and close the Column Designer screen.
  4. When printing a report using this column designer, the specific column will be filtered by Location 1000 and Location 2000 as configured. 
  • No labels