Company Preferences Settings:
Here are the steps on how to create the settings in Company Preferences.
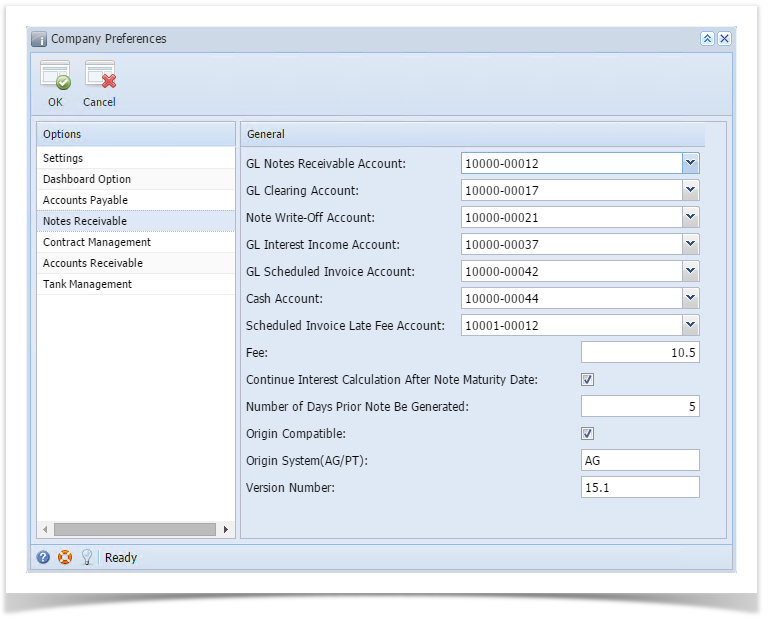
- Click on “Admin” from the menu panel -> click on Company Preferences -> click on Note Receivable.
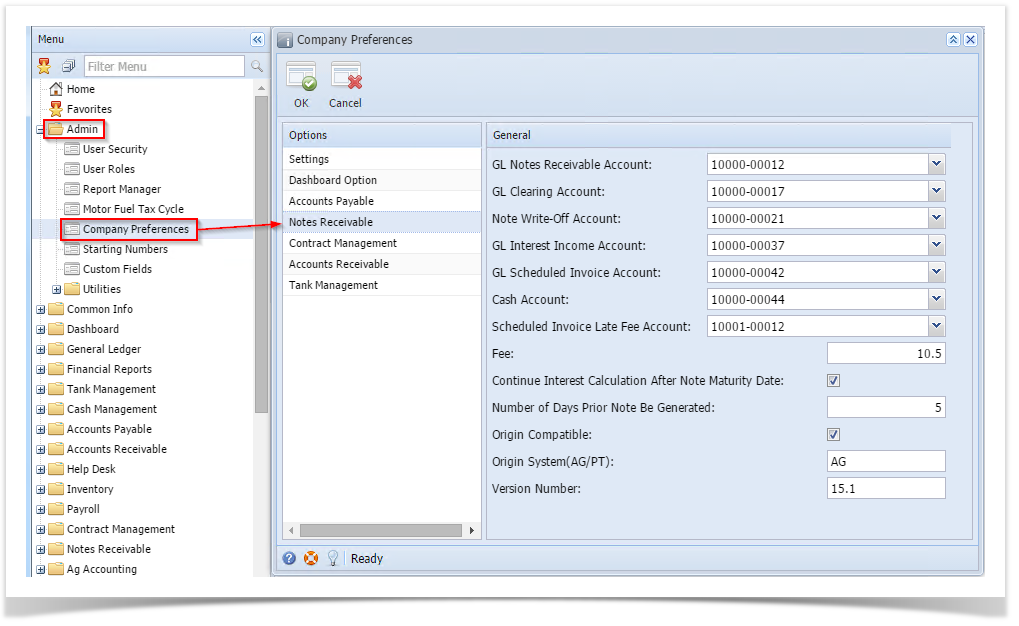
Note that, for the first time, all the records may have Value field blank.
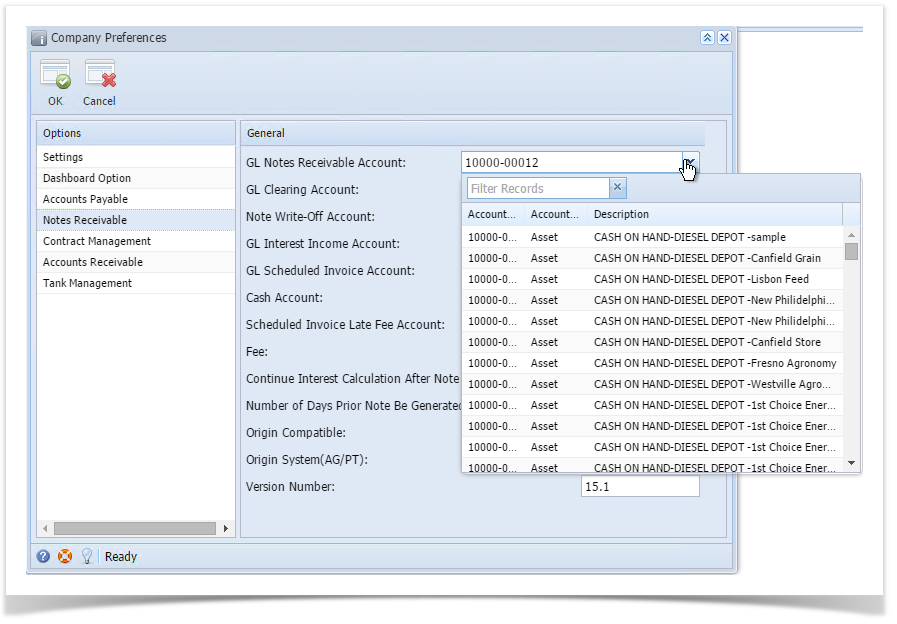
- GL Notes Receivable Account: Select the account number from the lookup. This account number will be used in Integration with i21 GL. This filed is mandatory.
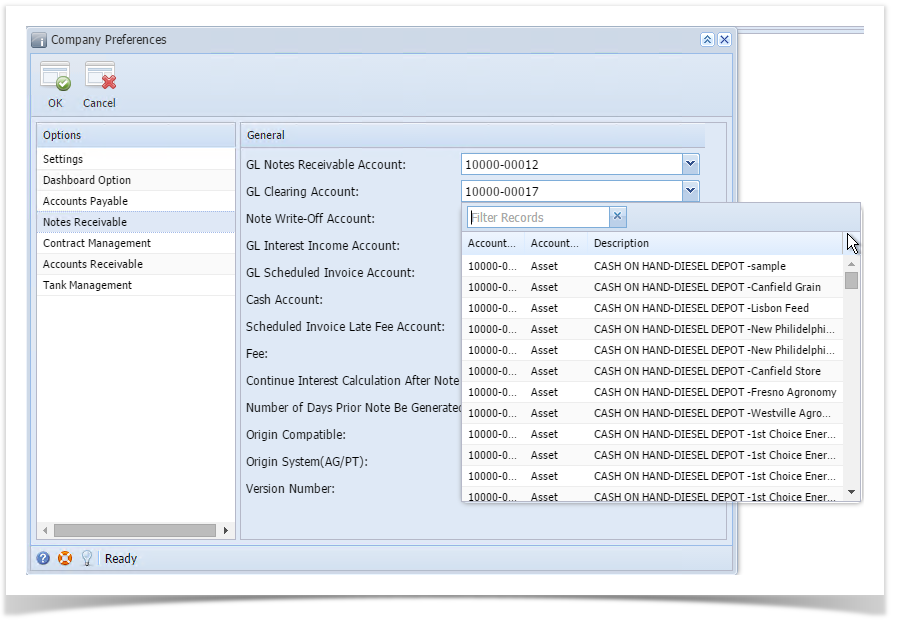
- GL Clearing Account: Select the account number from the lookup. This account number will be used in Integration with i21 GL. This filed is mandatory.
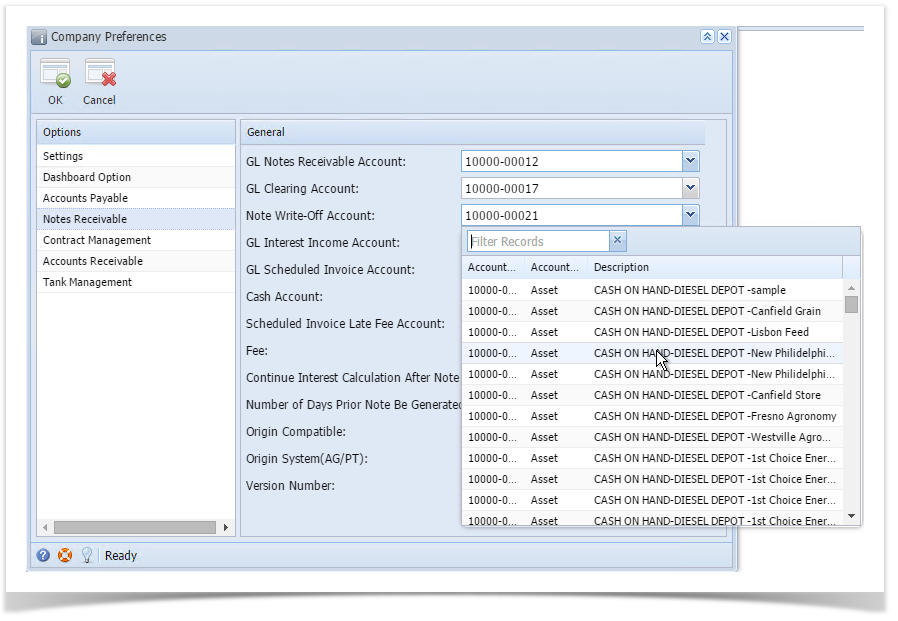
- Note Write-Off Account: Select the account number from the lookup. This account number will be used in Integration with i21 GL. This filed is mandatory.
- GL Interest Income Account: Select the account number from the lookup. This account number will be used in Integration with i21 GL. This filed is mandatory.
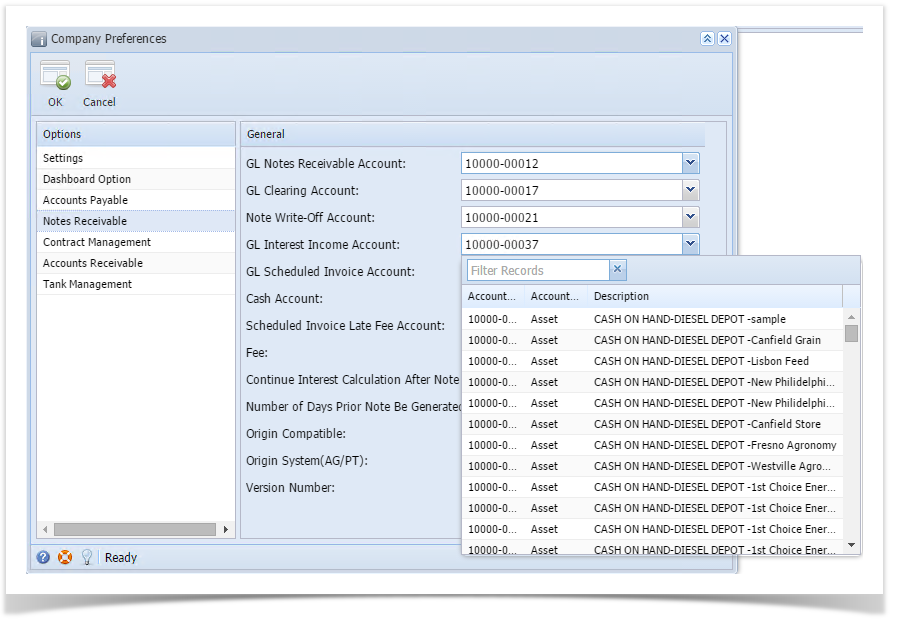
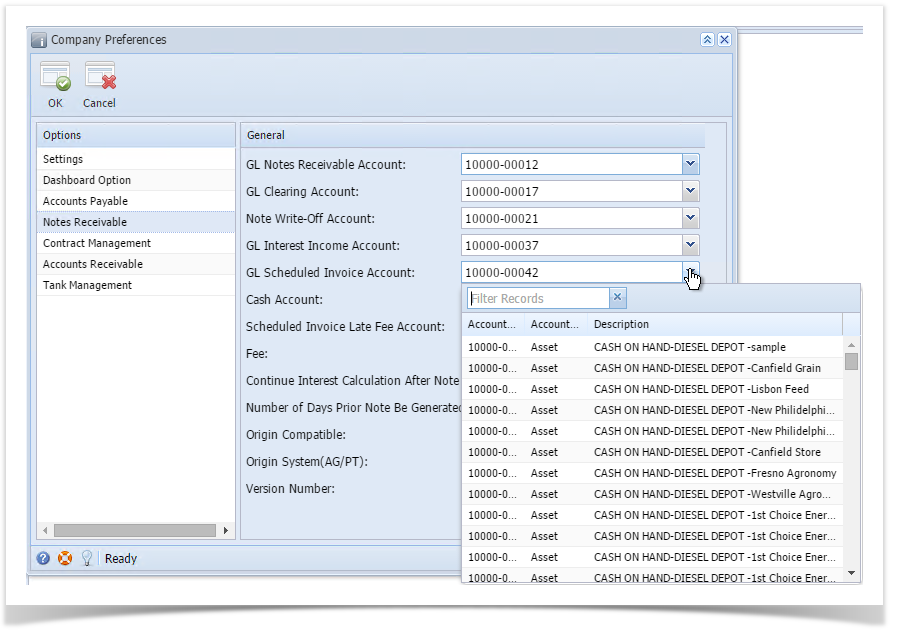
- GL Scheduled Invoice Account: Select the account number from the lookup. This account number will be used in Integration with i21 GL. This filed is mandatory.
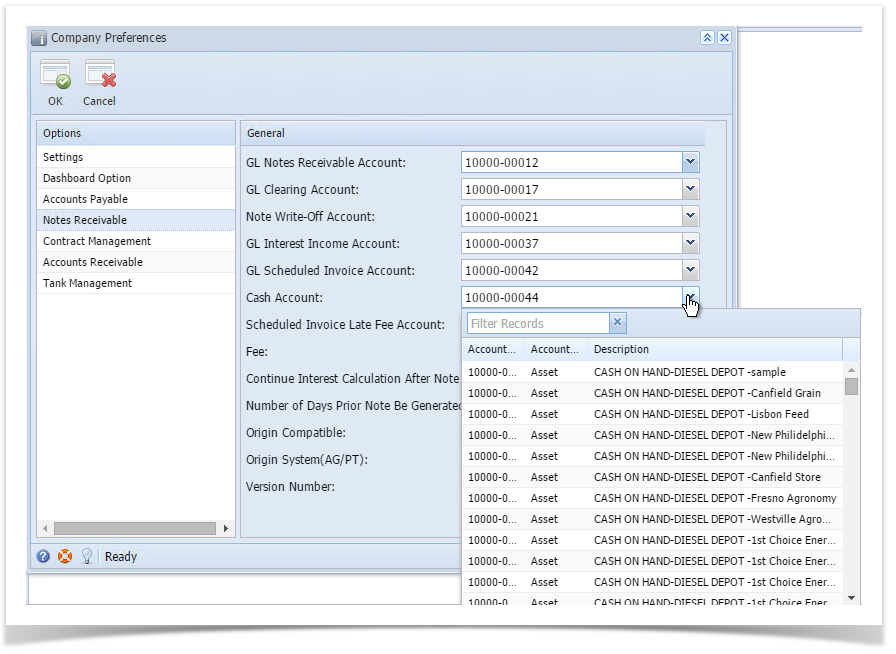
- Cash Account: Select the account number from the lookup. This account number will be used in Integration with i21 GL. This filed is mandatory.
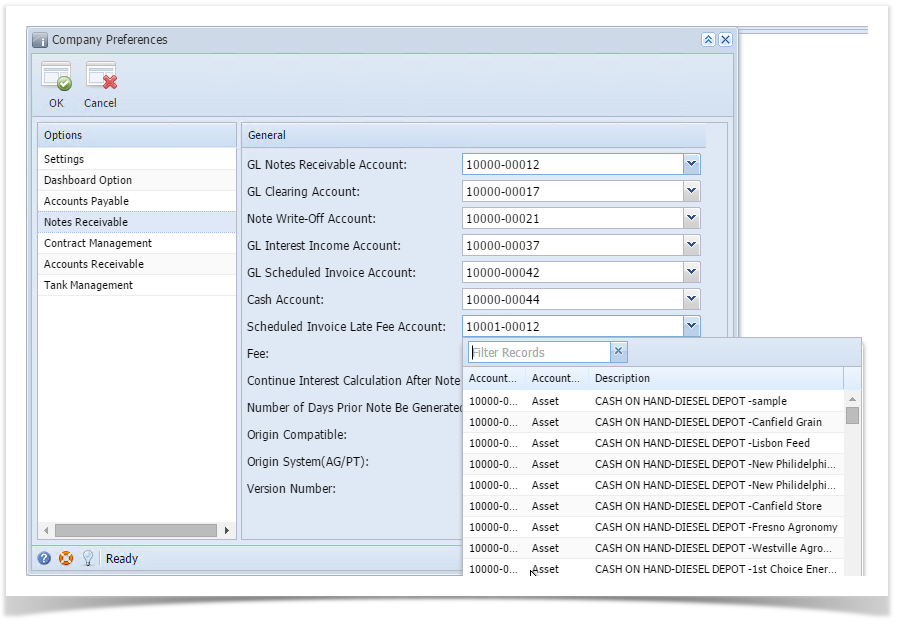
- Scheduled Invoice Late Fee Account: Select the account number from the lookup. This account number will be used in Integration with i21 GL. This filed is mandatory.
- Fee: Enter the basic fee amount to charge from the user. This filed is mandatory. If you do not have any fees, set it to 0(zero).
- Continue Interest Calculation After Note Maturity Date: This determines whether to continue or discontinue interest calculations for the note once Note Maturity date has passed.
- Number of days prior note be generated: Tells how many days before the actual EFT schedule date, note be generated.
- Origin System(AG/PT): AG or PT
- Version Number: Backend accounting system version number.
- User will be able to edit only the value field.
- GL Notes Receivable Account: Select the account number from the lookup. This account number will be used in Integration with i21 GL. This filed is mandatory.
- On click of OK button, data will be saved if required fields are having data.
- On click of Cancel button if no unsaved changes then form will be closed.
Overview
Content Tools