How to Create a Project in Help Desk
1. On the Menu Panel, click on Help Desk.
2. Click Projects menu to open the Project search screen.
3. Click New toolbar button to create new project.
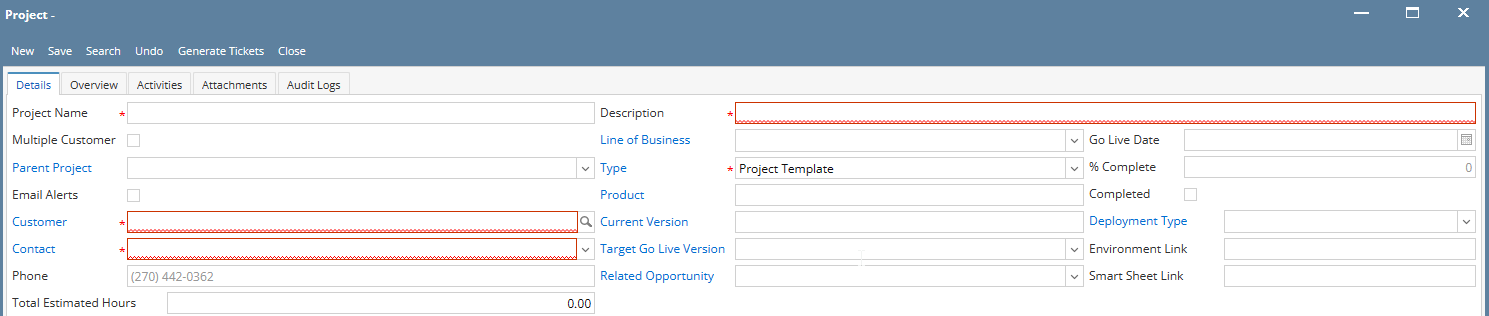
4. Fill in data. (Required fields: Project Name(must be unique), Description, Customer, Contact, Type, Project Status)
5. Click Save button.
TABS:
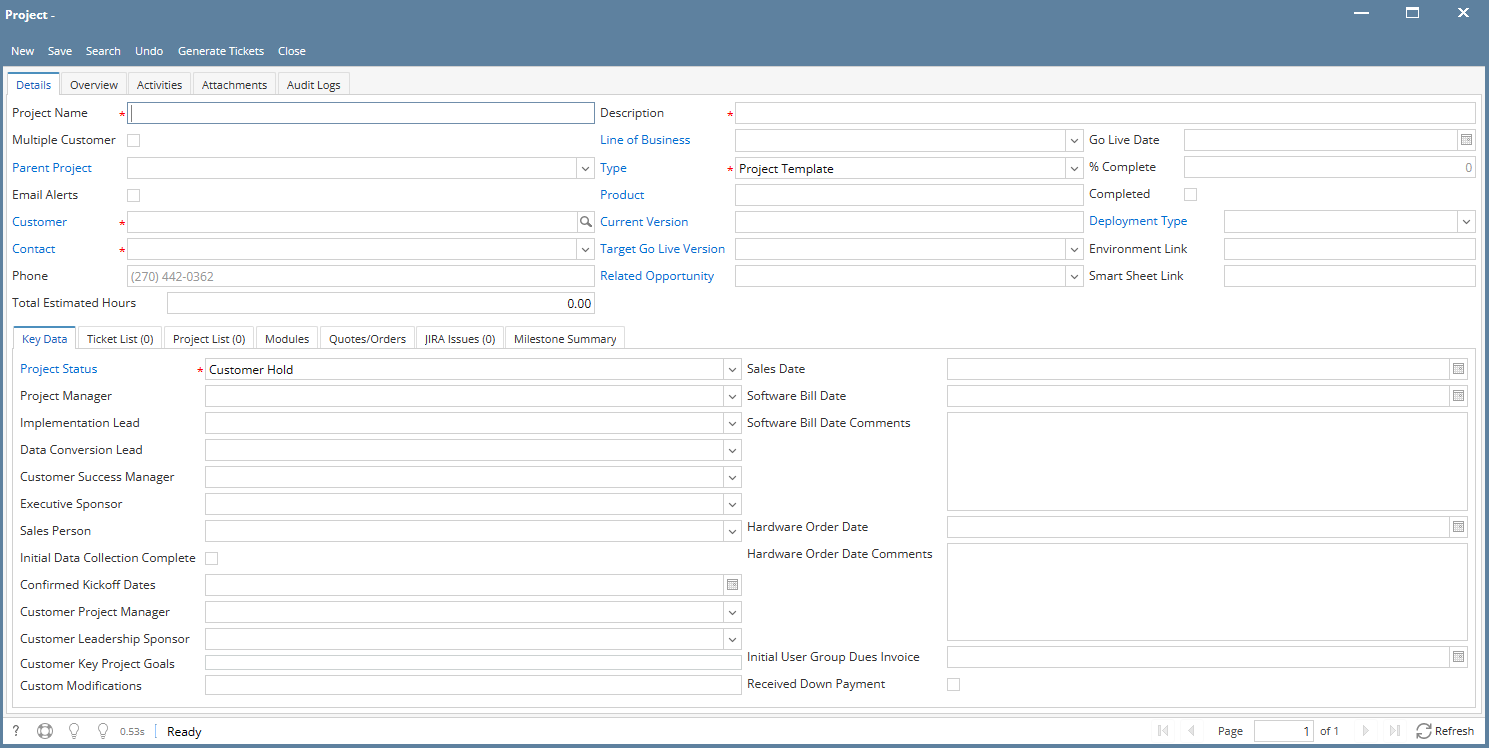
- Details
- The details tab indicates the Project Name, Description, LOB, Customer, Contact and other important details about the project. Fill in the necessary fields then click Save.
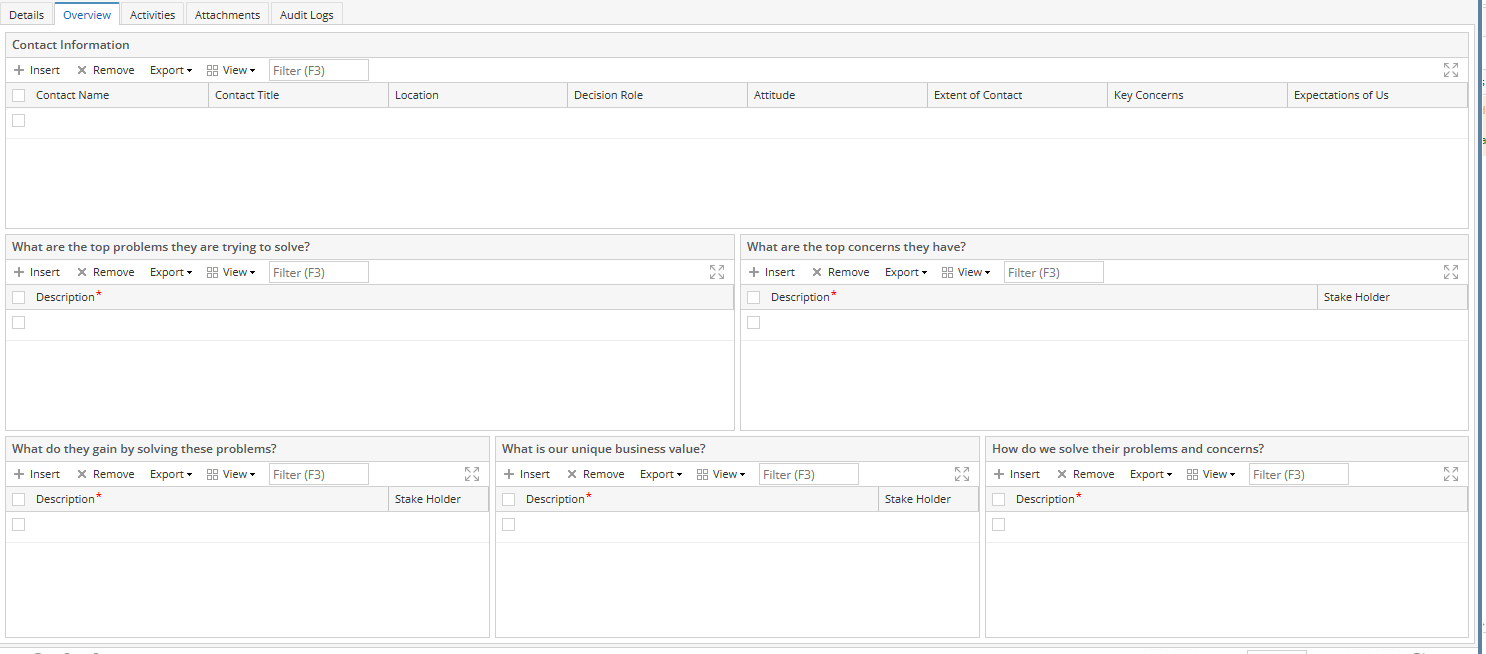
- Overview
- To add details to the Overview tab, Click Overview tab, then fill out the fields.
- Activities
- To add activities to the project, Click Activities tab, click New Event/ New Task, New Comment, Log Call, Send Email then fill in the necessary details. Once done, save the activity.

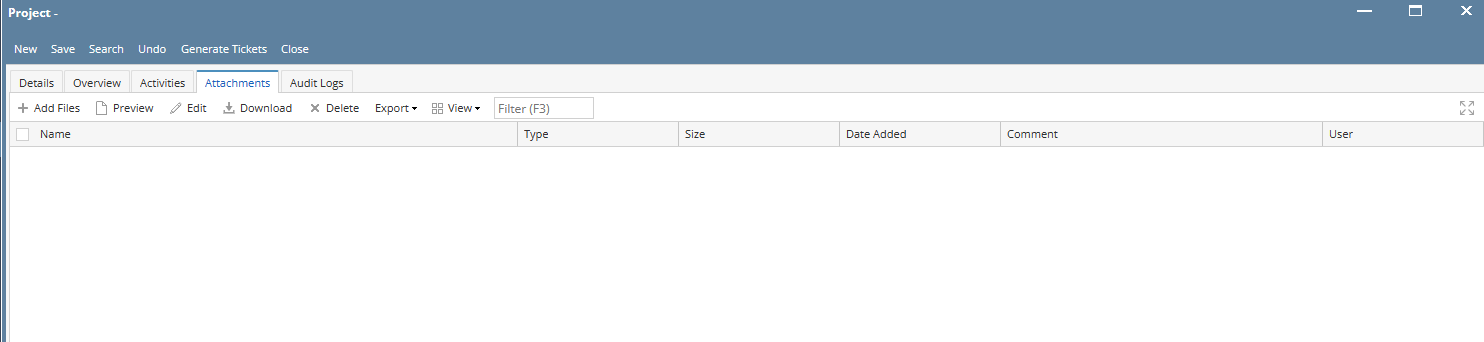
- Attachments
- Click the Attachments tab, select file then click ok button
- Audit Log
- Click Audit Log to be able to see all the changes made to the project

- Key Data
- To add details to the Key Data tab, click Key Data the fill in the necessary fields.
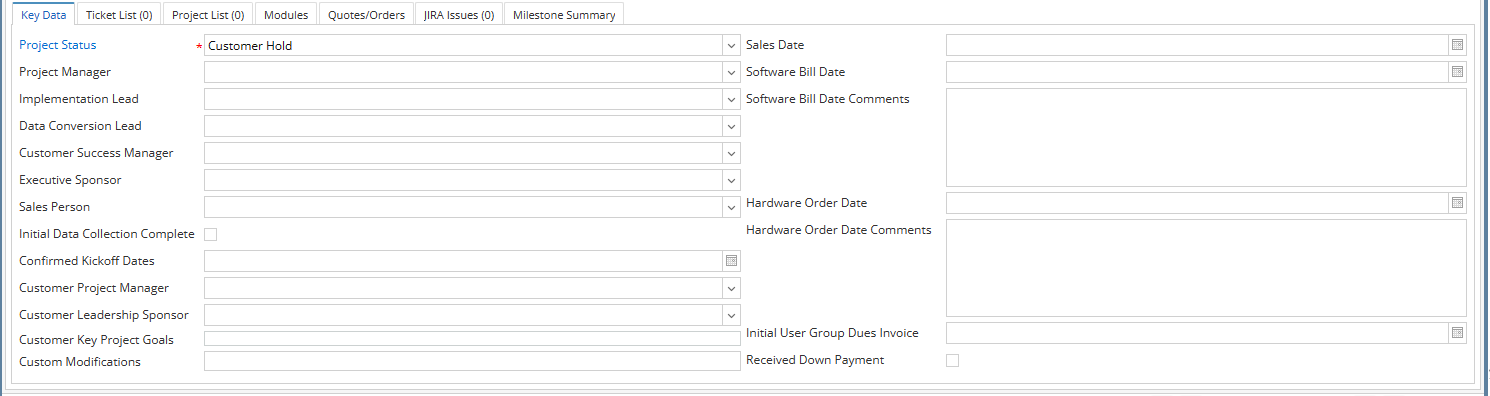
Role | Definition |
|---|---|
Project manager | The iRely project manager that is responsible for the project plan and budget |
| Implementation Lead | The iRely manager who is in charge of implementing the project |
| Data conversion lead | The iRely manager responsible for scheduling assigning and managing all data conversions |
| Customer success manager | This is the person that is responsible for the success of the customer - This should be added to the customer record and defaulted from there |
| Executive Sponsor | This is the person who initiated the project |
| Sales Person | This is the person who initiated the sale with the customer |
- Ticket List
- To be able to see all the tickets under the project, go to the ticket list tab. In this tab, you will be able to link tickets, create tickets and remove tickets from the project
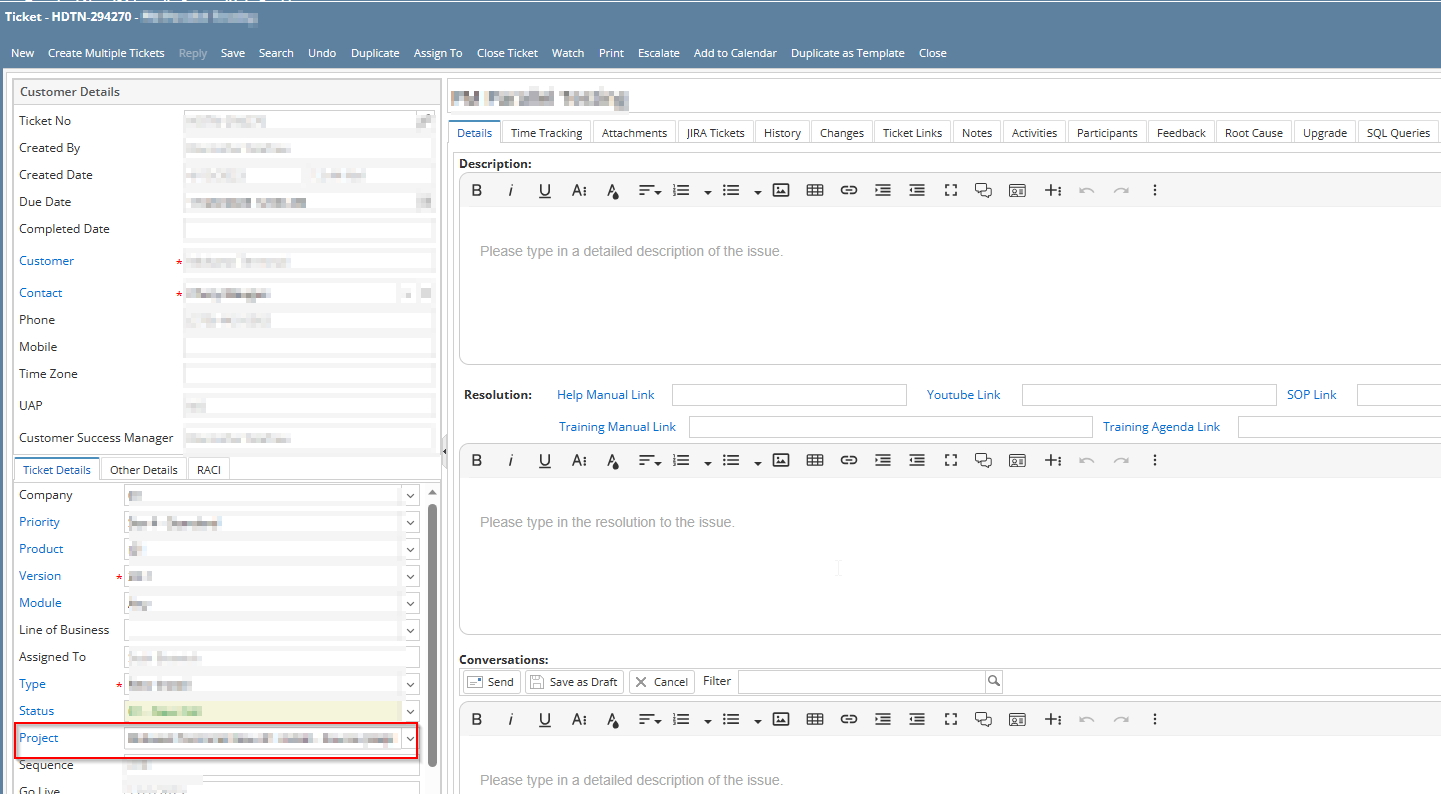
- To be able to link a ticket, users should open the ticket and select the project on the project field
- Users may also be able to add tickets on the project screen by generating tickets from template tickets. See: Add Ticket or Generate Ticket to the Ticket List for details

- The ticket list tab is where users monitor the tickets for the project.
- To open an existing ticket, double click on the ticket number to go to the ticket screen
- Users may edit the Description, contact, Assigned to, start date, due date, completed date, notes and status of the tickets from the project list screen. When other columns need to be edited, the user needs to open the ticket and edit it from there.
- There are different ticket statuses for the tickets on the ticket list screen such as:
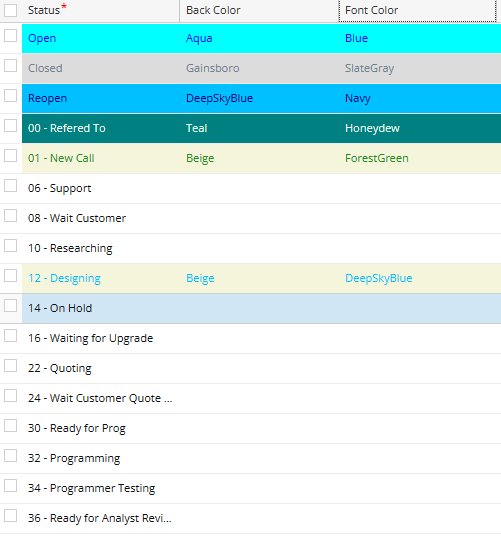
- Once the ticket has been worked on by the assignee, they may change the status to signify what needs to be done next such as, Programming, Researching, Wait for Customer etc.
- To be able to see all the tickets under the project, go to the ticket list tab. In this tab, you will be able to link tickets, create tickets and remove tickets from the project
- Project List
- To be able to see all the projects within the project, go to the project list tab. In this tab, you may open projects, create new projects and remove from the list.

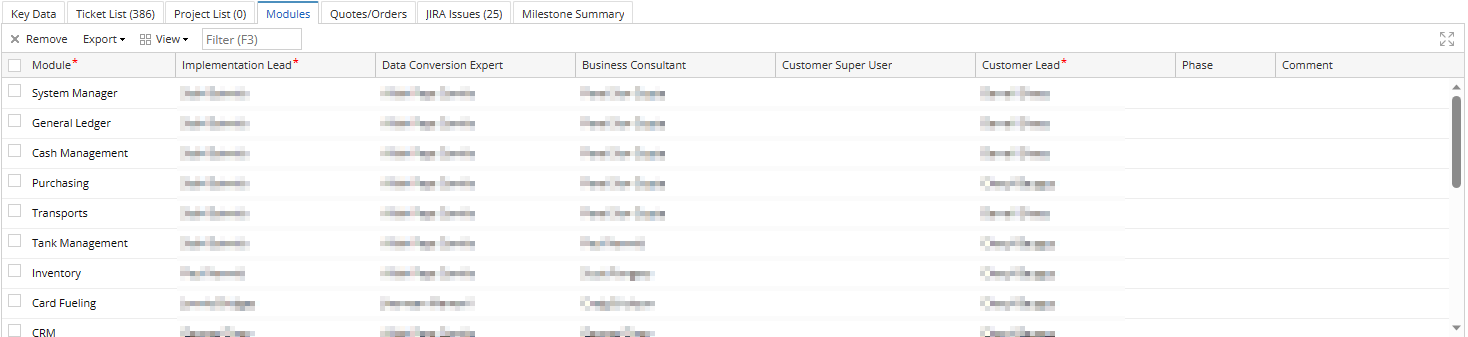
- Modules
- To be able to see all the modules that are affected by the project, go to the Modules tab.
- In the Modules tab, you will see the list of modules, their implementation lead, data conversion expert, business consultant, customer super user, Customer lead, and Phase.
- You may add or remove modules from this tab
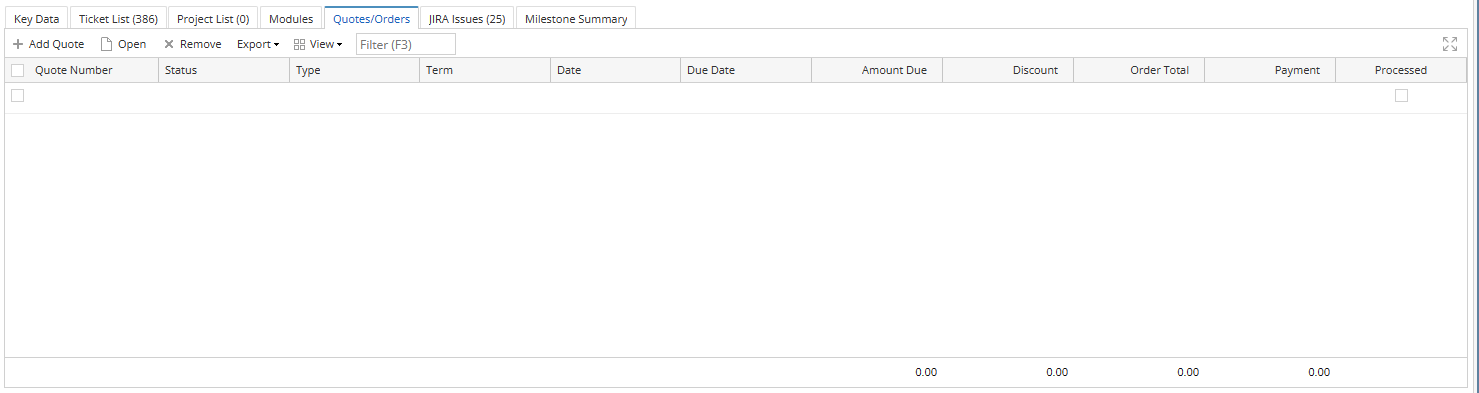
- Quotes/Orders
- To be able to see, add, remove quotes/orders from the project, go to the Quotes/Orders tab.
- In this tab, you will see the quote number, status, type, term, date, due date, amount due, discount, order total, payment, and if processed.
- To add a quote, select quote number from grid drop down (quote number column). User can also add new quote/order, click Add Quote button then fill out required fields then save.
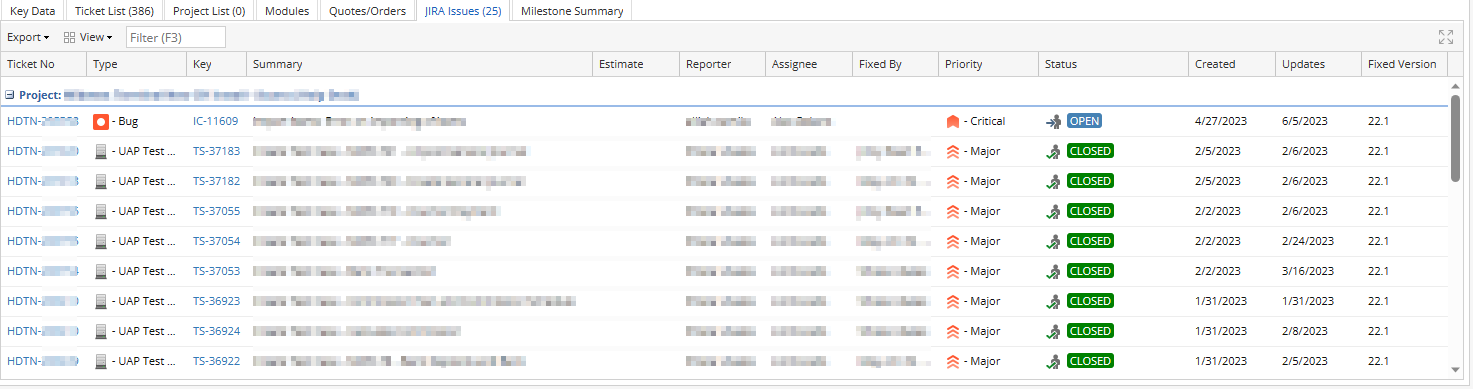
- Jira Issues
- To be able to see all the linked Jiras to the tickets that are linked to the project, go to Jira issues tab.
- Here you will see the ticket number, type, Jira key, summary, Estimate, reporter, Assignee, Fixed by, priority, status, date created, updates and fixed version.
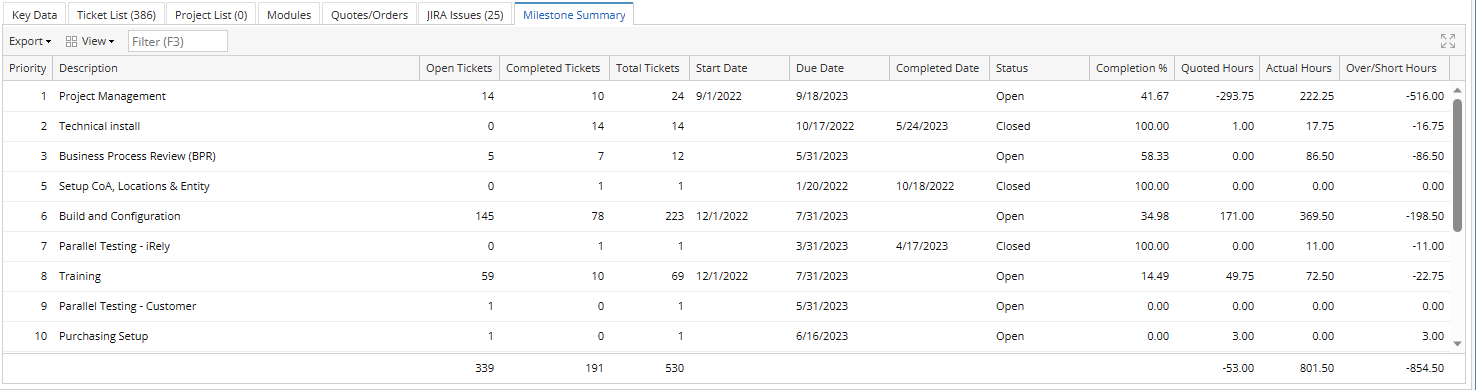
- Milestone Summary
- To be able to see the list of milestones in the ticket, click the Milestone summary tab
- Here you will see the milestones within the project, the open tickets, completed tickets, total tickets, start date, due date, completed date, status, completion%, quoted hours, actual hours, over/shourt hours.
Overview
Content Tools