Versions Compared

Key

  • This line was added.
  • This line was removed.
  • Formatting was changed.
  1. Open the GL Account Detail menu then click on Segments.
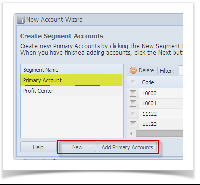
  2. When Segment Account screen opens, Primary Account account is highlighted by default.
    Image Added
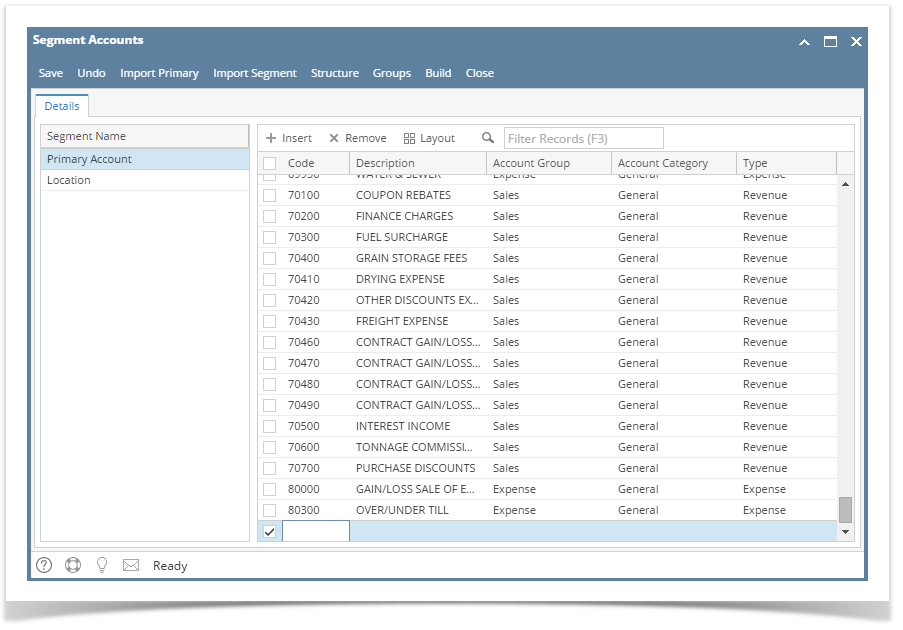
  3. Clink Insert or scroll down to the next available blank row in the grid.
  4. Enter Code, Description and Account Group. Account Type will be selected automatically based on the selected Account Group.
    Code must be unique. If the Origin Integration is turned off, the Code's validation will be based in the Begin and End Range of Account Types entered in the Account Groups screen.
    Image Added
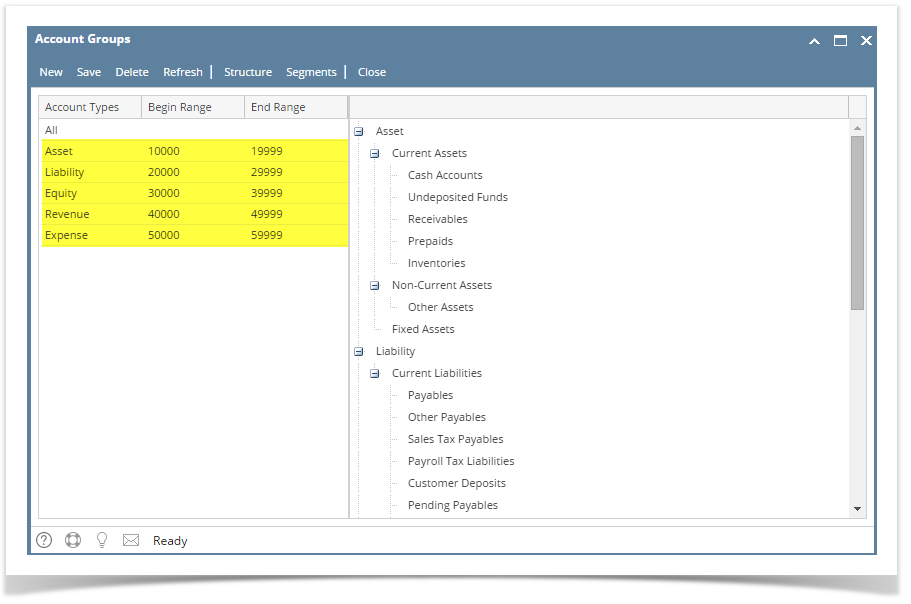
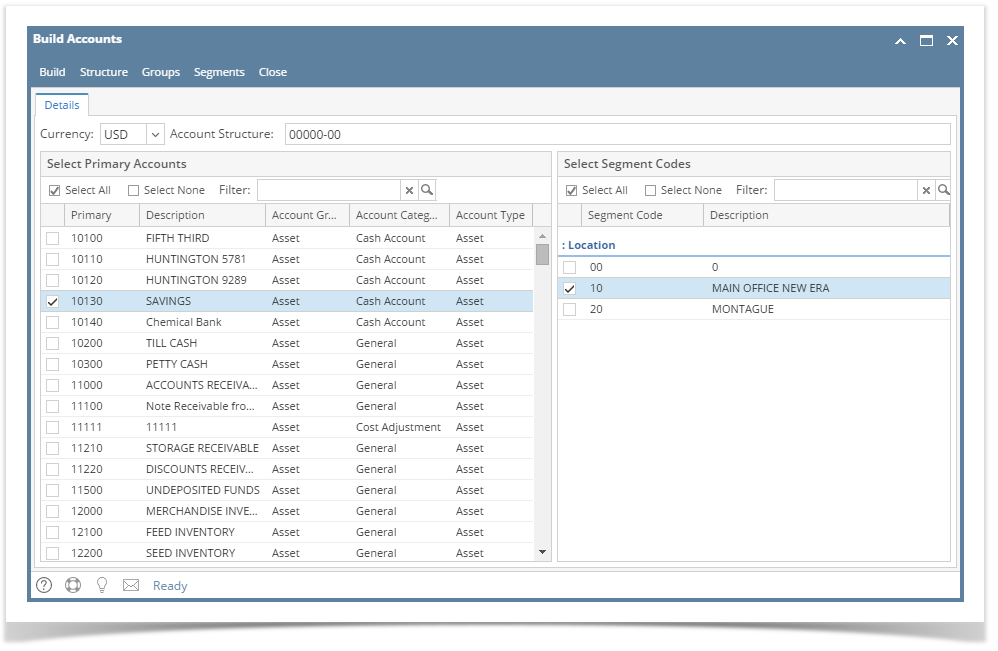
  5. Once Primary Code or Location is added,  click Build.
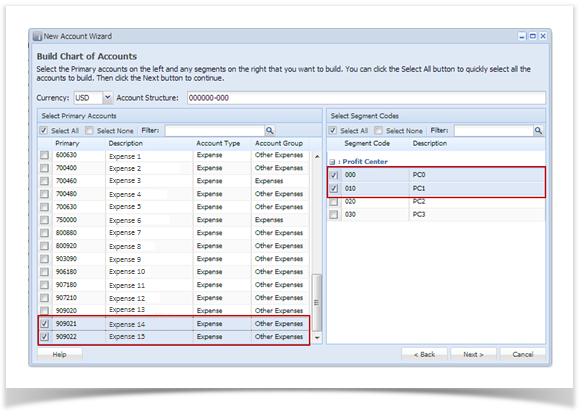
  6. In the Build Account screen, select the Primary and Location Codes then click on Build.
    Image Added
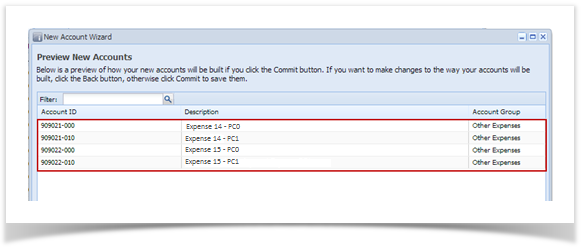
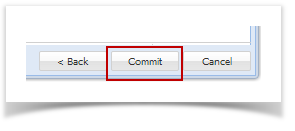
  7. Commit Chart of Accounts will display. This screen will display the account id(s) that will be built. Click Commit.
    Image Added
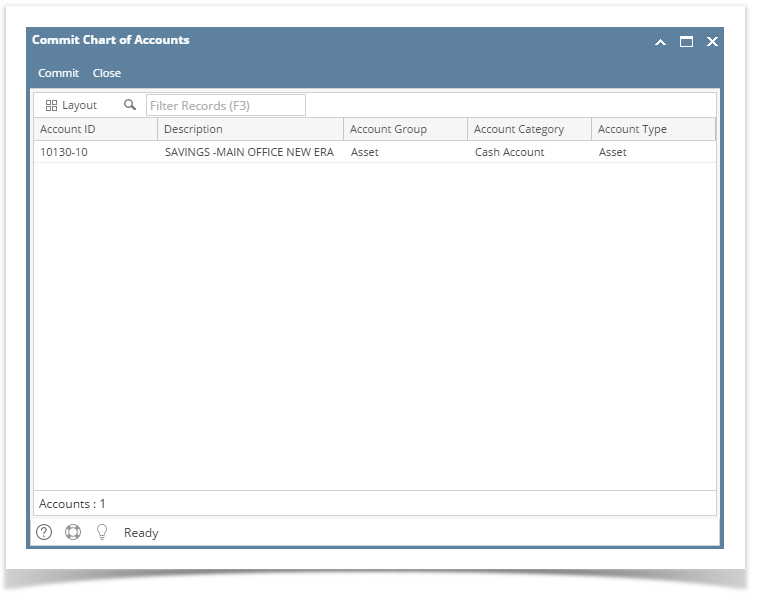
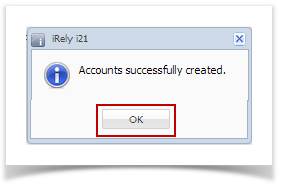
    Once successfully added, it will display the new account in GL Account Detail | Chart of Accounts tab.
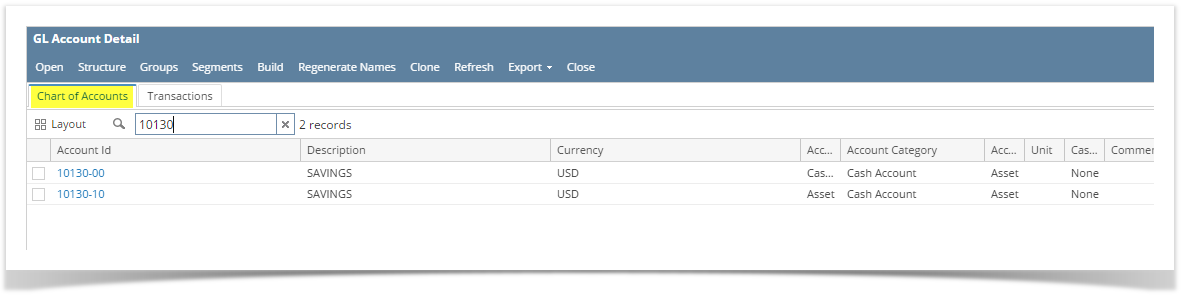
    Image Added


Expand
title15.2 and below

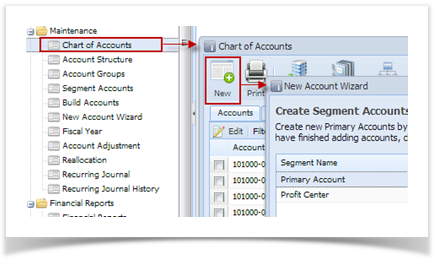
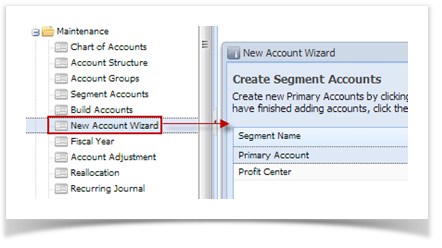
There are two ways on how to open the New Account Wizard screen:

    1. By opening Chart of Accounts from General Ledger Maintenance > Chart of Accounts and then click the New button.
      Image Modified
    2. By clicking the New Account Wizard from General Ledger Maintenance menu.
      Image Modified

Here are the steps on how to create/add new Chart of Accounts:

  1. The first window of the wizard is the Create Segment Accounts
    1. If selected segment is a primary account, click New button to add new segment or click Add Primary Account button to import primary accounts. 
      Image Modified
    2. If selected segment is non-primary account, click New button to add new segment
      Image Modified
  2. Click Next to move to Build Chart of Accounts window. Select the primary account and segment codes to be built by checking the check box for each code.
    Image Modified
  3. Click Next to preview the accounts to be built. In case that a selected combination of primary account and segment already exists, it will no longer be shown on the preview and will not be built.
    Image Modified
  4. Click Commit button to start building the accounts. This will also start the synchronization process of i21 and Legacy.
    Image Modified
  5. Click Ok on the message to complete the wizard. All created i21 accounts will be added in the Legacy COA.
    Image Modified

...