The Custom header/footer is used to add any input value you want shown in your report.
Follow the steps below to guide you on how to add custom report header.
- A new row will be available in the grid section.
- Enter a value in the Description field. This value should be as descriptive as possible so it would be easy to read what header/footer is that for.
- In the Type field, select Custom.
- The Group field dictates the order of the header/footer. Set this field 1 if this will be the first row to show in the header/footer, 2 if second row, so on and so forth. Set this to 2 for this illustration.
- In the Alignment field, set how the value for the column be displayed. Set this to Center.
- In the With field, select Page. This will occupy the entire page.
- Leave Column Description field blank.
This is how custom report header setup will look like.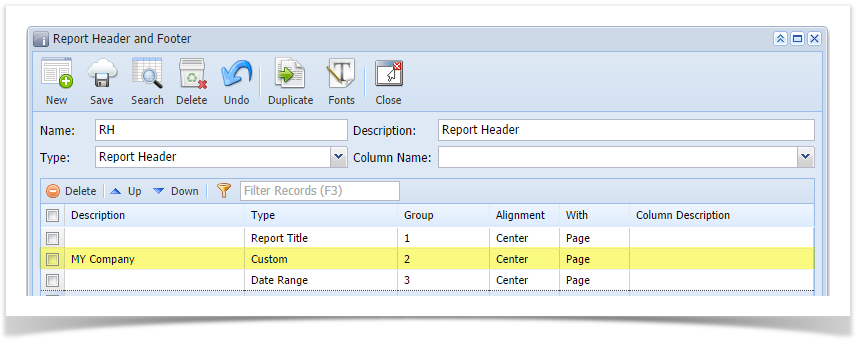
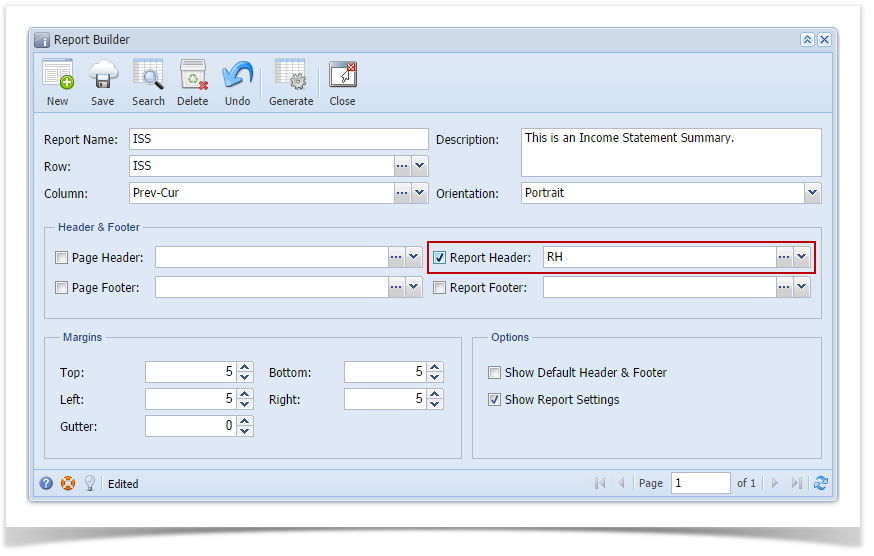
Select this report header/footer in the Report Builder and make sure that checkbox before it is checked when printing/previewing the report.
Here's how it is shown when report is previewed/printed. Highlighted section is the Report Header.

Overview
Content Tools