Page History
- Before creating Scale Ticket, make sure you have the completed the required setups in Scale Station Settings.
- From the Ticket Management menu, click on Tickets.
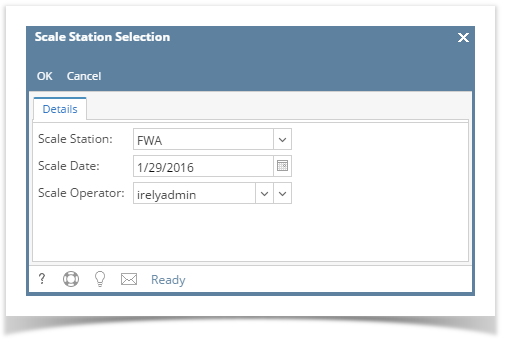
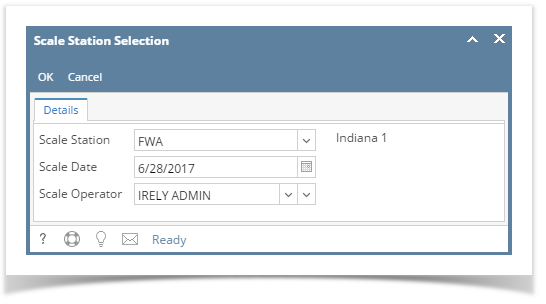
- Click the Station button in Tickets Search screen. Only active Scale Station Settings will be displayed in Scale Station combobox dropdown. The setup from the selected Scale Station will be used in processing Scale Ticket.
- Click the New button to create Scale Ticket. This is the initial loading of Scale Scale Ticket screen.
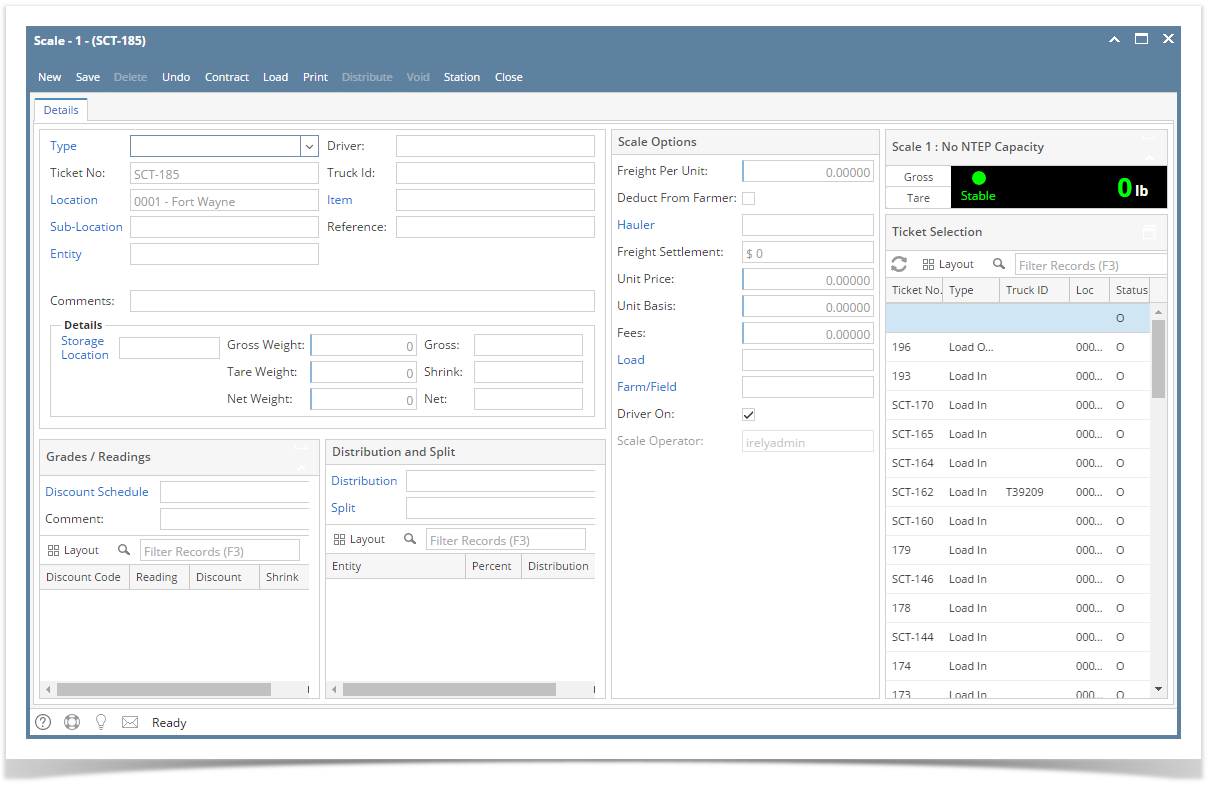
- Click the Type combobox field. The lists of available types should be coming from the Ticket Pool Ticket Types lists.
- Ticket No field is read-only and it is a system auto generated number.
- If the Scale Ticket is not yet saved, there is a prefix SCT.
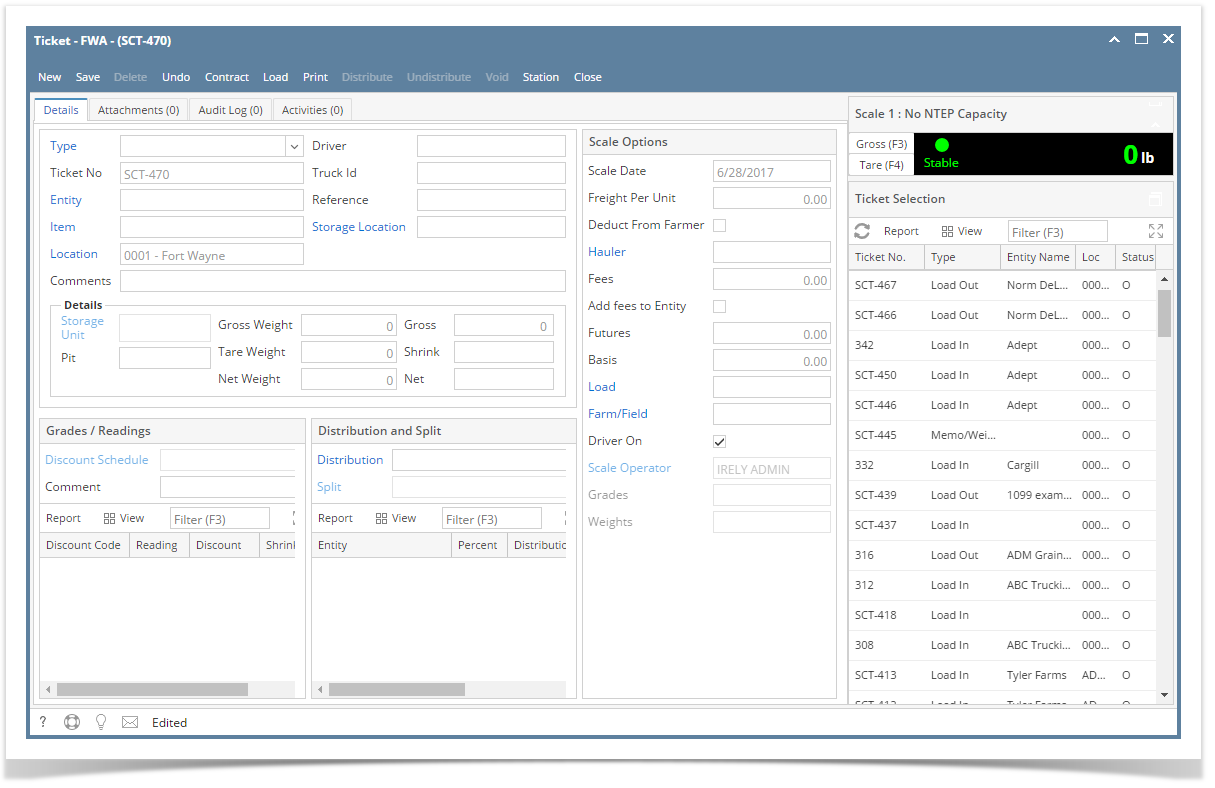
- Once the Scale Ticket is saved, the Ticket No will become whole number. It should get the Next Pool Ticket Number based on the selected Ticket Types from Ticket Pool.
- Location will auto populate based on the Working Location of the selected Scale Station.
- Select the Entity.
- If the selected Type is 'Load In', then the Entity label will change to Vendor.
- If the selected Type is 'Load Out', then the Entity label will change to Customer.
- Enter the Driver.
- Enter the Truck Id.
- Click the Item combo box. The lists of available Items displayed are based on the selected Location.
- Enter Reference.
- Enter the Gross Weight.
- Enter the Tare Weight.
- Select the Distribution Type from the lists.
- Enter the Freight Per Unit.
- Click the Save toolbar button. The created Scale Ticket will be saved.
Expand title 16.4 - Before creating Scale Ticket, make sure you have the completed the required setups in Scale Station Settings.
- From the Ticket Management menu, click on Tickets.
- Click the Station button in Tickets Search screen. The setup from the selected Scale Station will be used in processing Scale Ticket.
- Click the New button to create Scale Ticket. This is the initial loading of Scale Ticket screen.
- Click the Type combobox field. The lists of available types should be coming from the Ticket Pool Ticket Types lists.
- Ticket No field is read-only and it is a system auto generated number.
- If the Scale Ticket is not yet saved, there is a prefix SCT.
- Once the Scale Ticket is saved, the Ticket No will become whole number. It should get the Next Pool Ticket Number based on the selected Ticket Types from Ticket Pool.
- Location will auto populate based on the Working Location of the selected Scale Station.
- Select the Entity.
- If the selected Type is 'Load In', then the Entity label will change to Vendor.
- If the selected Type is 'Load Out', then the Entity label will change to Customer.
- Enter the Driver.
- Enter the Truck Id.
- Click the Item combo box. The lists of available Items displayed are based on the selected Location.
- Enter Reference.
- Enter the Gross Weight.
- Enter the Tare Weight.
- Select the Distribution Type from the lists.
- Enter the Freight Per Unit.
- Click the Save toolbar button. The created Scale Ticket will be saved.
Overview
Content Tools