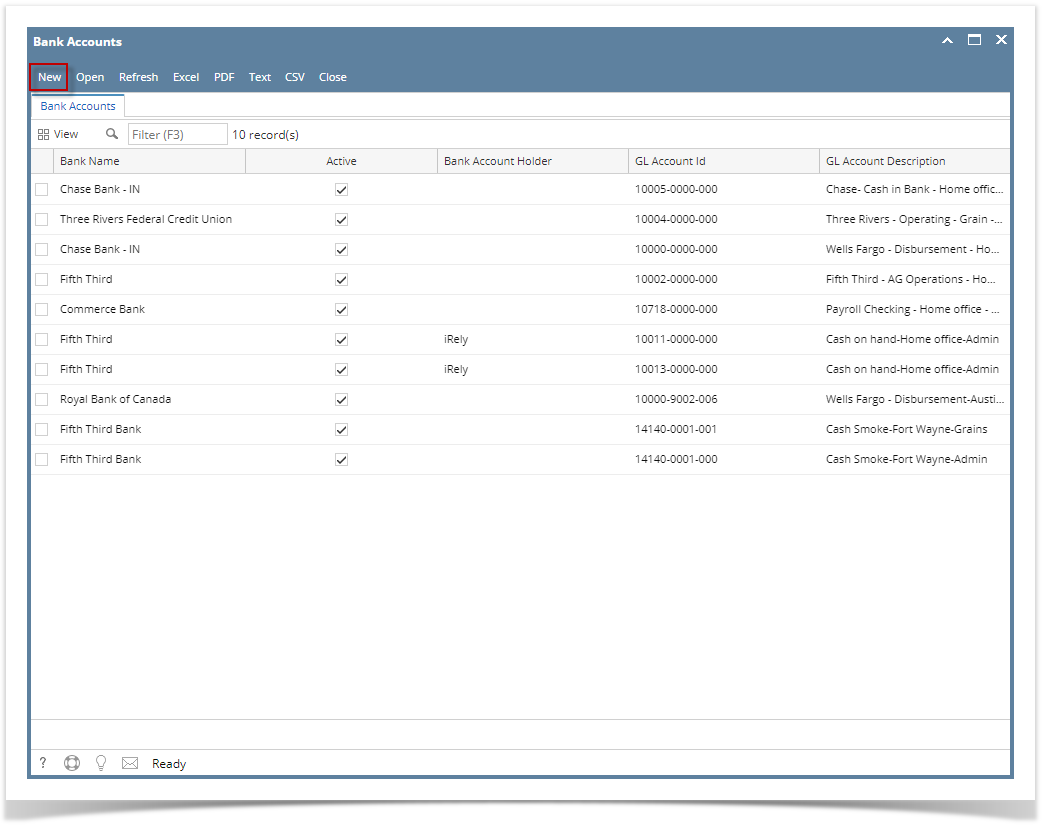
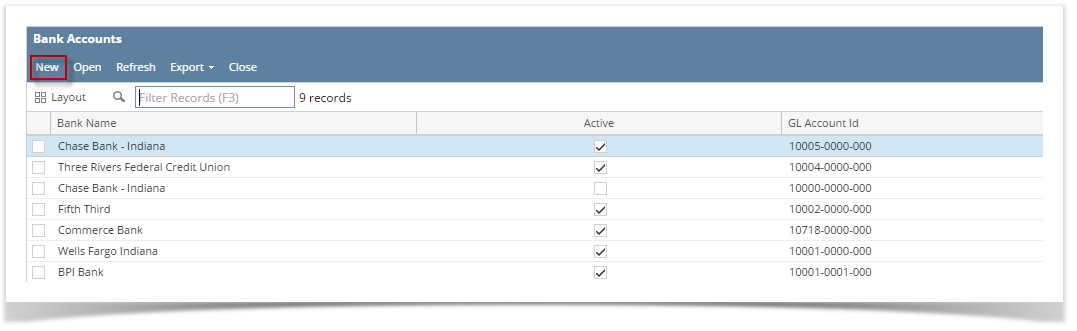
- From Cash Management module click Bank Accounts.
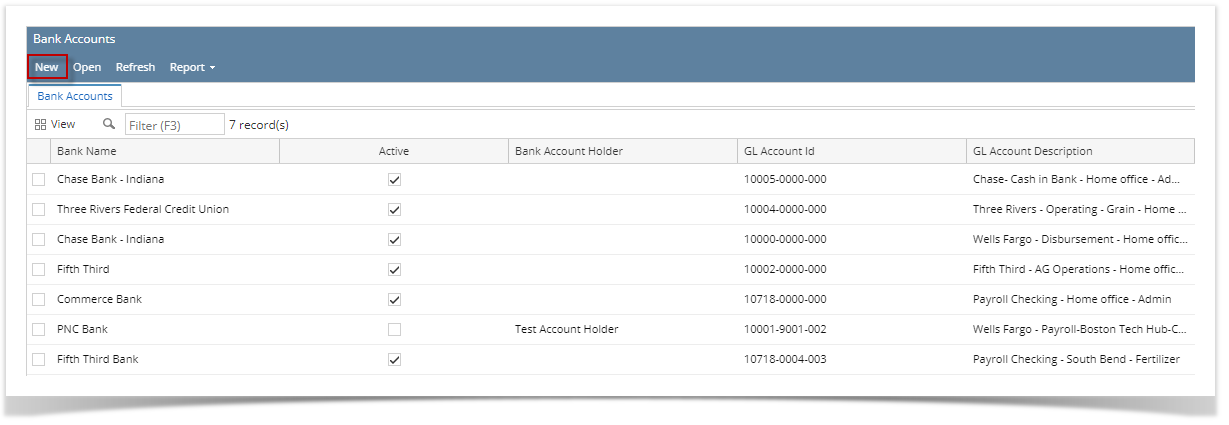
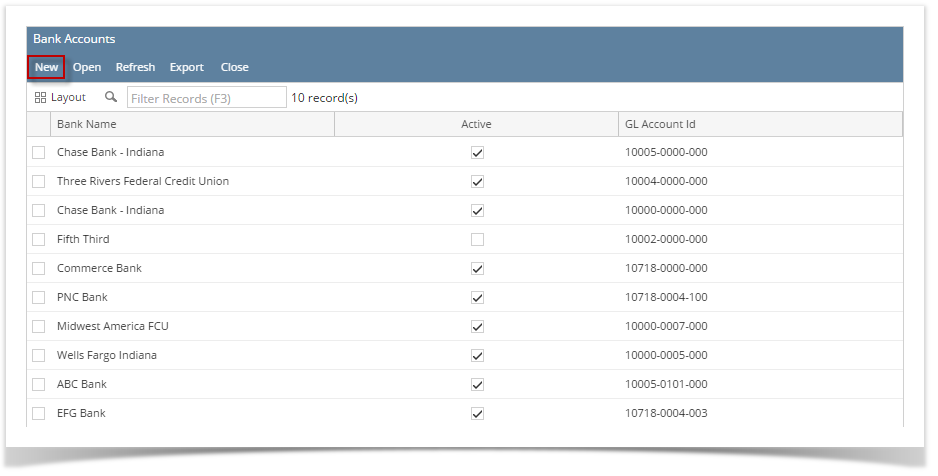
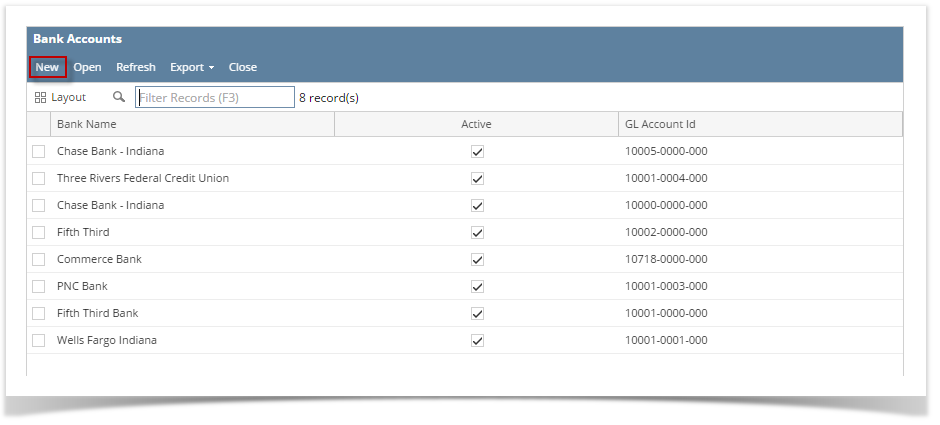
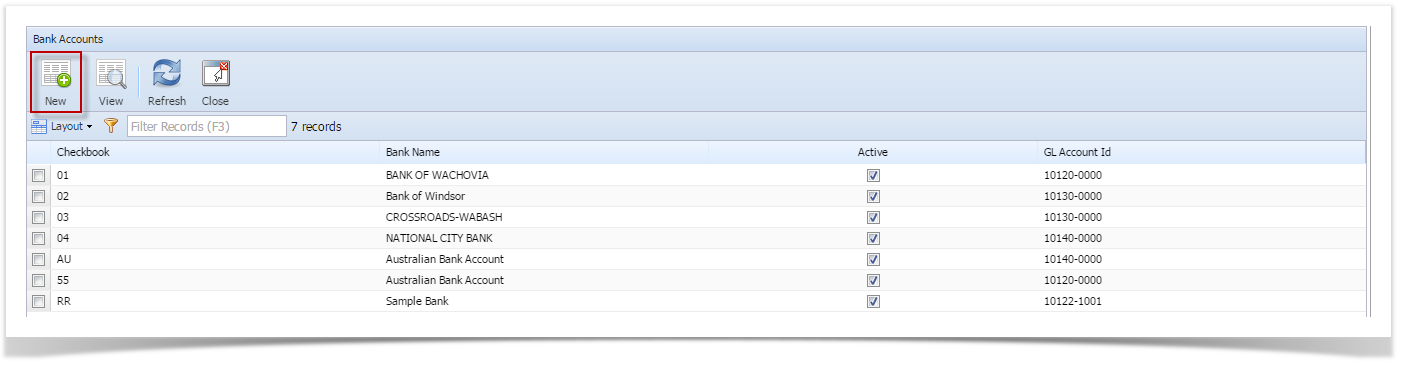
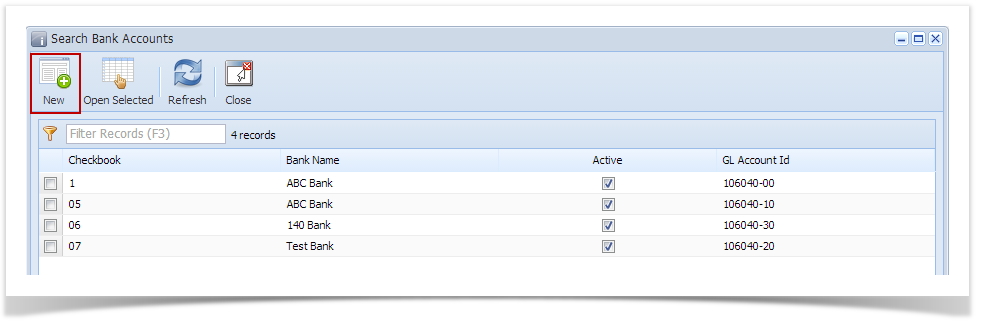
- It will open the Search Bank Accounts screen where existing bank accounts are displayed. Click the New toolbar button to open the new Bank Accounts screen.
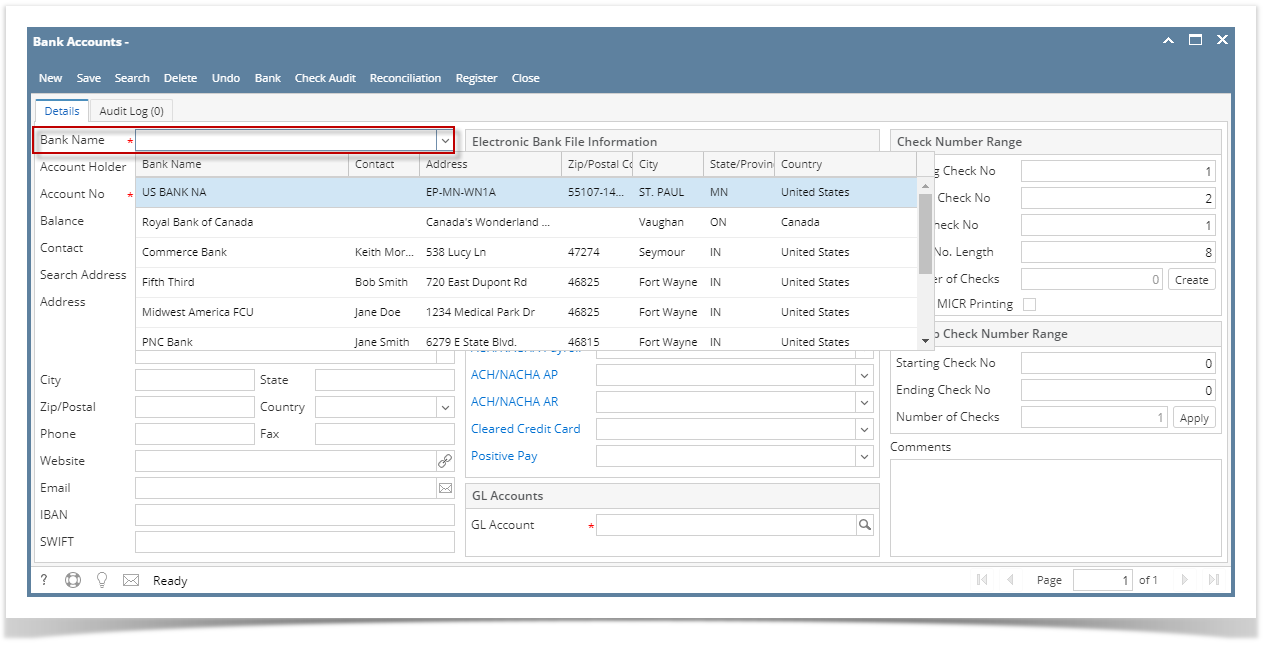
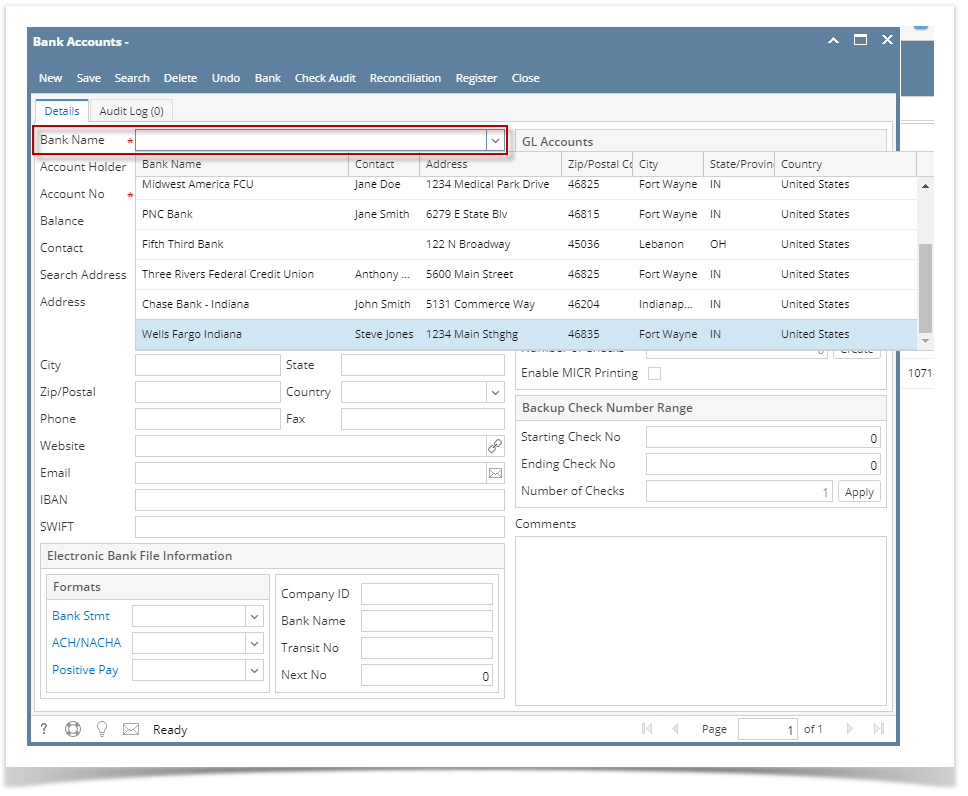
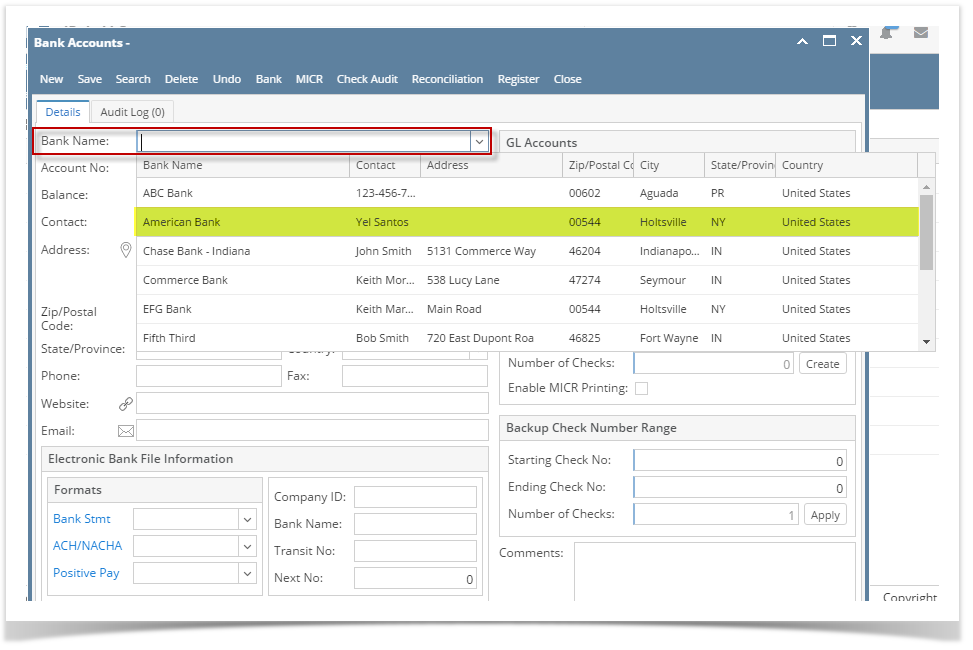
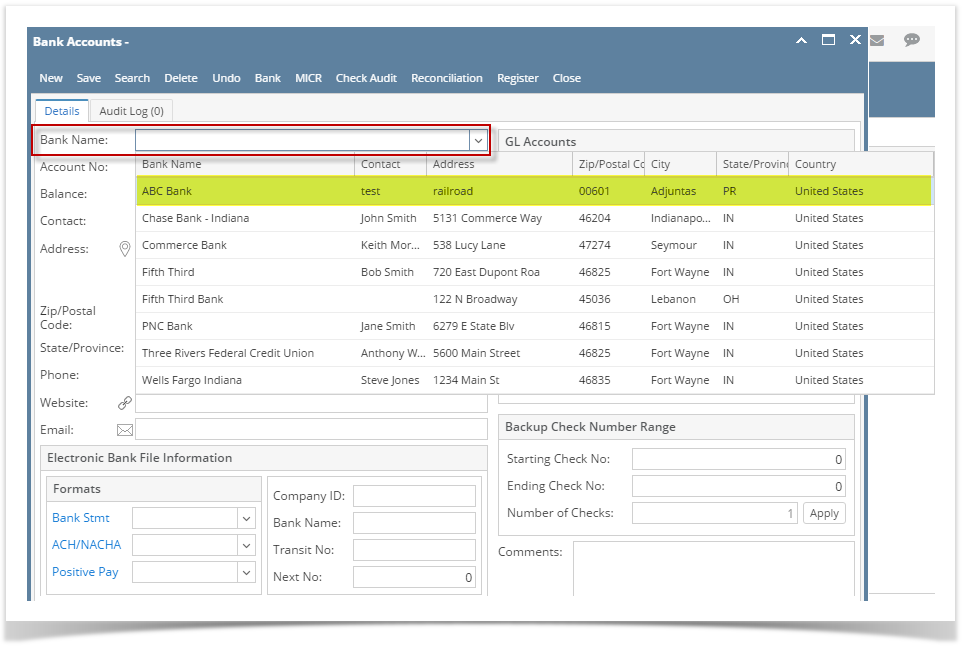
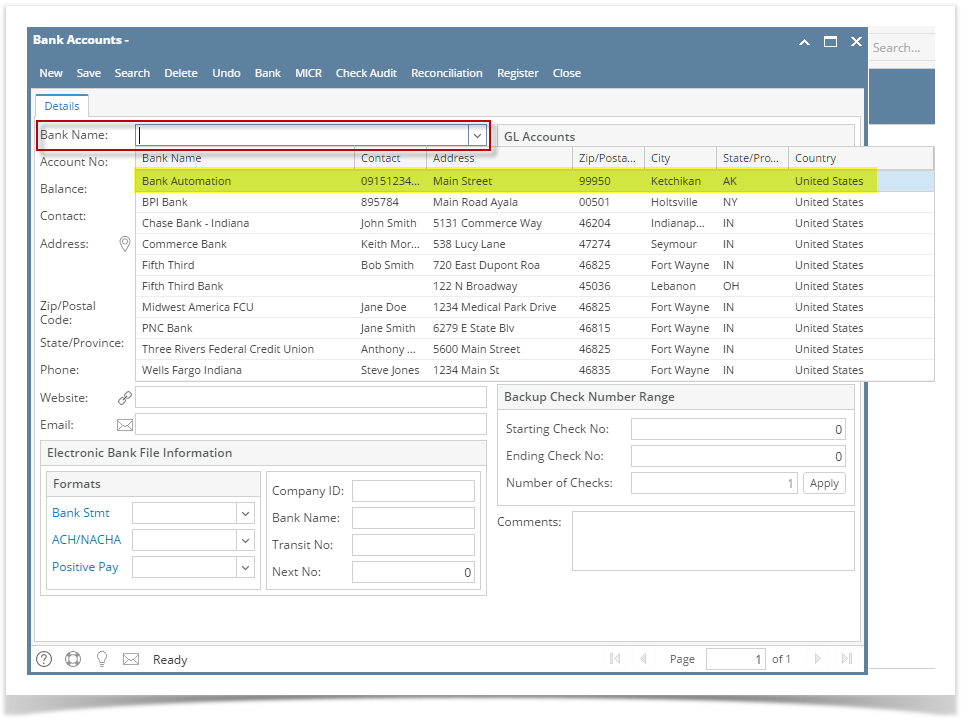
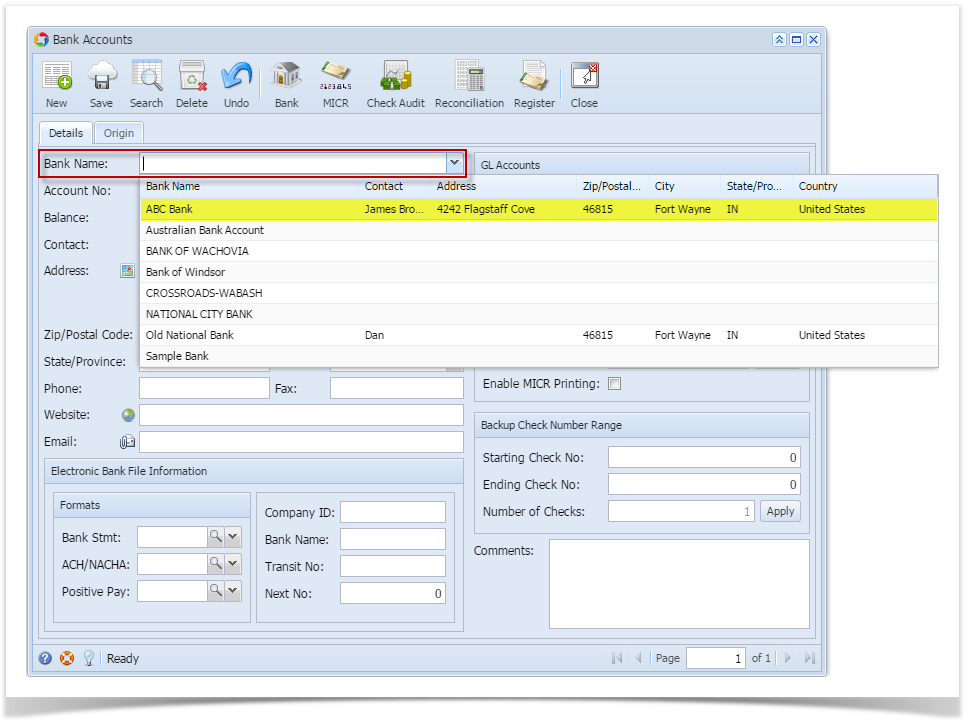
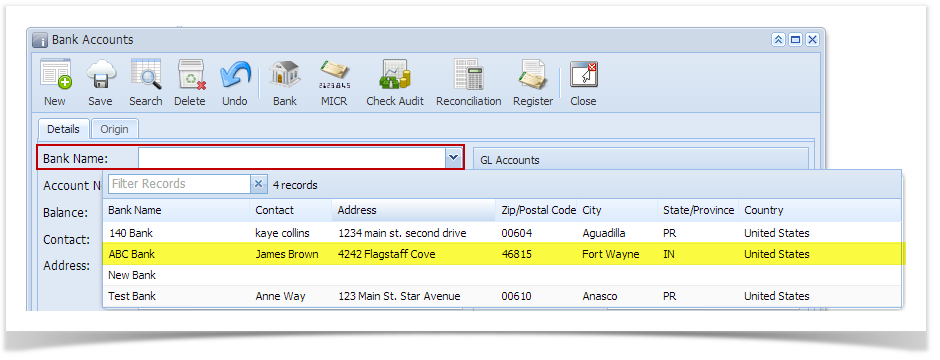
- In the Bank Accounts screen > Bank Name field, select the Bank where the new bank account has been opened.
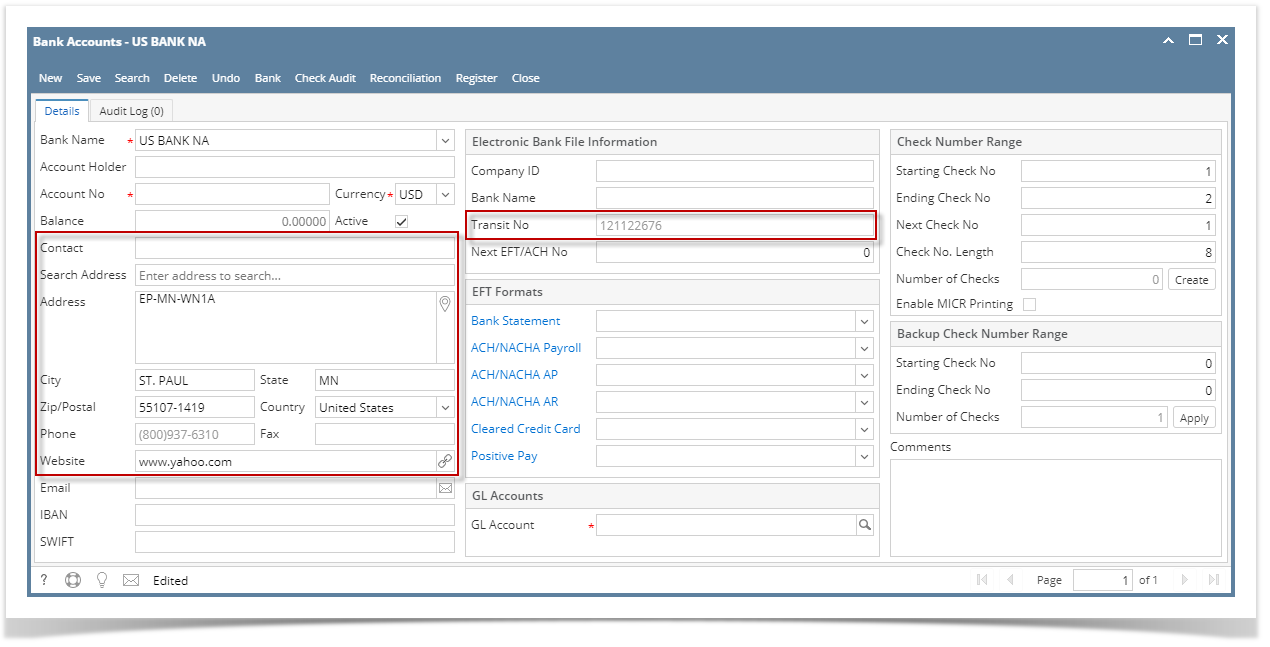
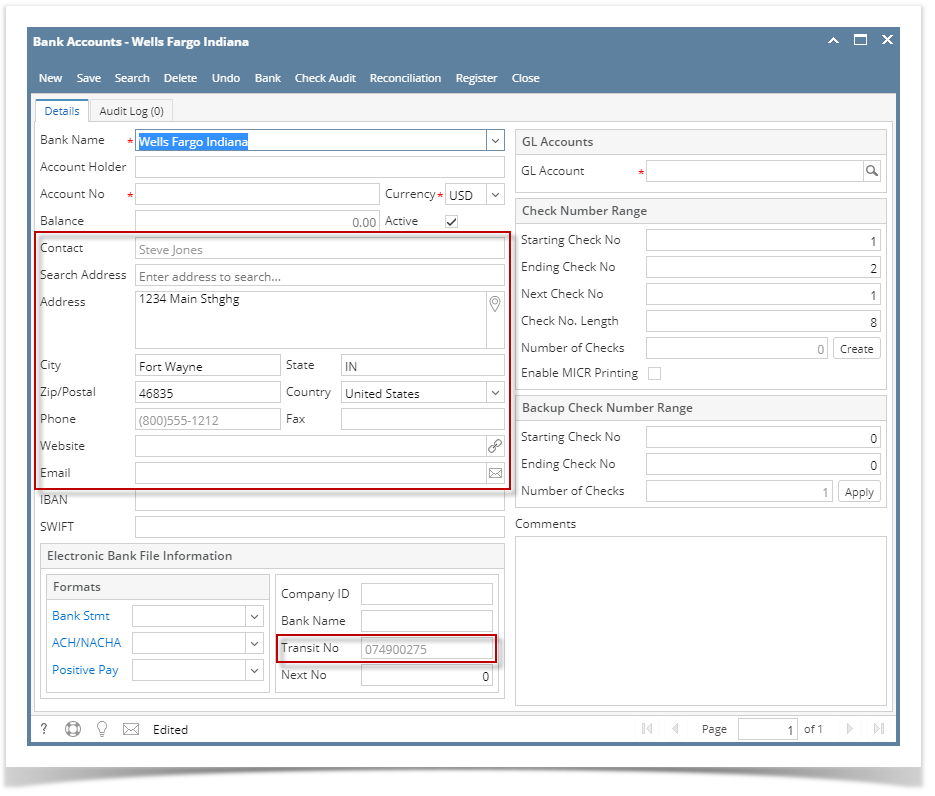
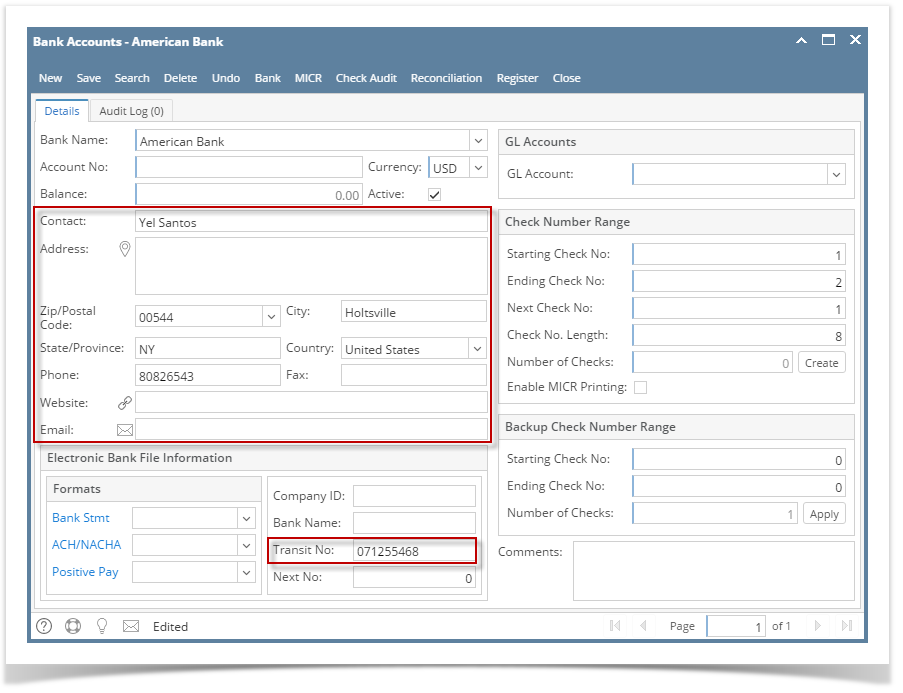
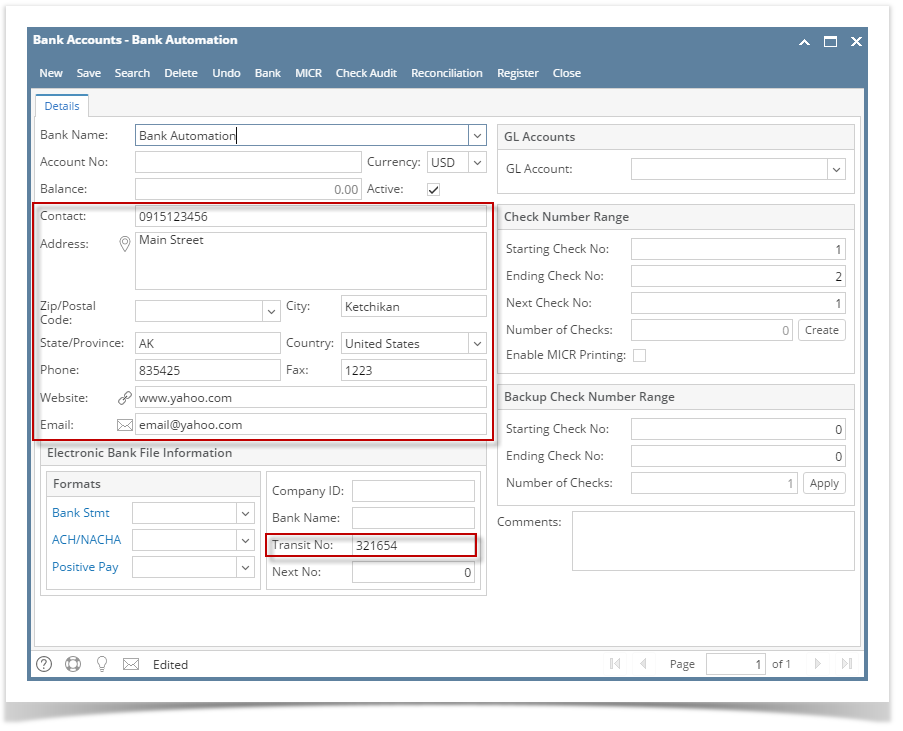
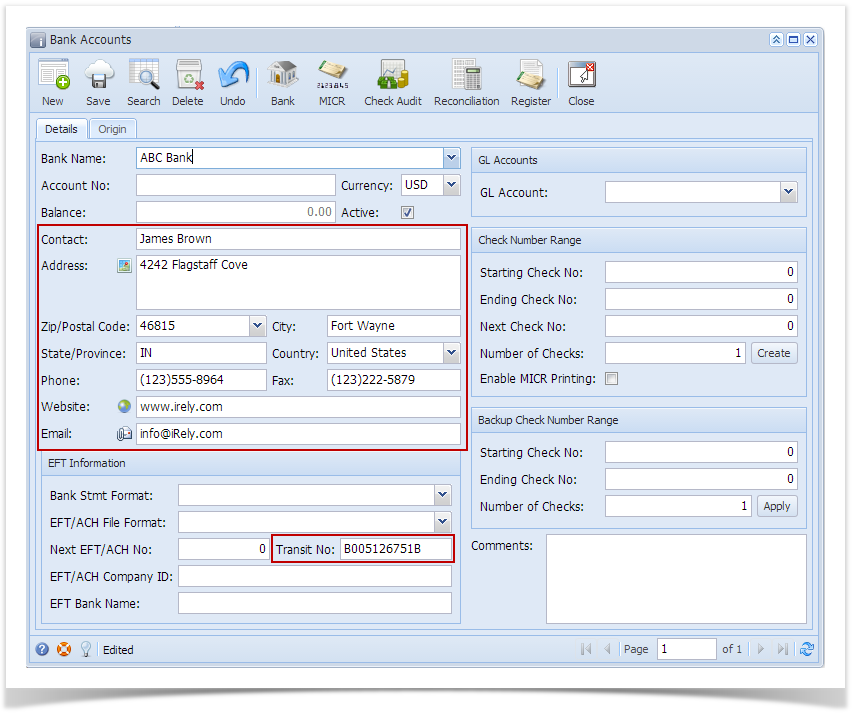
- Once Bank had been selected, other bank related fields are automatically filled in by information entered in the Banks screen for the selected bank. The Transit No here is the Routing No entered in the selected Bank record.
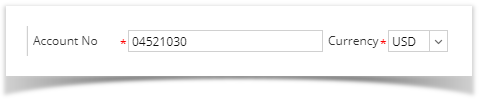
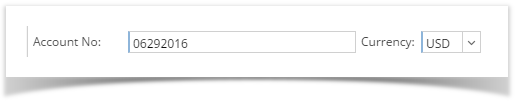
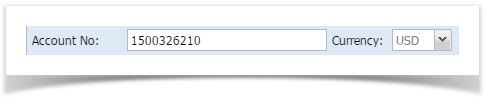
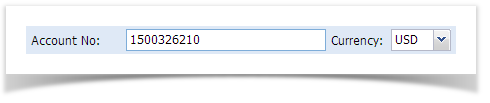
- Enter the Account No and then assign Currency for that bank account.
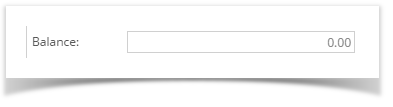
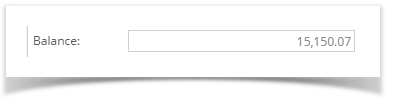
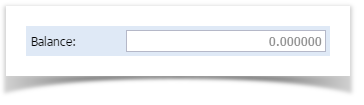
- The Balance field will show the current balance for the selected back account. At this point, it will show zero as this is the new bank account setup. This is a good way to track how much is the current bank account balance.
- The Active checkbox is used to activate or deactivate the bank account. See How to Deactivate a Bank Account.
- Enter EFT Information.
- Assign GL Account for the Bank Account. See How to Assign GL Account for Bank Accounts.
- Generate Check Numbers for the bank account. See How to Generate Check Numbers.
- If you would want MICR line printed in your checks, check the Enable MICR Printing checkbox in the Check Number Range panel. See How to Configure and Show MICR line on checks.
Setup Back up Check Number Range. See How to Setup and Apply Backup Check Number Range
You may or may not setup this at this point but this comes in very handy when you have used up all the checks configured in the Check Number Range panel as you will not anymore configure the check numbers. It just needs to click the Apply button and you will have those checks configured automatically.
- The Comments field is used to add any information related to the Bank Account. Use this field if you need to. This field allows maximum of 30 alphanumeric characters.
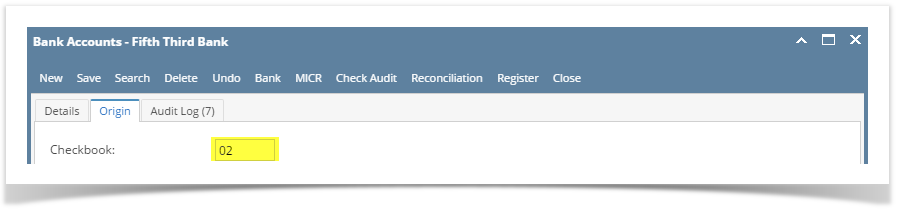
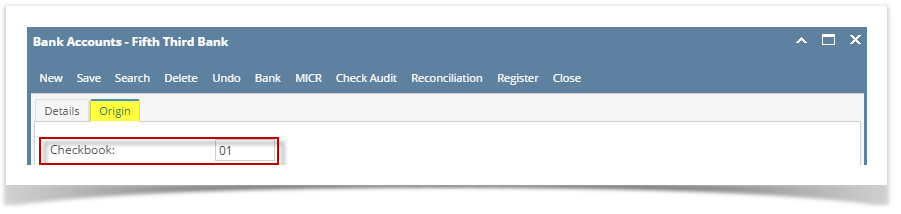
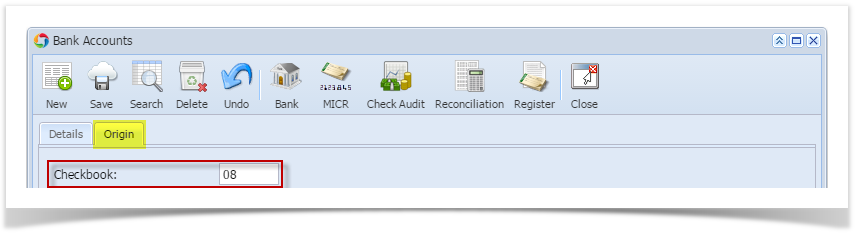
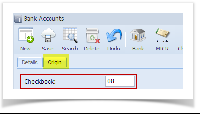
- Click the Origin tab and enter the Checkbook ID. This is used to match the origin key field for the selected bank account. This accepts up to two alphanumeric characters.
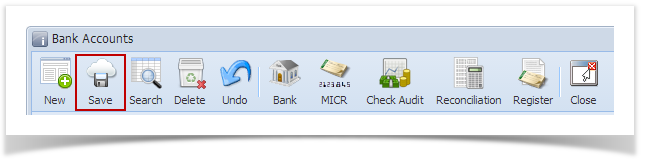
- Click Save toolbar button to save the record.

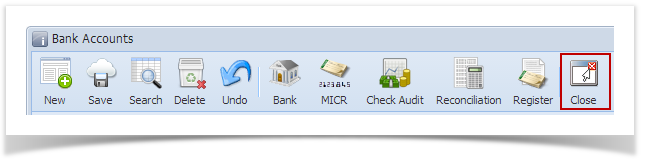
- Click Close toolbar button to close the screen.

- From Cash Management module click Bank Accounts.
- If this is the first record you are to create, it will open directly on new Bank Accounts screen where you can then add the bank account information. Otherwise, it will open the Search Bank Accounts screen where existing bank accounts are displayed. Click the New toolbar button to open the new Bank Accounts screen.
- In the Bank Accounts screen > Bank Name field, select the Bank where the new bank account has been opened.
- Once Bank had been selected, other bank related fields are automatically filled in by information entered in the Banks screen for the selected bank. The Transit No here is the Routing No entered in the selected Bank record.
- Enter the Account No and then assign Currency for that bank account.

- The Balance field will show the current balance for the selected back account. At this point, it will show zero as this is the new bank account setup. This is a good way to track how much is the current bank account balance.
- The Active checkbox is used to activate or deactivate the bank account. See How to Deactivate a Bank Account.
- Enter EFT Information.
- Assign GL Account for the Bank Account. See How to Assign GL Account for Bank Accounts.
- Generate Check Numbers for the bank account. See How to Generate Check Numbers.
- If you would want MICR line printed in your checks, check the Enable MICR Printing checkbox in the Check Number Range panel. See How to Configure and Show MICR line on checks.
Setup Back up Check Number Range. See How to Setup and Apply Backup Check Number Range
You may or may not setup this at this point but this comes in very handy when you have used up all the checks configured in the Check Number Range panel as you will not anymore configure the check numbers. It just needs to click the Apply button and you will have those checks configured automatically.
- The Comments field is used to add any information related to the Bank Account. Use this field if you need to. This field allows maximum of 30 alphanumeric characters.
- Click the Origin tab and enter the Checkbook ID. This is used to match the origin key field for the selected bank account. This accepts up to two alphanumeric characters.
- Click Save toolbar button to save the record.

- Click Close toolbar button to close the screen.

- From Cash Management module click Bank Accounts.
- If this is the first record you are to create, it will open directly on new Bank Accounts screen where you can then add the bank account information. Otherwise, it will open the Search Bank Accounts screen where existing bank accounts are displayed. Click the New toolbar button to open the new Bank Accounts screen.
- In the Bank Accounts screen > Bank Name field, select the Bank where the new bank account has been opened.
- Once Bank had been selected, other bank related fields are automatically filled in by information entered in the Banks screen for the selected bank. The Transit No here is the Routing No entered in the selected Bank record.
- Enter the Account No and then assign Currency for that bank account.
- The Balance field will show the current balance for the selected back account. At this point, it will show zero as this is the new bank account setup. This is a good way to track how much is the current bank account balance.
- The Active checkbox is used to activate or deactivate the bank account. See How to Deactivate a Bank Account.
- Enter EFT Information.
- Assign GL Account for the Bank Account. See How to Assign GL Account for Bank Accounts.
- Generate Check Numbers for the bank account. See How to Generate Check Numbers.
- If you would want MICR line printed in your checks, check the Enable MICR Printing checkbox in the Check Number Range panel. See How to Configure and Show MICR line on checks.
Setup Back up Check Number Range. See How to Setup and Apply Backup Check Number Range
You may or may not setup this at this point but this comes in very handy when you have used up all the checks configured in the Check Number Range panel as you will not anymore configure the check numbers. It just needs to click the Apply button and you will have those checks configured automatically.
- The Comments field is used to add any information related to the Bank Account. Use this field if you need to. This field allows maximum of 30 alphanumeric characters.
- Click the Origin tab and enter the Checkbook ID. This is used to match the origin key field for the selected bank account. This accepts up to two alphanumeric characters.
- Click Save toolbar button to save the record.
- Click Close toolbar button to close the screen.
- From Cash Management module click Bank Accounts.
- If this is the first record you are to create, it will open directly on new Bank Accounts screen where you can then add the bank account information. Otherwise, it will open the Search Bank Accounts screen where existing bank accounts are displayed. Click the New toolbar button to open the new Bank Accounts screen.
- In the Bank Accounts screen > Bank Name field, select the Bank where the new bank account has been opened.
- Once Bank had been selected, other bank related fields are automatically filled in by information entered in the Banks screen for the selected bank. The Transit No here is the Routing No entered in the selected Bank record.

- Enter the Account No and then assign Currency for that bank account.

- The Balance field will show the current balance for the selected back account. At this point, it will show zero as this is the new bank account setup. This is a good way to track how much is the current bank account balance.
- The Active checkbox is used to activate or deactivate the bank account. See How to Deactivate a Bank Account.
- Enter EFT Information.
- Assign GL Account for the Bank Account. See How to Assign GL Account for Bank Accounts.
- Generate Check Numbers for the bank account. See How to Generate Check Numbers.
- If you would want MICR line printed in your checks, check the Enable MICR Printing checkbox in the Check Number Range panel. See How to Configure and Show MICR line on checks.
Setup Back up Check Number Range. See How to Setup and Apply Backup Check Number Range
You may or may not setup this at this point but this comes in very handy when you have used up all the checks configured in the Check Number Range panel as you will not anymore configure the check numbers. It just needs to click the Apply button and you will have those checks configured automatically.
- The Comments field is used to add any information related to the Bank Account. Use this field if you need to. This field allows maximum of 30 alphanumeric characters.
- Click the Origin tab and enter the Checkbook ID. This is used to match the origin key field for the selected bank account. This accepts up to two alphanumeric characters.
- Click Save toolbar button to save the record.
- Click Close toolbar button to close the screen.
- From Cash Management module click Bank Accounts.
- If this is the first record you are to create, it will open directly on new Bank Accounts screen where you can then add the bank account information. Otherwise, it will open the Search Bank Accounts screen where existing bank accounts are displayed. Click the New toolbar button to open the new Bank Accounts screen.
- In the Bank Accounts screen > Bank Name field, select the Bank where the new bank account has been opened.
- Once Bank had been selected, other bank related fields are automatically filled in by information entered in the Banks screen for the selected bank. The Transit No here is the Routing No entered in the selected Bank record.

- Enter the Account No and then assign Currency for that bank account.
- The Balance field will show the current balance for the selected back account. At this point, it will show zero as this is the new bank account setup. This is a good way to track how much is the current bank account balance.
- The Active checkbox is used to activate or deactivate the bank account. See How to Deactivate a Bank Account.
- Enter EFT Information.
- Assign GL Account for the Bank Account. See How to Assign GL Account for Bank Accounts.
- Generate Check Numbers for the bank account. See How to Generate Check Numbers.
- If you would want MICR line printed in your checks, check the Enable MICR Printing checkbox in the Check Number Range panel. See How to Configure and Show MICR line on checks.
Setup Back up Check Number Range. See How to Setup and Apply Backup Check Number Range
You may or may not setup this at this point but this comes in very handy when you have used up all the checks configured in the Check Number Range panel as you will not anymore configure the check numbers. It just needs to click the Apply button and you will have those checks configured automatically.
- The Comments field is used to add any information related to the Bank Account. Use this field if you need to. This field allows maximum of 30 alphanumeric characters.
- Click the Origin tab and enter the Checkbook ID. This is used to match the origin key field for the selected bank account. This accepts up to two alphanumeric characters.
- Click Save toolbar button to save the record.

- Click Close toolbar button to close the screen.

- From Cash Management module > Maintenance folder > double-click Bank Accounts.
- If this is the first record you are to create, it will open directly on new Bank Accounts screen where you can then add the bank account information. Otherwise, it will open the Search Bank Accounts screen where existing bank accounts are displayed. Click the New toolbar button to open the new Bank Accounts screen.
- In the Bank Accounts screen > Bank Name field, select the Bank where the new bank account has been opened.
- Once Bank had been selected, other bank related fields are automatically filled in by information entered in the Banks screen for the selected bank. The Transit No here is the Routing No entered in the selected Bank record.
- Enter the Account No and then assign Currency for that bank account.
- The Balance field will show the current balance for the selected back account. At this point, it will show zero as this is the new bank account setup. This is a good way to track how much is the current bank account balance.

- The Active checkbox is used to activate or deactivate the bank account. See How to Deactivate a Bank Account.
- Enter EFT Information.
- Assign GL Account for the Bank Account. See How to Assign GL Account for Bank Accounts.
- Generate Check Numbers for the bank account. See How to Generate Check Numbers.
- If you would want MICR line printed in your checks, check the Enable MICR Printing checkbox in the Check Number Range panel. See How to Configure and Show MICR line on checks.
Setup Back up Check Number Range. See How to Setup and Apply Backup Check Number Range
You may or may not setup this at this point but this comes in very handy when you have used up all the checks configured in the Check Number Range panel as you will not anymore configure the check numbers. It just needs to click the Apply button and you will have those checks configured automatically.
- The Comments field is used to add any information related to the Bank Account. Use this field if you need to. This field allows maximum of 30 alphanumeric characters.
- Click the Origin tab and enter the Checkbook ID. This is used to match the origin key field for the selected bank account. This accepts up to two alphanumeric characters.
- Click Save toolbar button to save the record.
- Click Close toolbar button to close the screen.
Overview
Content Tools